Huawei OceanProtect Backup Storage and Micro Focus Data Protector Interoperability Test Report

Executive Summary
Axians Global (“Axians”) assessed the interoperability of Micro Focus Data Protector software with Huawei OceanProtect Backup Storage. The goal of the assessment is to validate that Micro Focus Data Protector is interoperable with Huawei OceanProtect Backup Storage.
In the assessment, Axians has determined that Micro Focus Data Protector software backup and restore jobs will function with Huawei OceanProtect Backup Storage for the following scenarios:
|
Test Scenario |
Storage Involved |
Protocol(s) Tested |
Result |
|
Backup Media –NAS |
OceanProtect Backup Storage |
Dataturbo |
Passed |
In this document, you will find details on the above test cases and the captured output. The procedures conducted in the tests are referenced from standard online documentation from Micro Focus Data Protector and Huawei.
1. Environment Configuration
1.1 Networking Diagram
Figure 1.1 Huawei OceanProtect Backup Storage Function Compatibility Test Networking
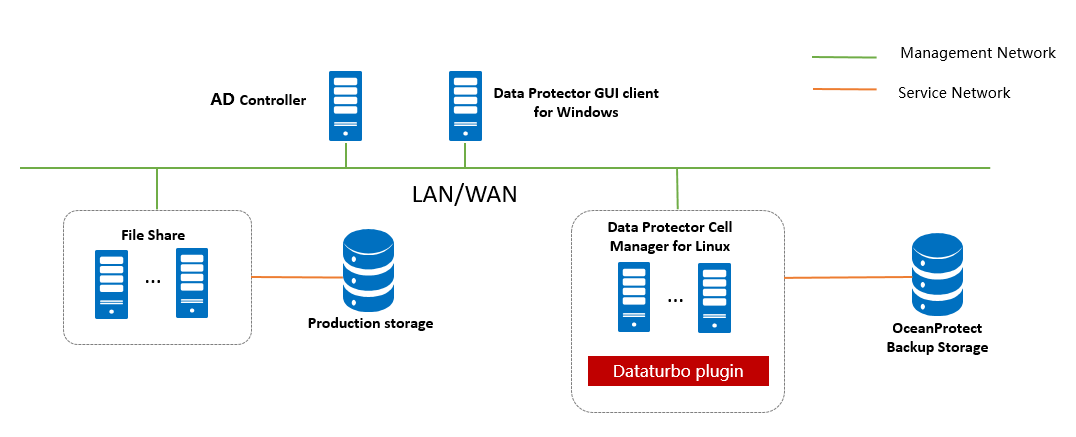
Note: This networking diagram is for reference only. For details about the connections between Huawei OceanProtect Backup Storage controller enclosures and application servers, between controller enclosures and disk enclosures, and between controller enclosures, see the Huawei OceanProtect Backup Storage product documentation.
Networking description:
- Deployment at the production end:
- Deploy one ESXi physical host, install the VMware VM software, create VMs, and install. Windows and Linux operating system.
- The management network and service network are connected to the Micro Focus Data Protector software and Huawei OceanProtect Backup Storage through switches.
- Deploy the Micro Focus Data Protector software: Use Linux VM servers as Micro Focus Data Protector Cell Manager. Use Windows VM servers as the Micro Focus Data Protector GUI client.
- Deploy the AD Controller: Use one Windows server VM as the DNS controller for clients.
- All storage devices connect to the Micro Focus Data Protector storage node through 10g Ethernet.
1.2 Hardware and Software Configuration
1.2.1 Hardware Configuration
Table 1-3 Hardware Configuration
| Name | description | Quantity | Usage |
VMWare ESXi Server | x86 server
| 1 | Install Windows and Linux operating system |
Micro Focus Data Protector Cell Manager | x86 server
|
1 | Deploys backup software to schedule backup tasks and transfer backup data. |
| Micro Focus Data Protector GUI client | x86 server
|
1 | Deploys Data Protector client to manage Linux Cell Manager |
| AD Controller |
x86 server
Network: 10GE vNIC |
1 | Used for providing DNS service |
| Ethernet switch | Huawei 6855 10GE Network Switch |
2 | 10GE network switch on the OceanProtect Backup Storage backup service plane |
1.2.2 Test Software and Tools
Table 1-4 Test Software and Tool List
|
Software Name |
description |
Quantity |
|
VMware ESXi 7.0u2 |
VMWare virtualization platform |
1 |
|
Micro Focus Data Protector 11 |
Backup software and storage node |
2 |
|
Red Hat Enterprise Linux 7.9 |
Installing Linux Host |
1 |
|
Windows Server 2016 Datacenter |
Installing Windows Host |
2 |
|
OceanStor_Dataturbo_1.1.RC1_Linux |
SourceDedupe software |
1 |
2. Test Preparation
2.1 FileSytem and Dataturbo share for backup media


2.2 Install Dataturbo plugin


2.3 Mount Dataturbo shares to Linux server


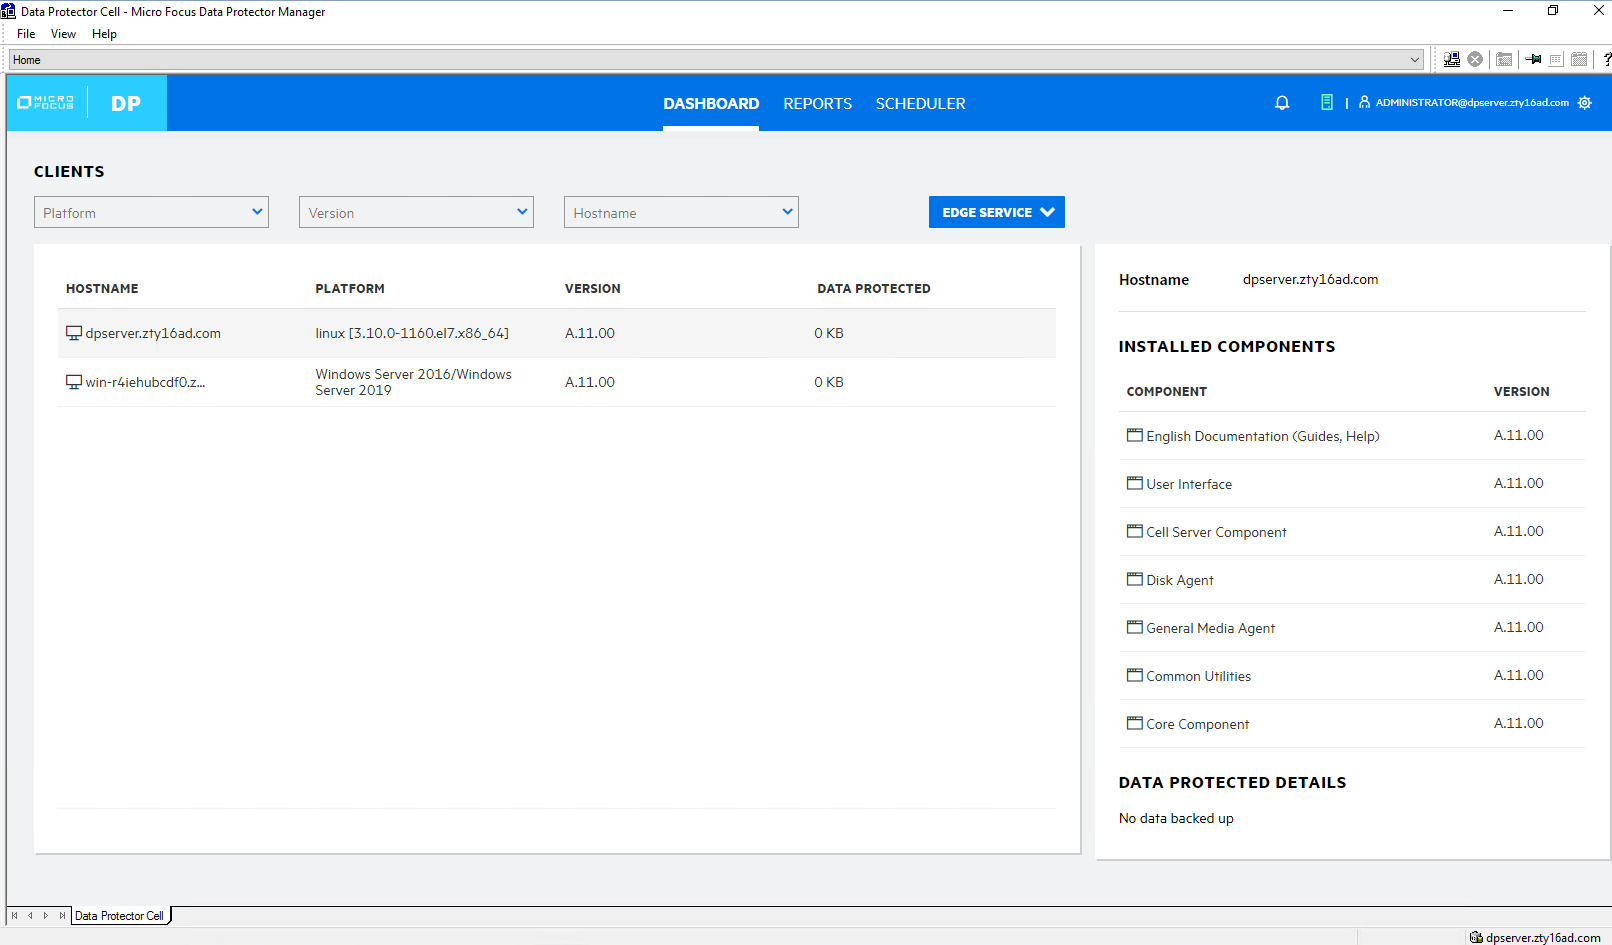
2.4 Add both Linux and Windows clients into Micro Focus Data Protector server
3. OceanProtect Backup Storage Dataturbo Backup Interconnection with Micro Focus Data Protector
3.1 Add Dataturbo Share Source and Backup Policy
Test Purpose | Add Dataturbo shares to the backup server as the backup media and create backup policy |
Test Networking | Huawei OceanProtect Backup Storage Function Compatibility Test Networking |
Prerequisites |
|
Test Procedure |
|
Expected Result | Step 1 Add storage is configured successfully. Step 2 Mounted Dataturbo share is configured successfully. Step 3 Add device is configured successfully. Step 4 Add Filesystem template is configured successfully. Step 5 Add backup policy is configured successfully. |
Test Result | Passed Step1   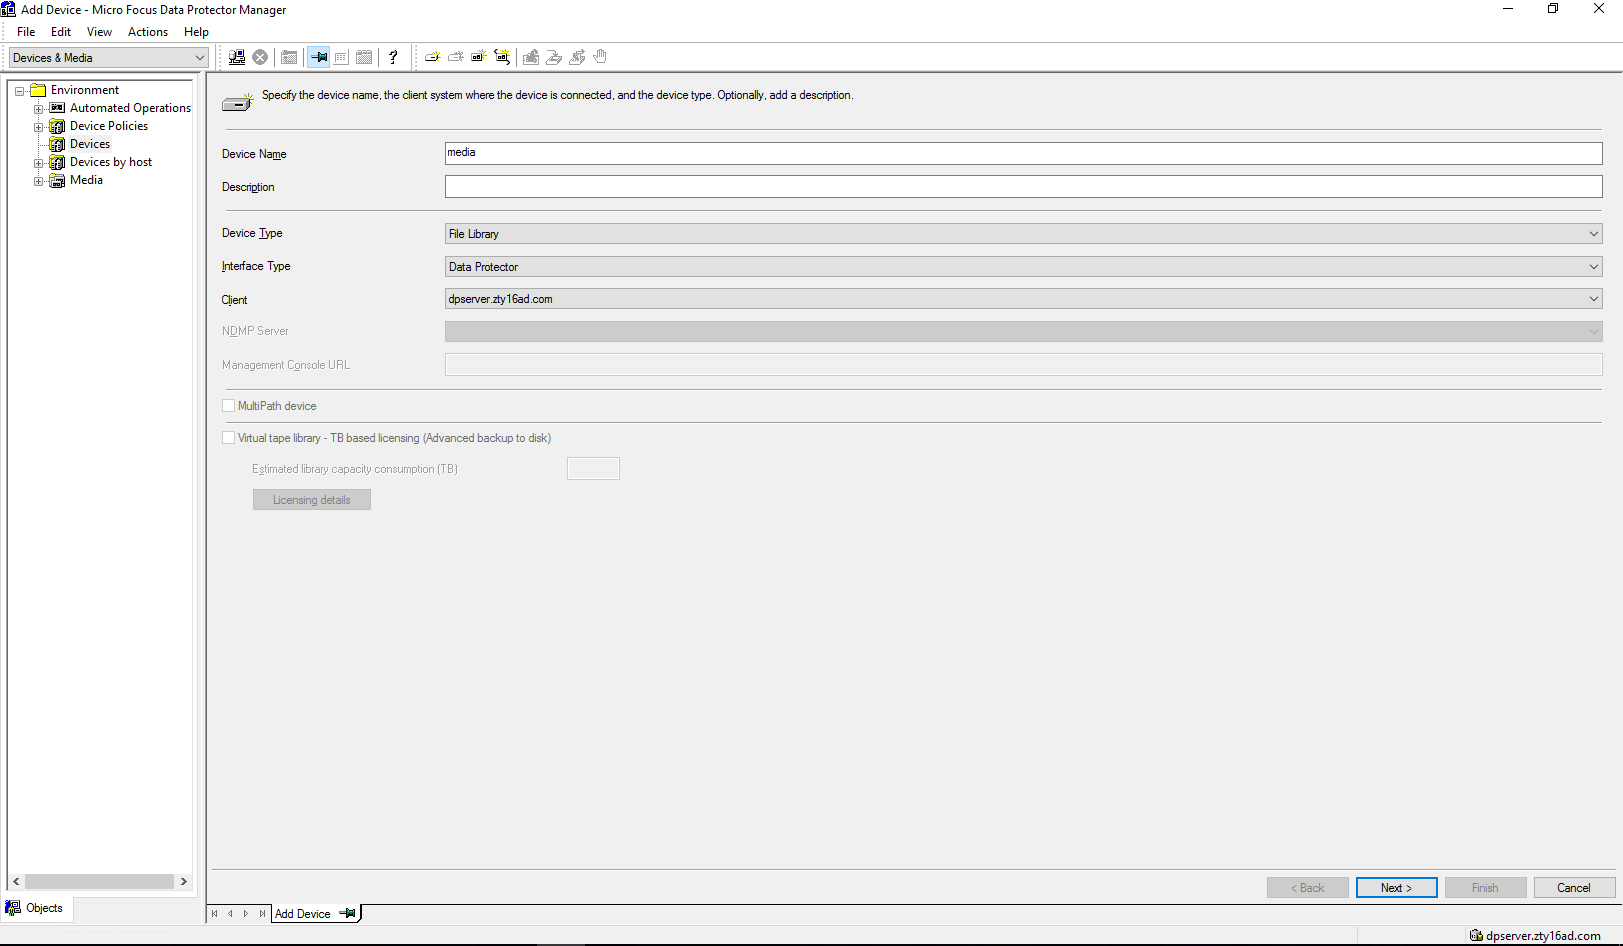 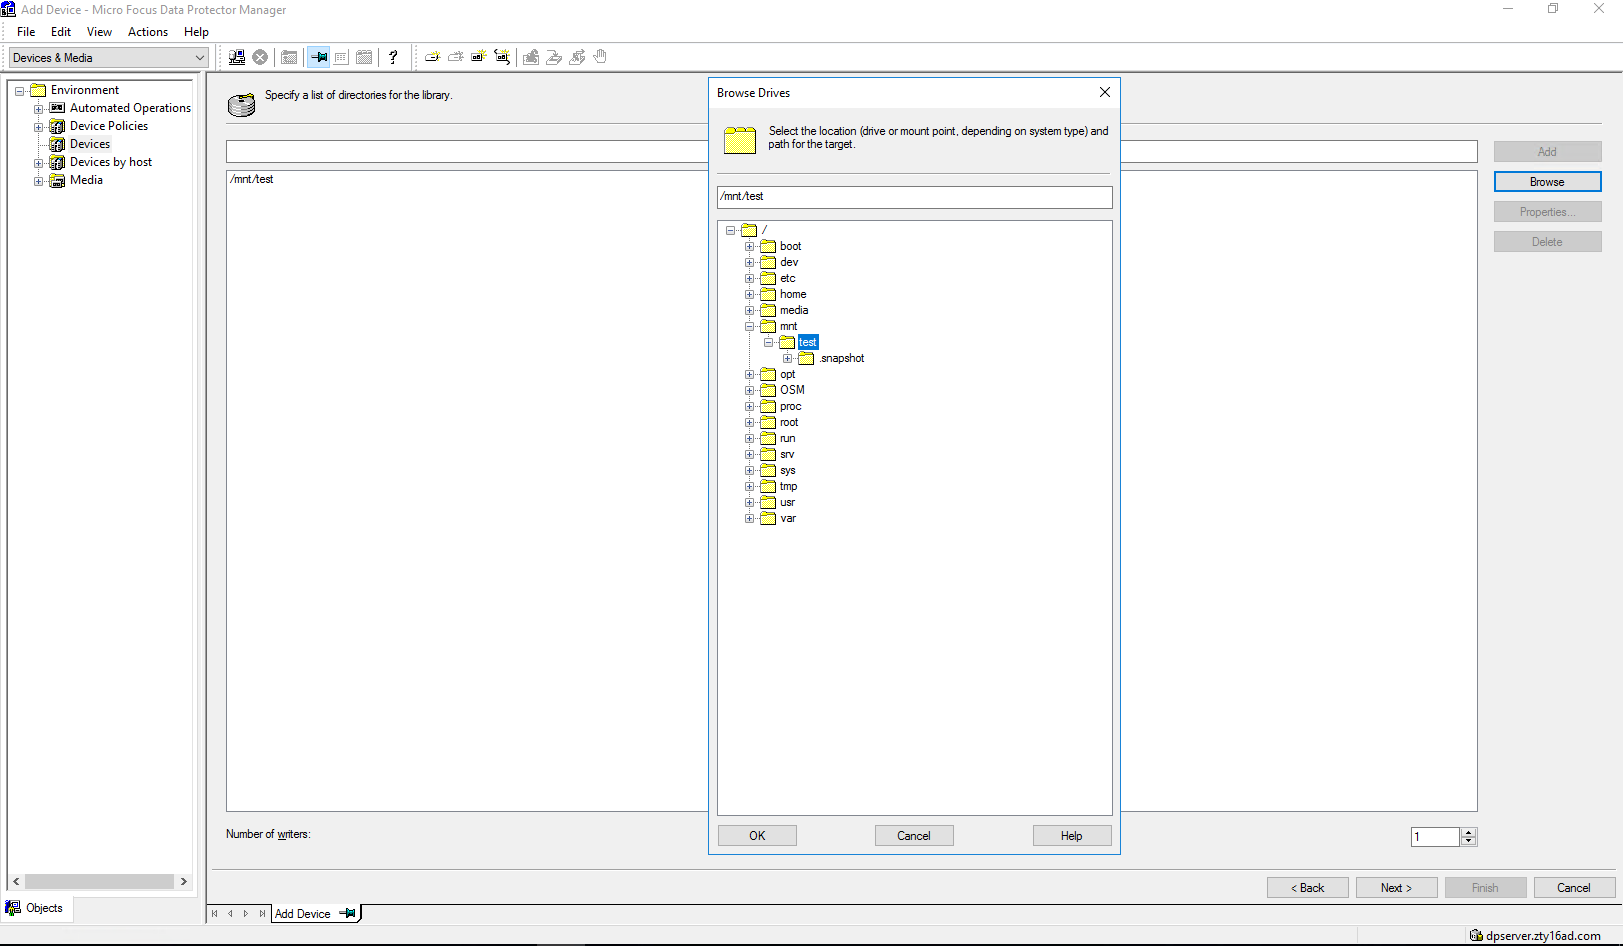 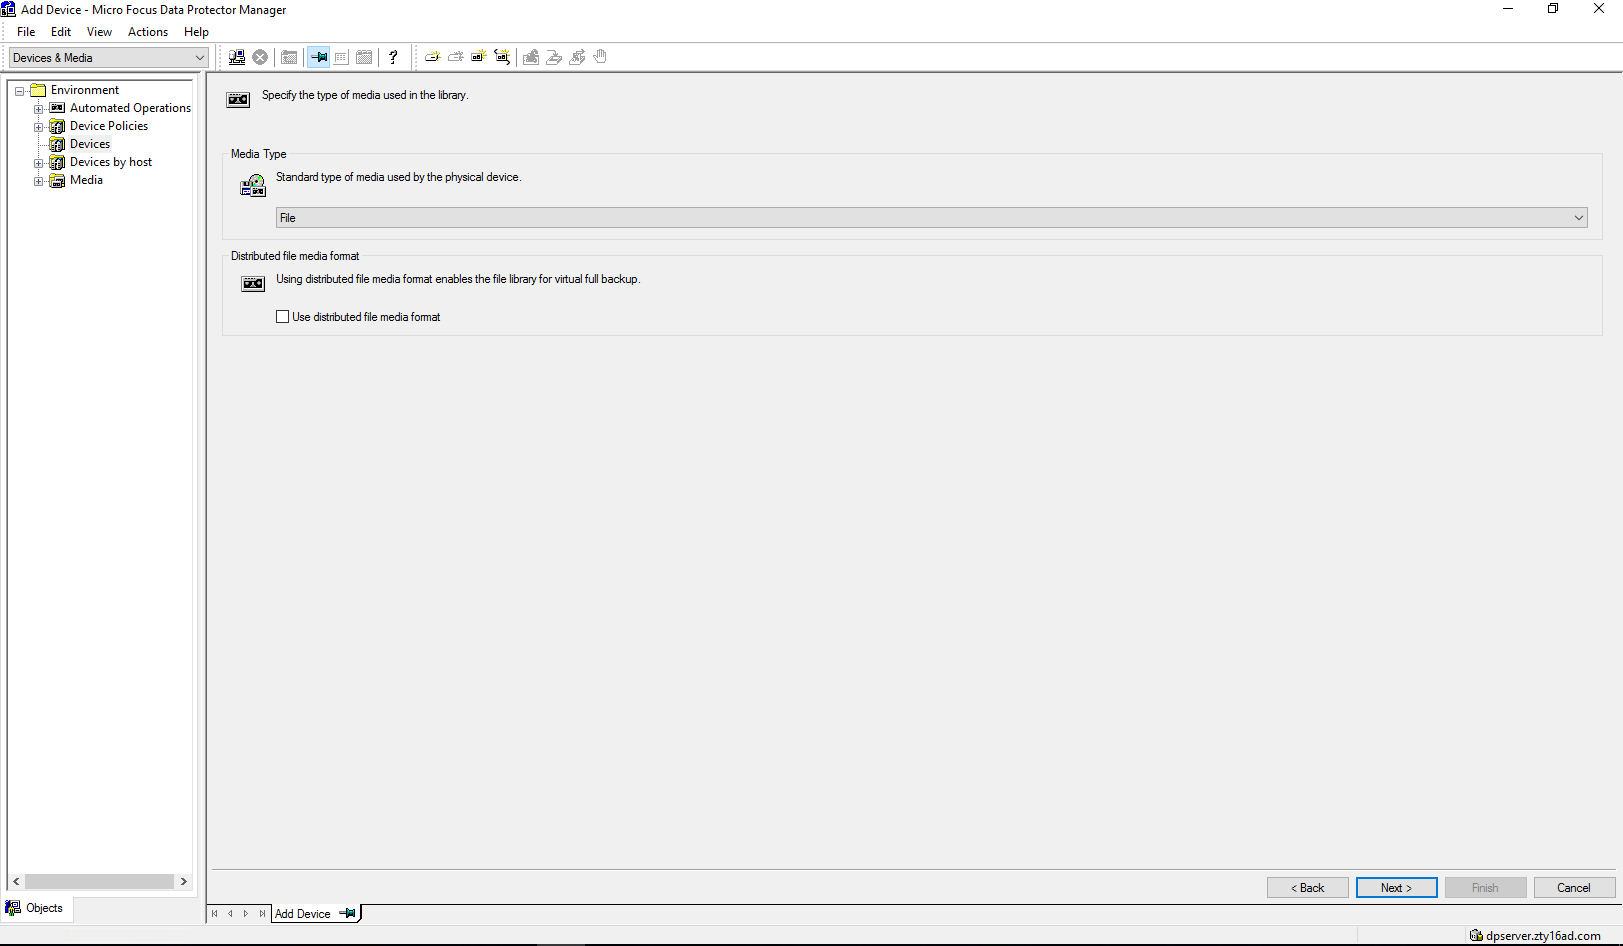 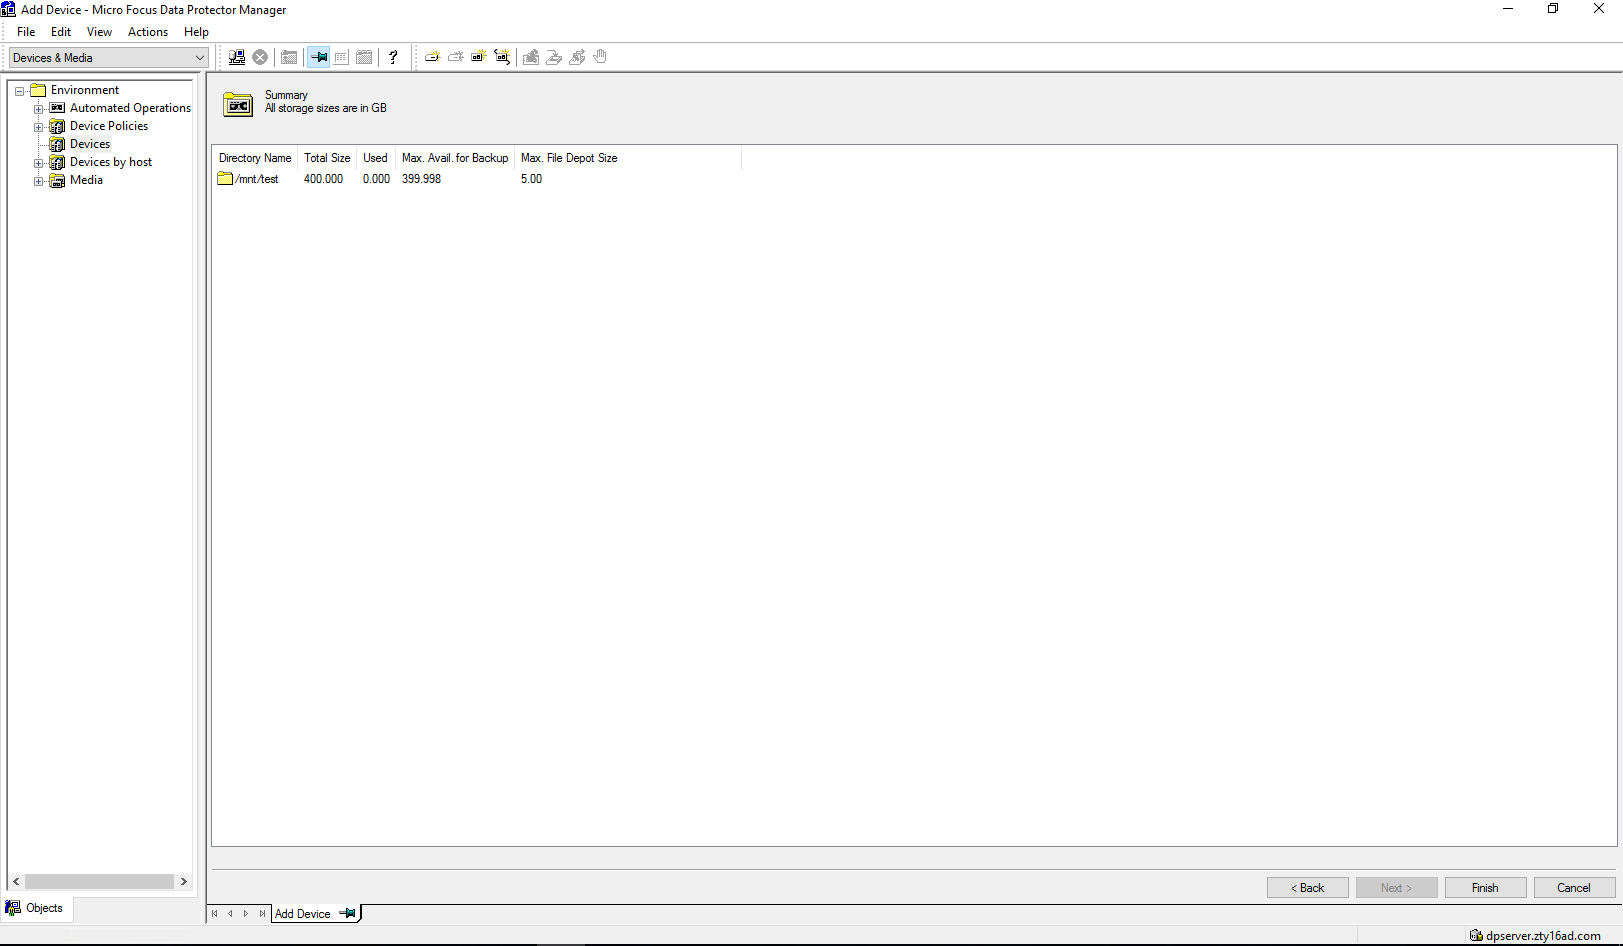  Step4 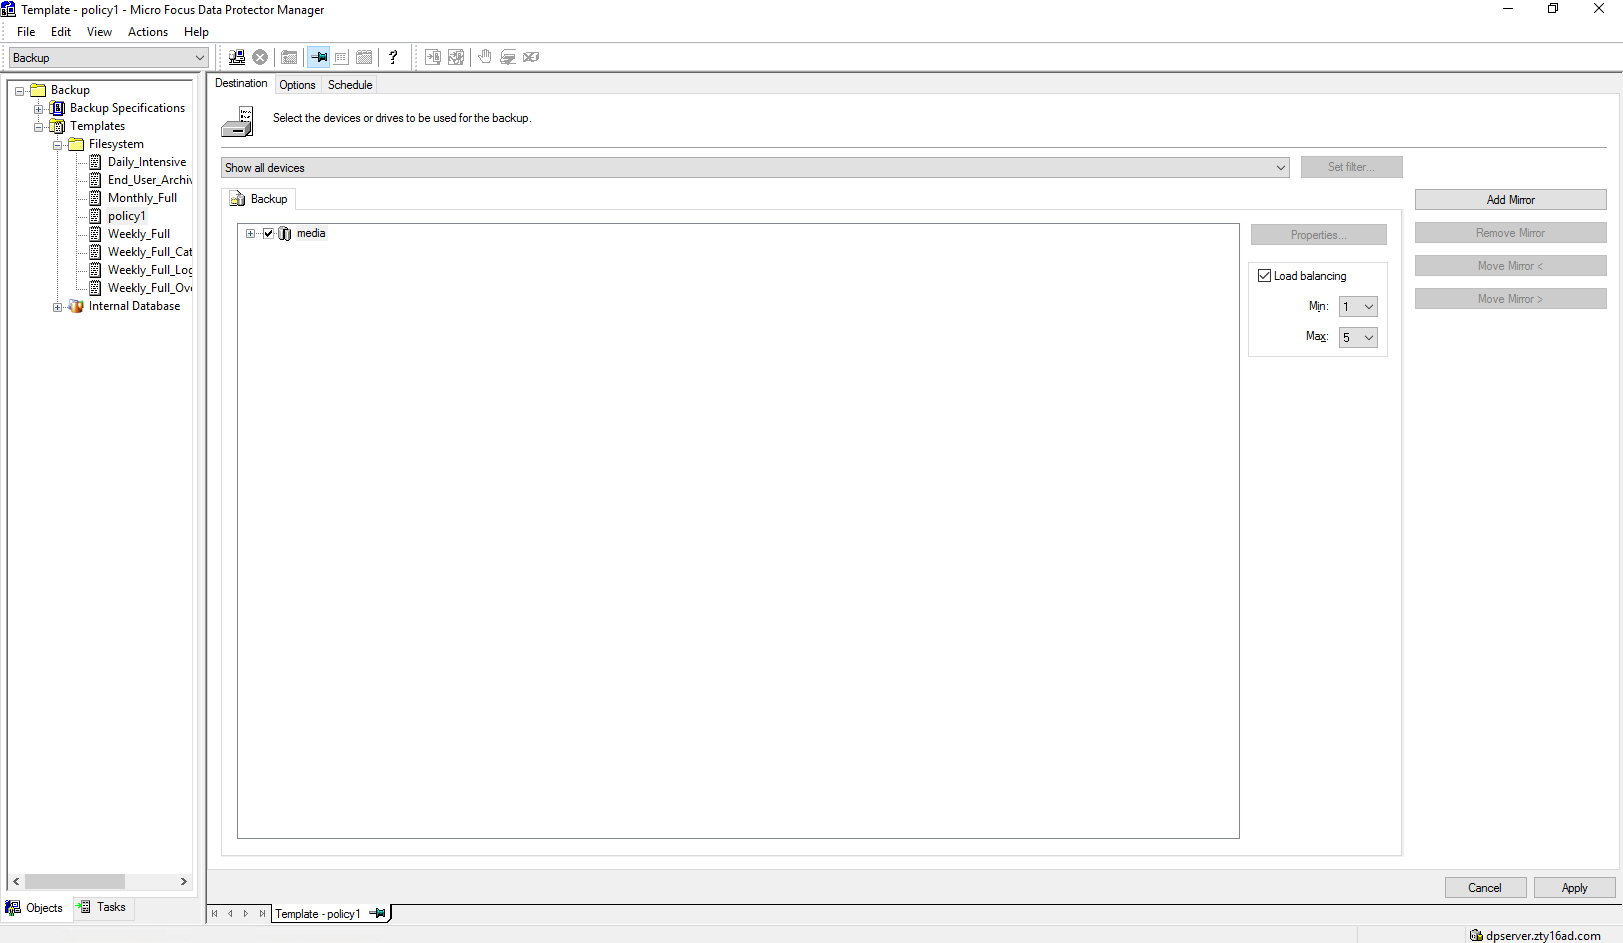 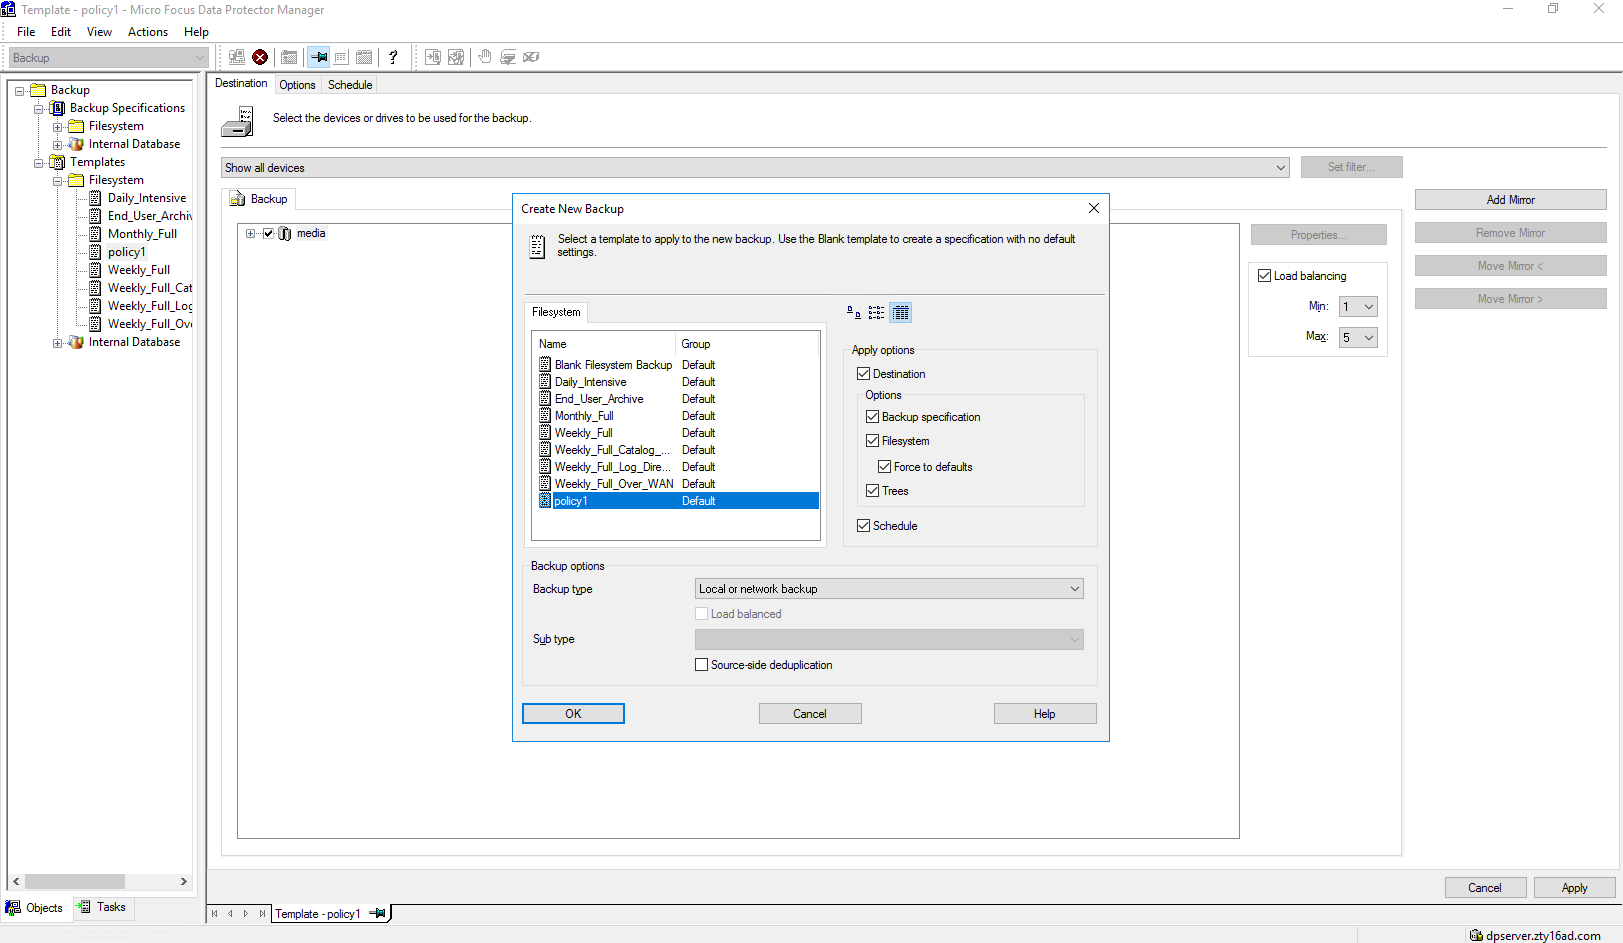 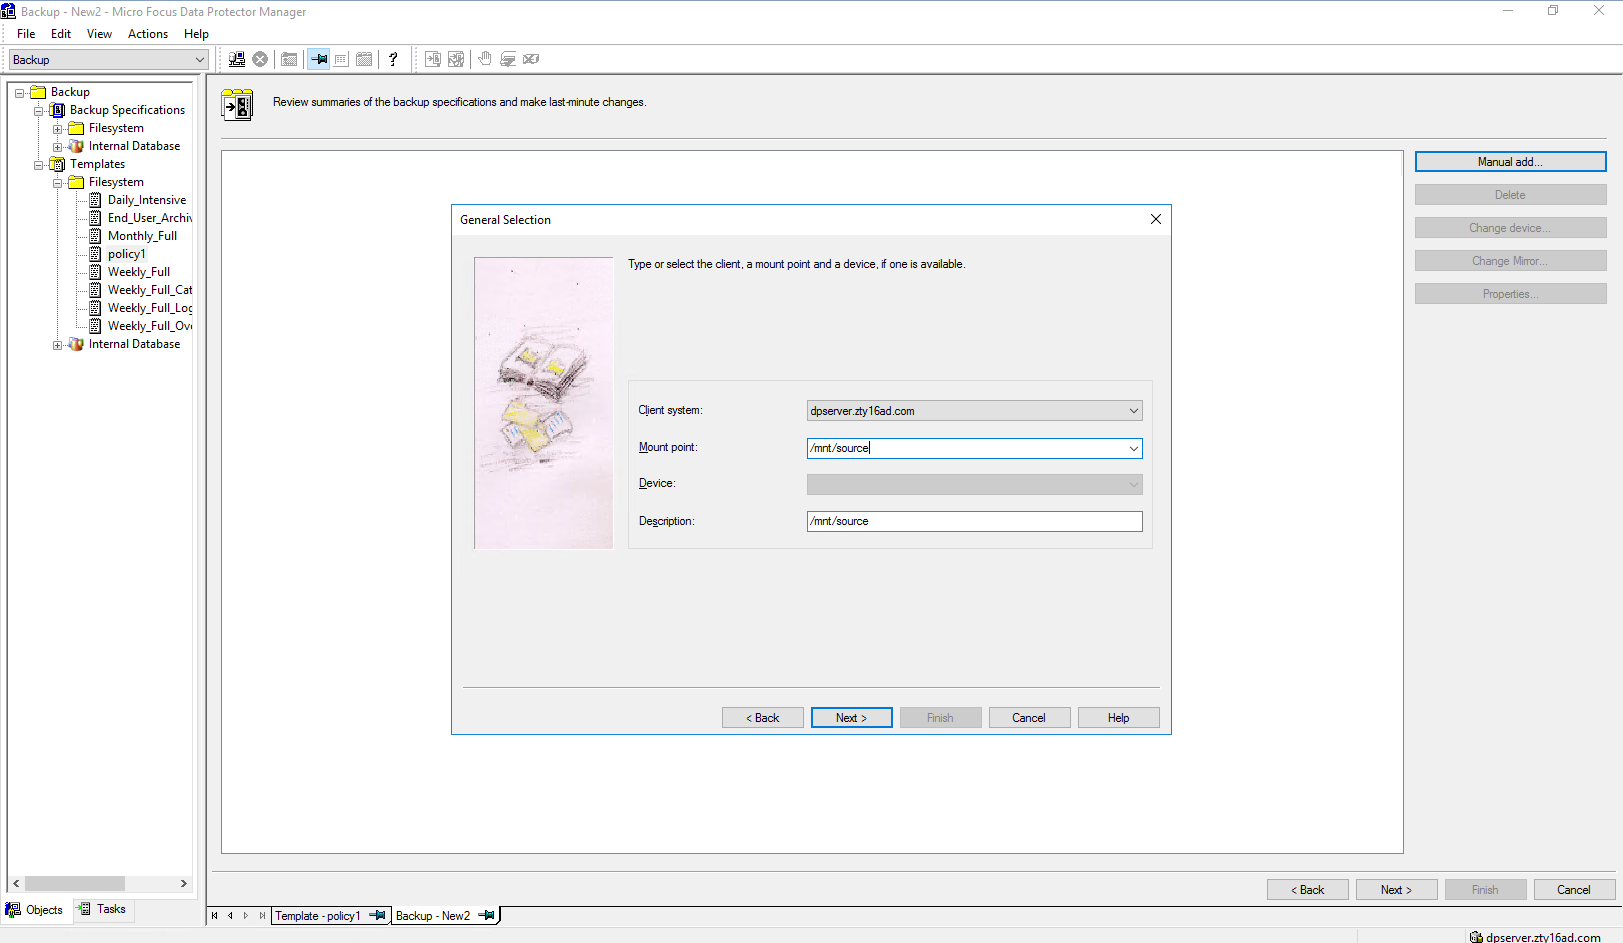 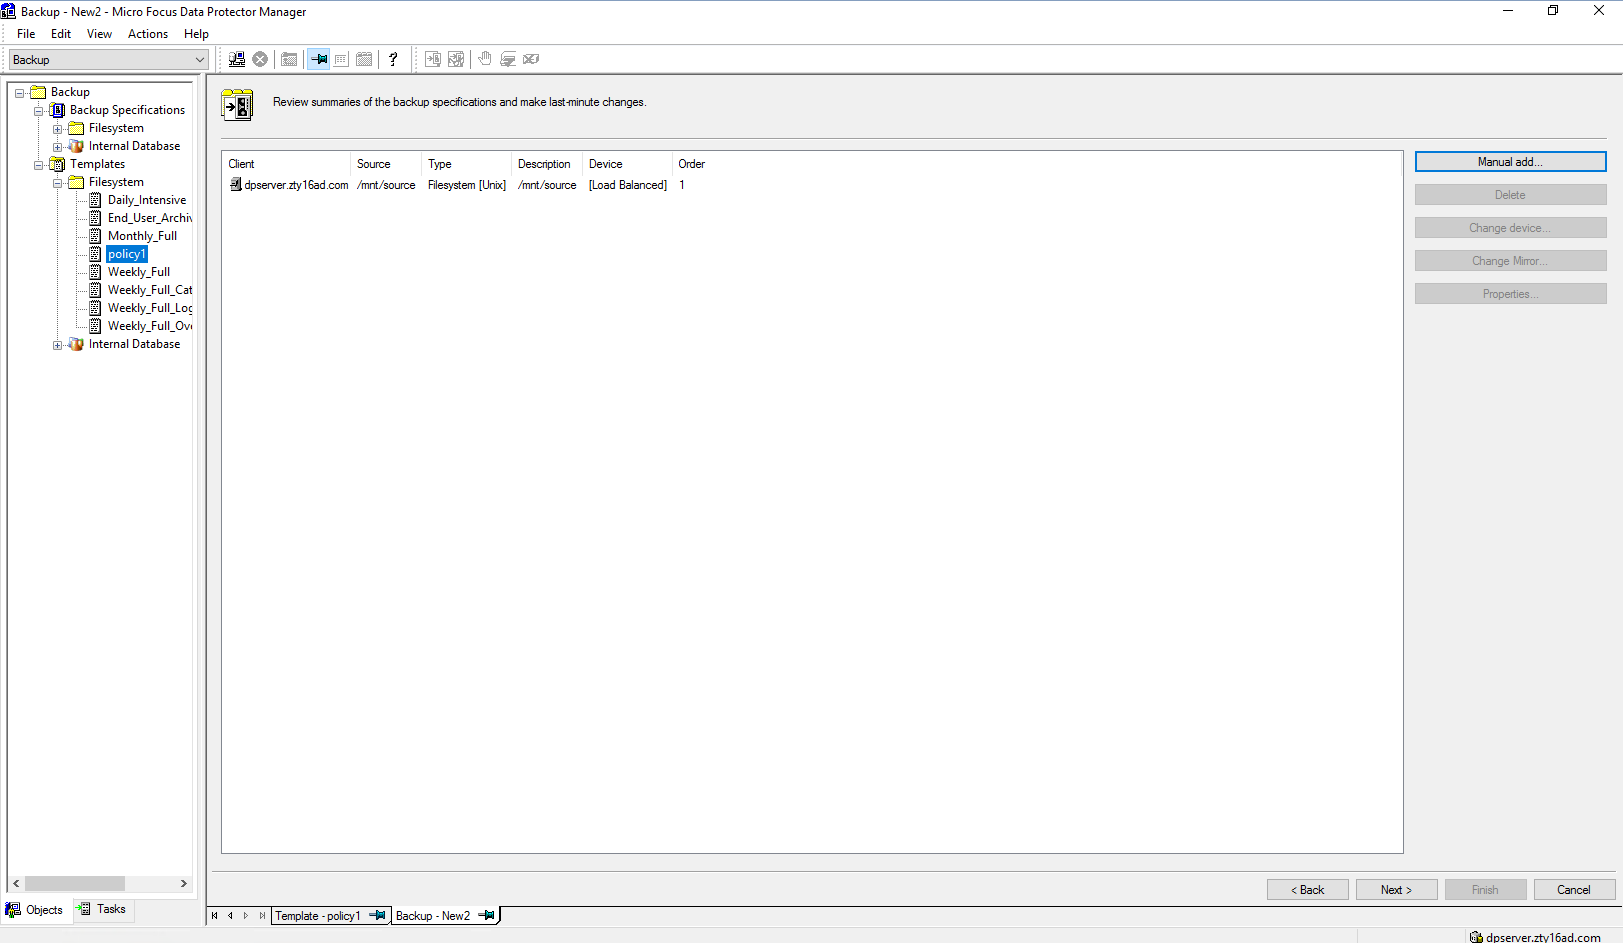 Step5 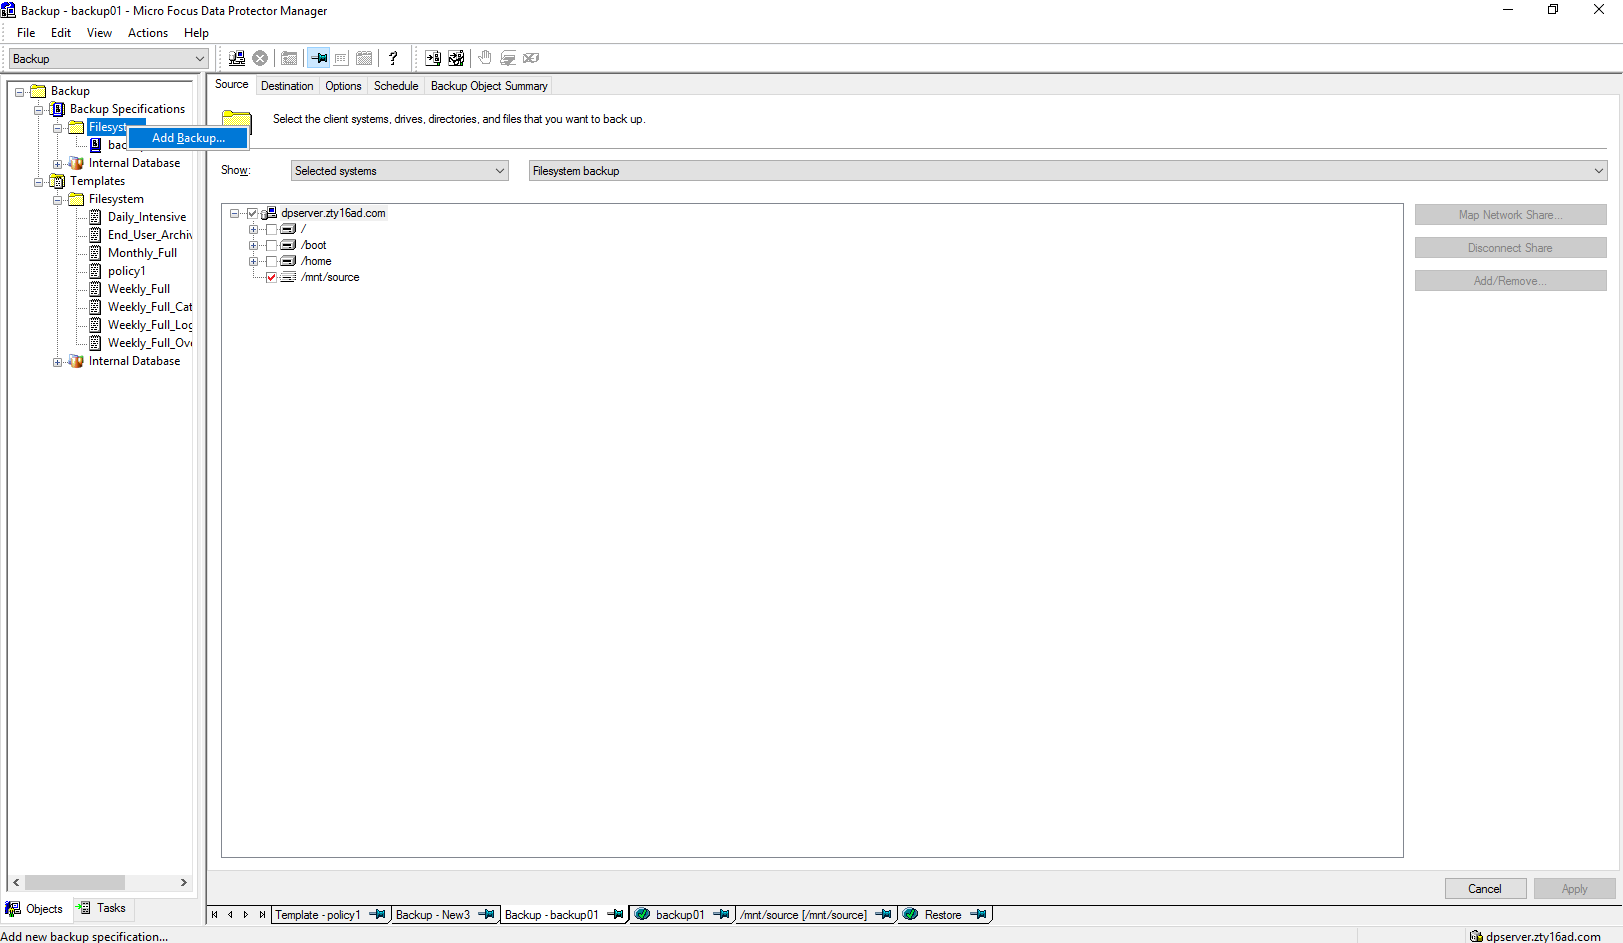 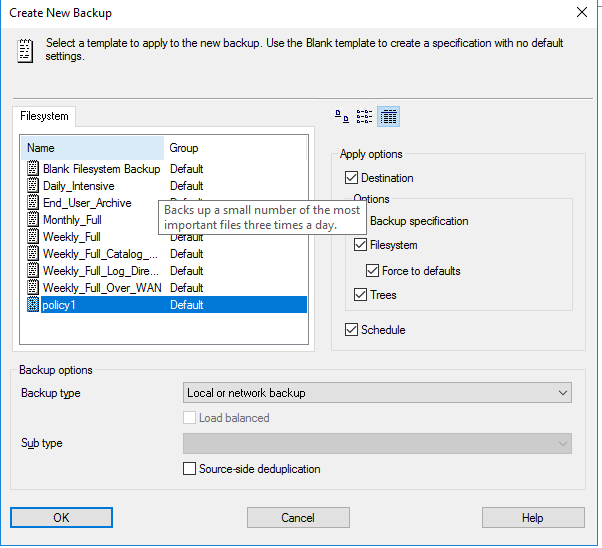 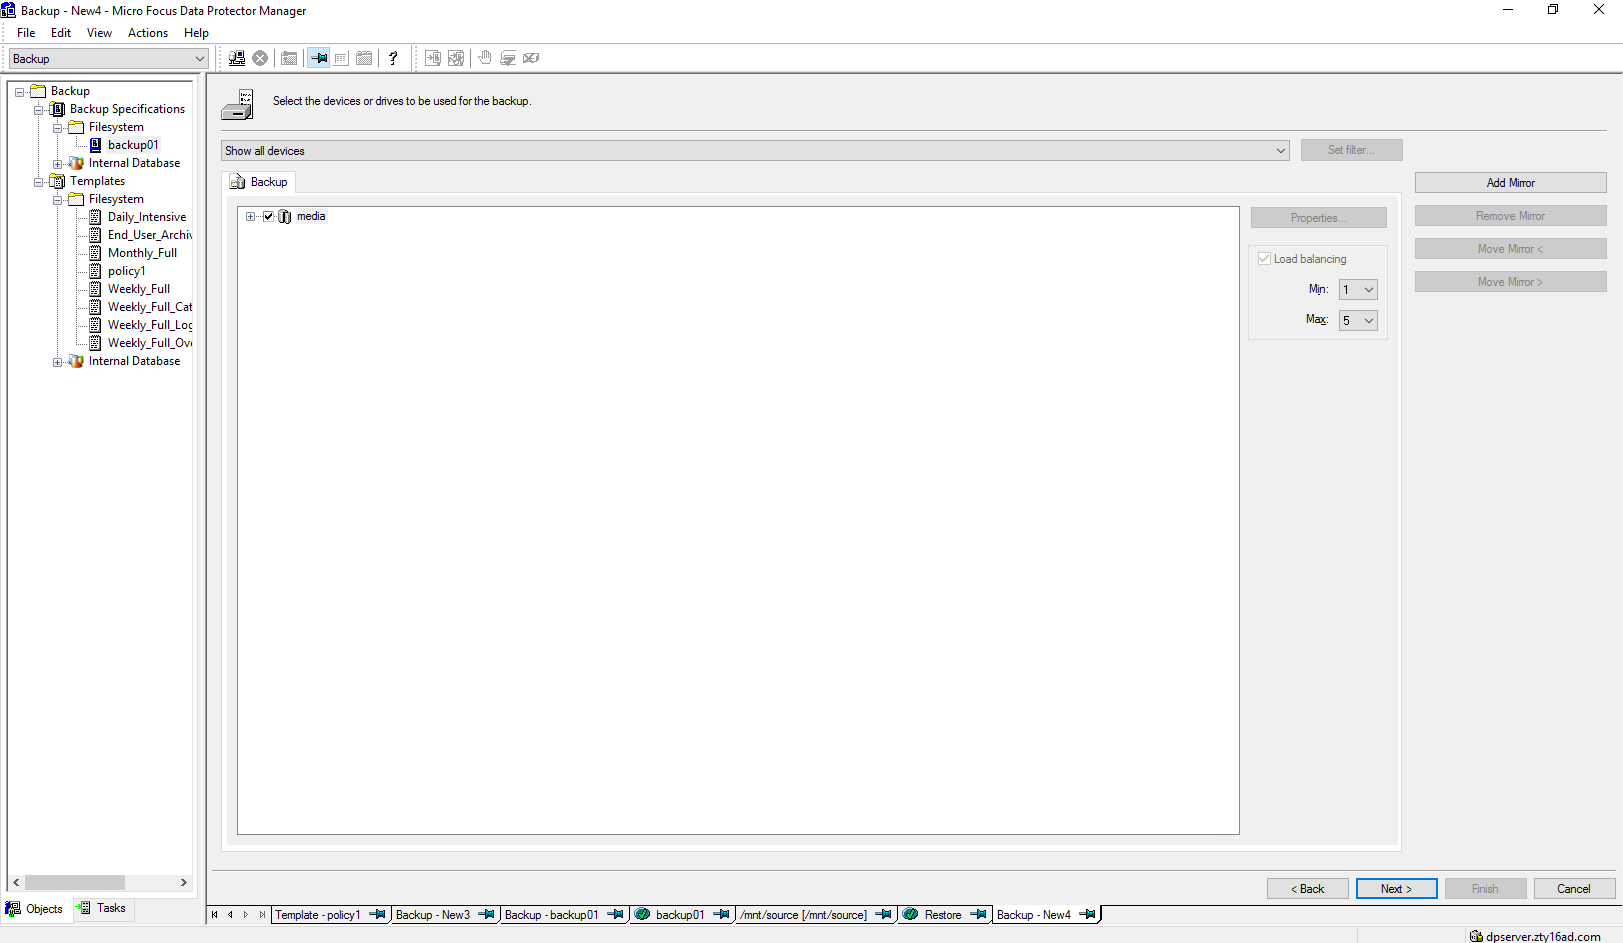 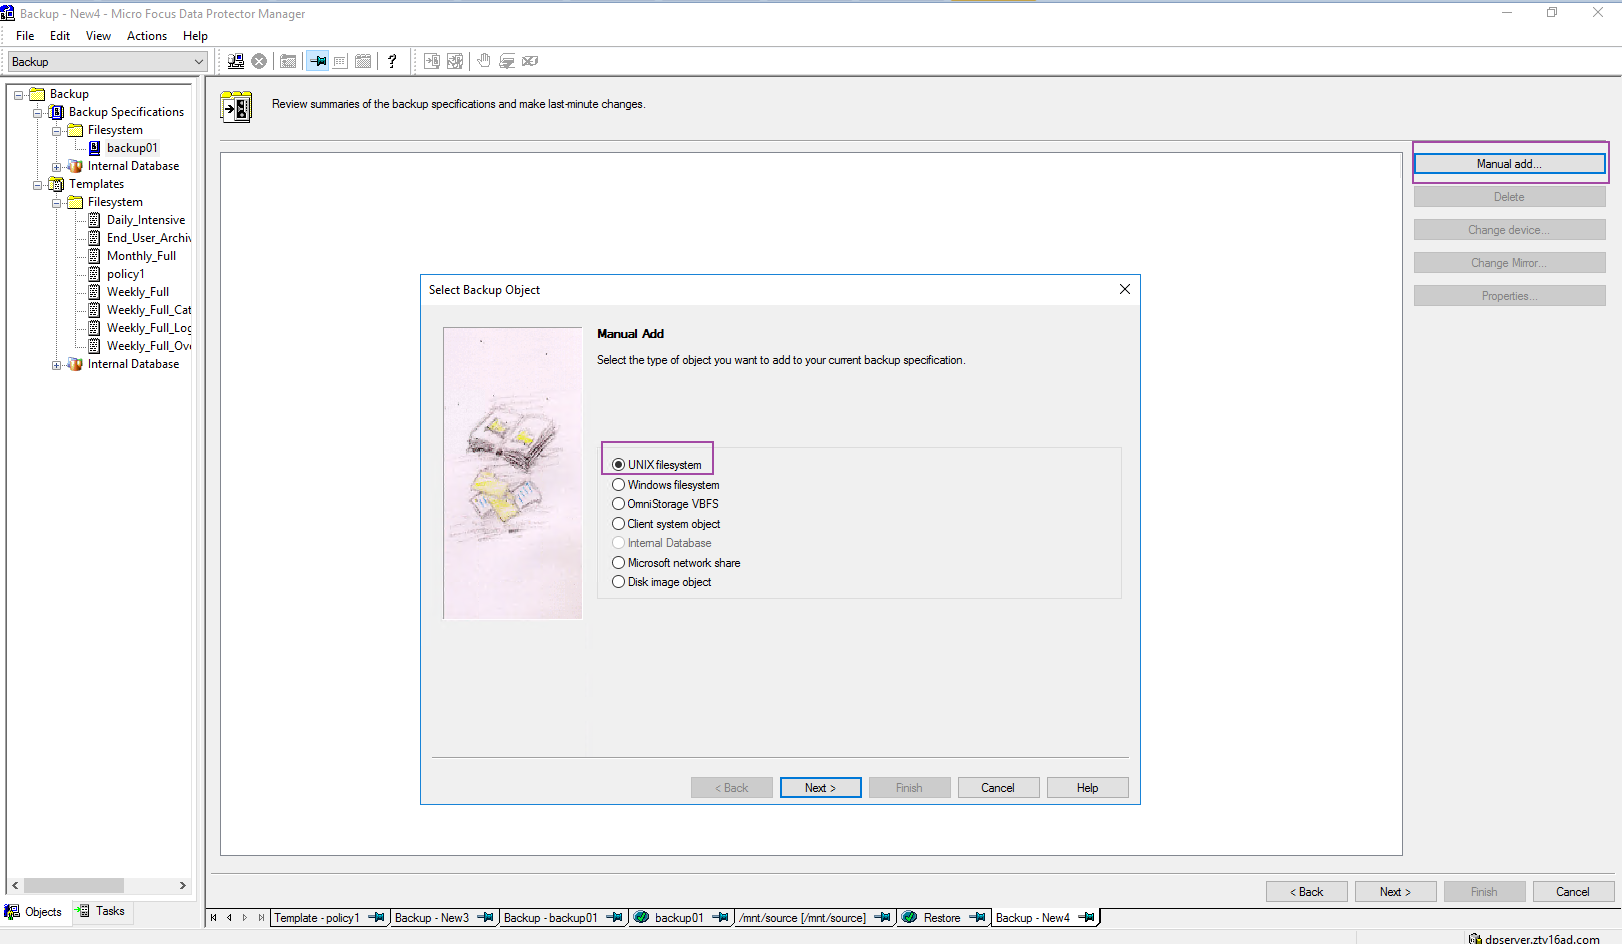 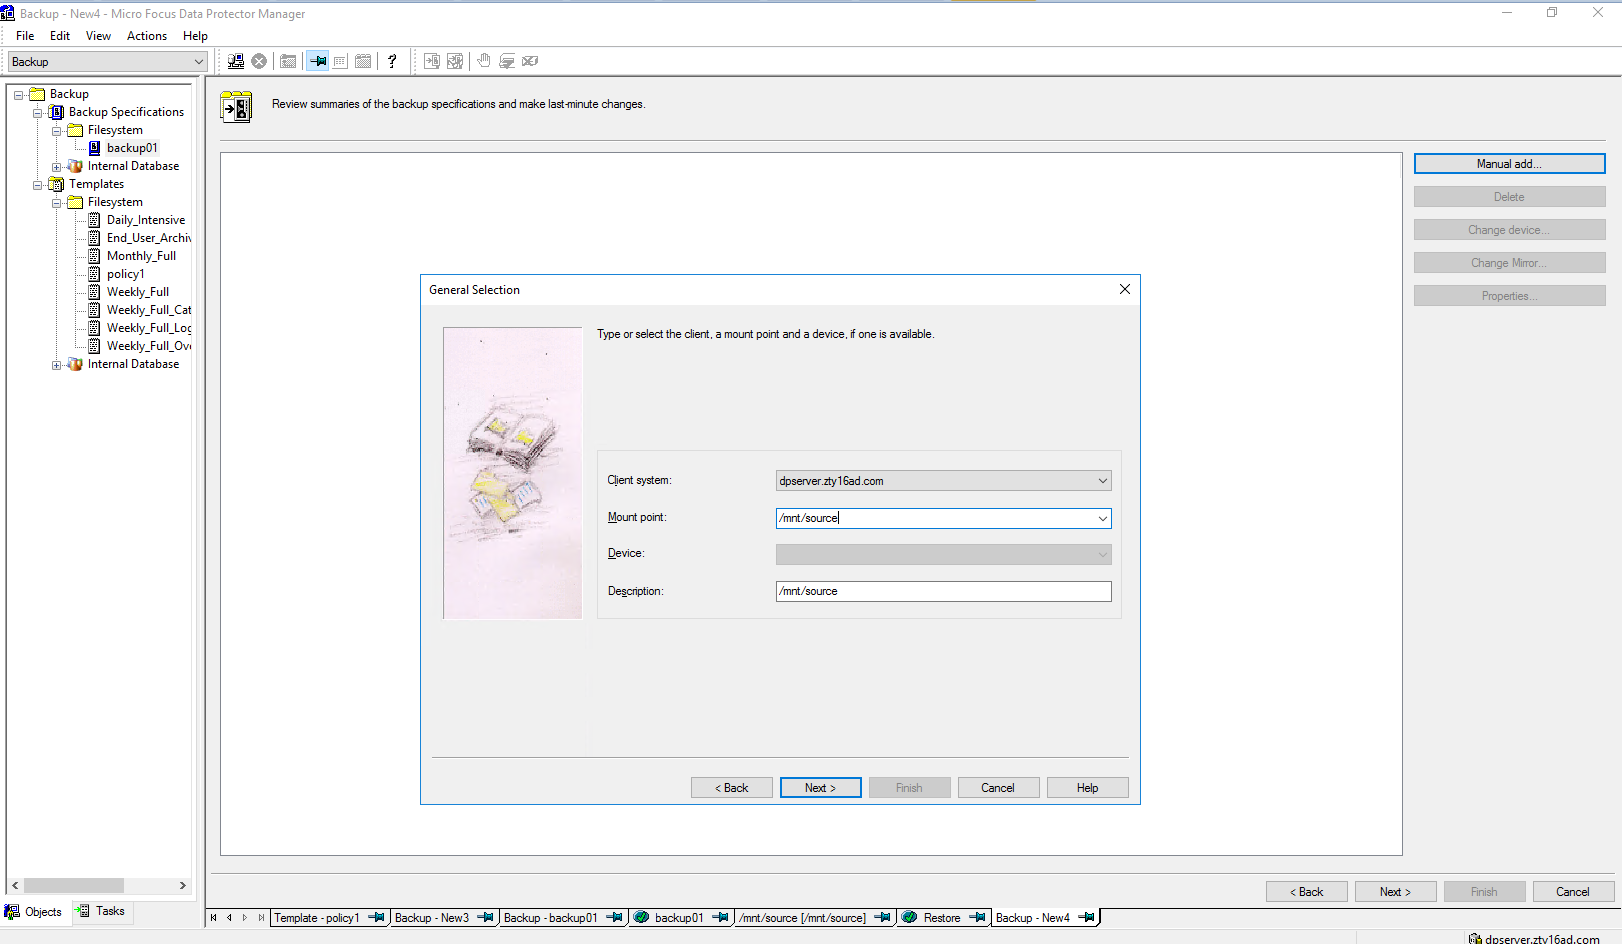 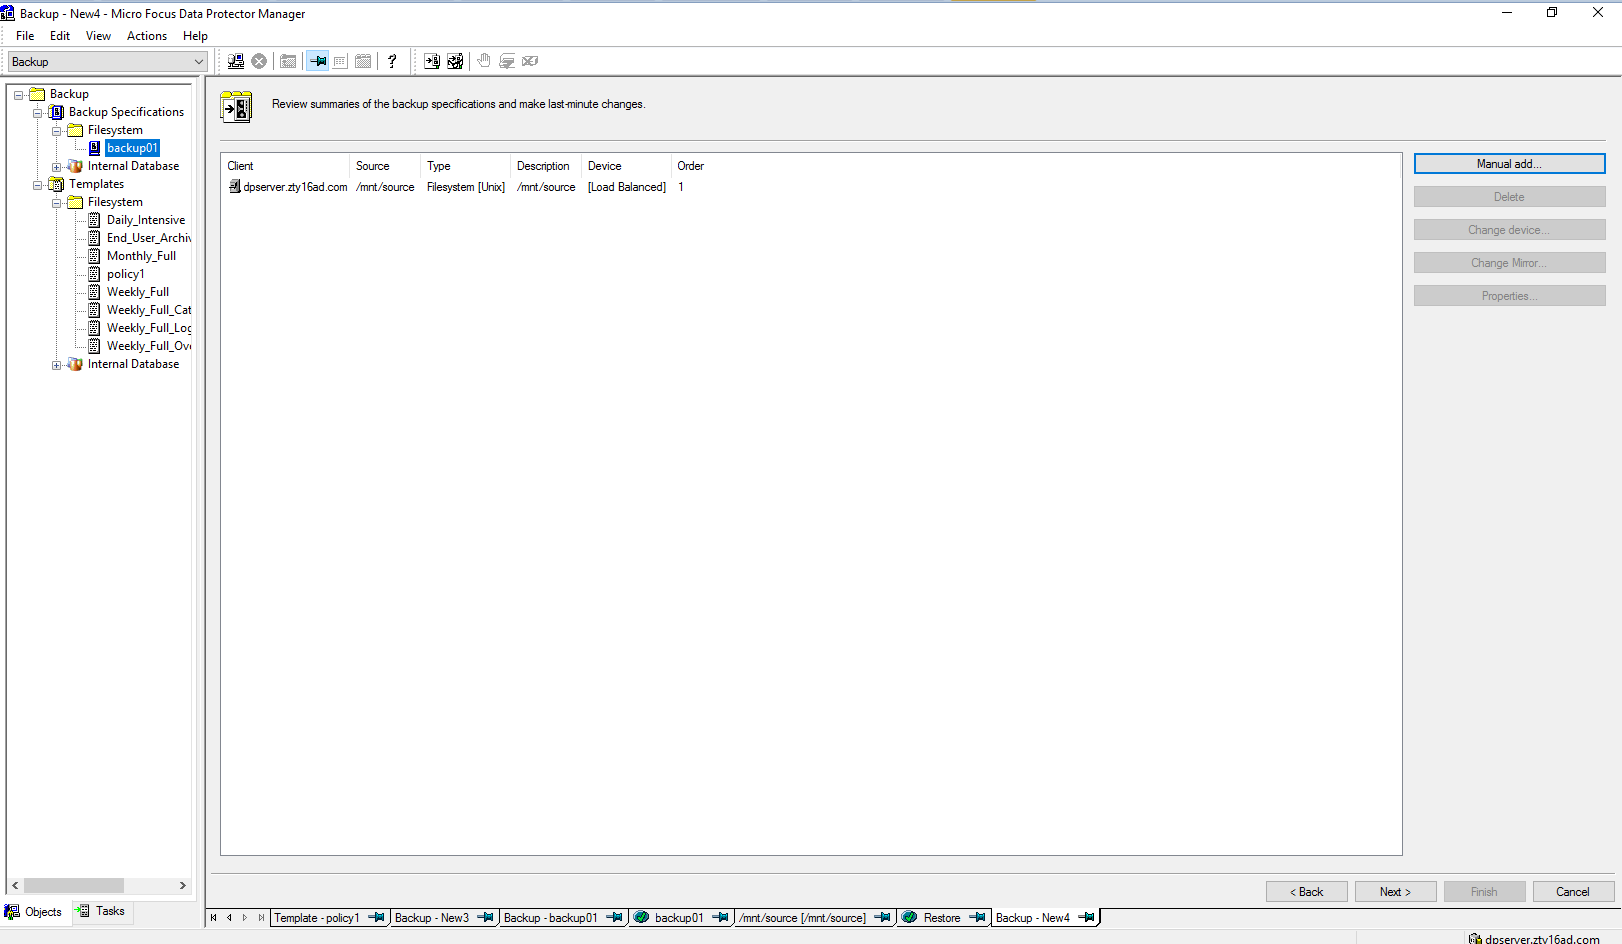 |
3.2 Full Dataturbo Share Backup and Restore
| Test Purpose | Full Dataturbo backup and restore |
Test Networking | Huawei OceanProtect Backup Storage Function Compatibility Test Networking |
Prerequisites |
|
Test Procedure |
|
Expected Result | Step 2 backup finishes successfully. Step 4 restore finishes successfully and restored files are the same as original files. |
Test Result | Passed Step1 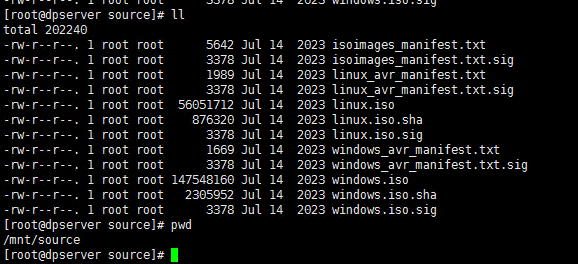 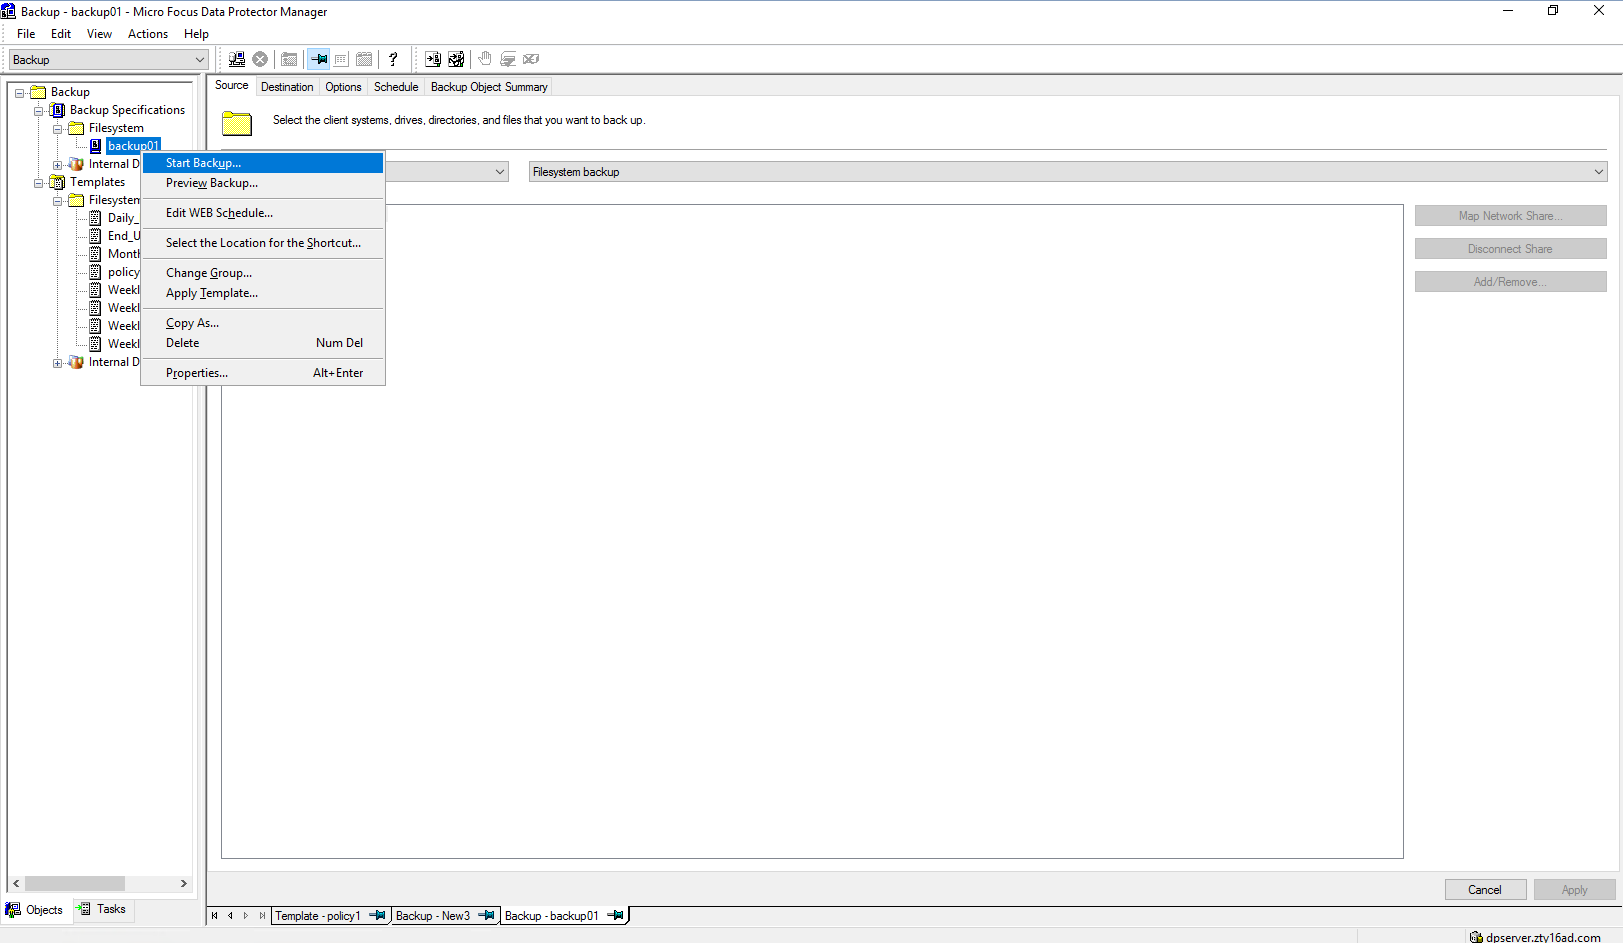 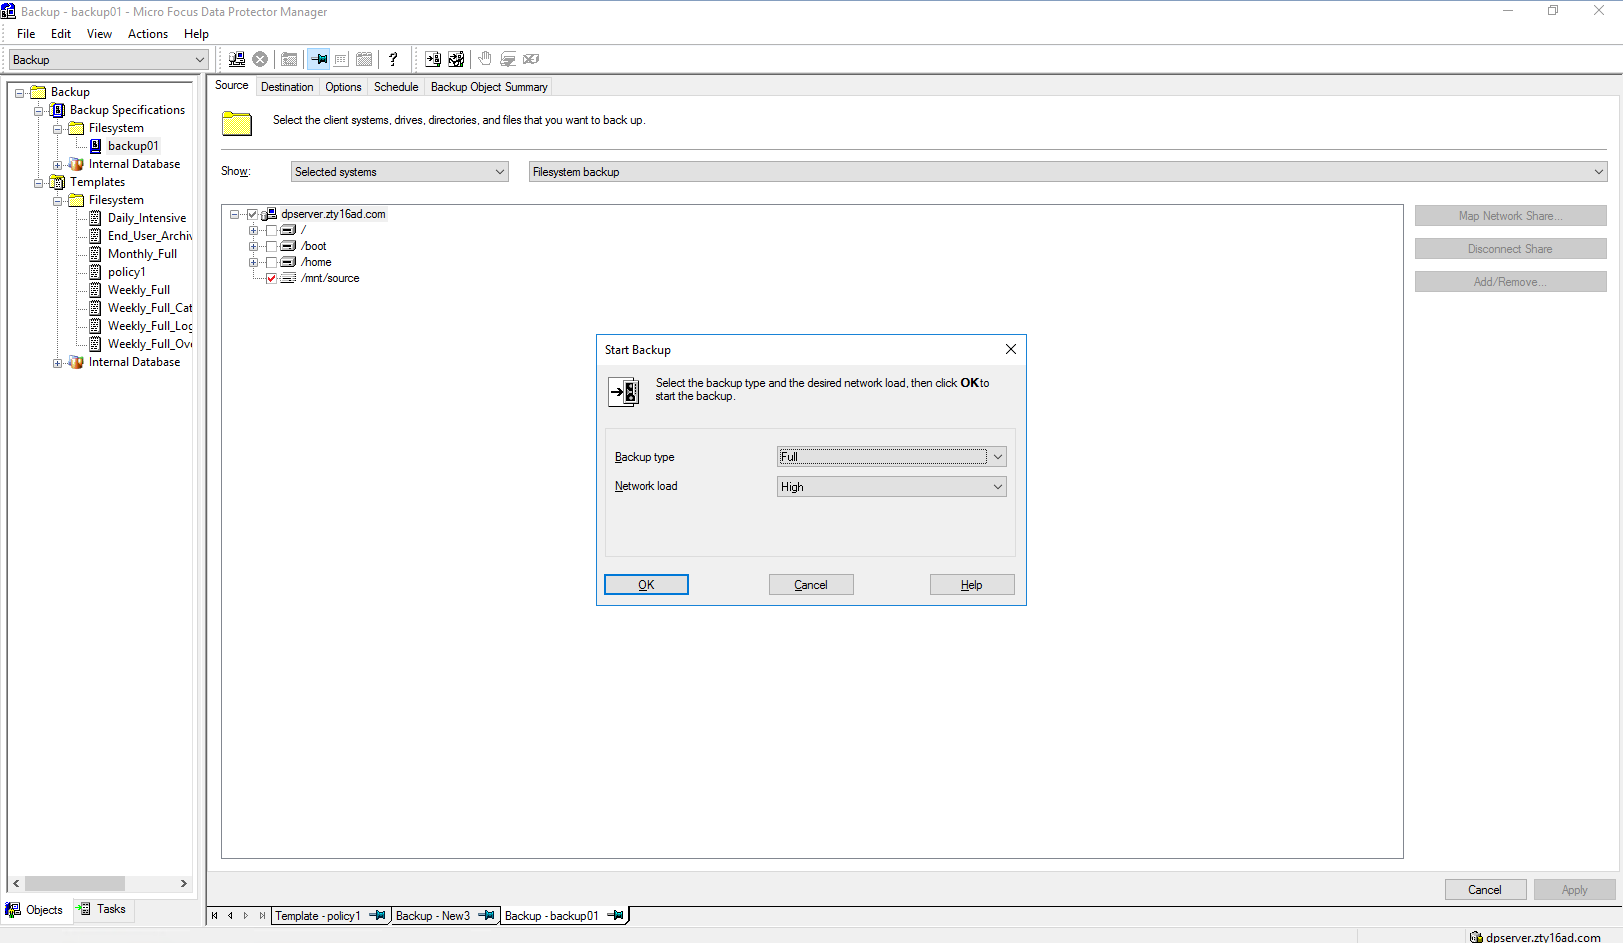 Step2 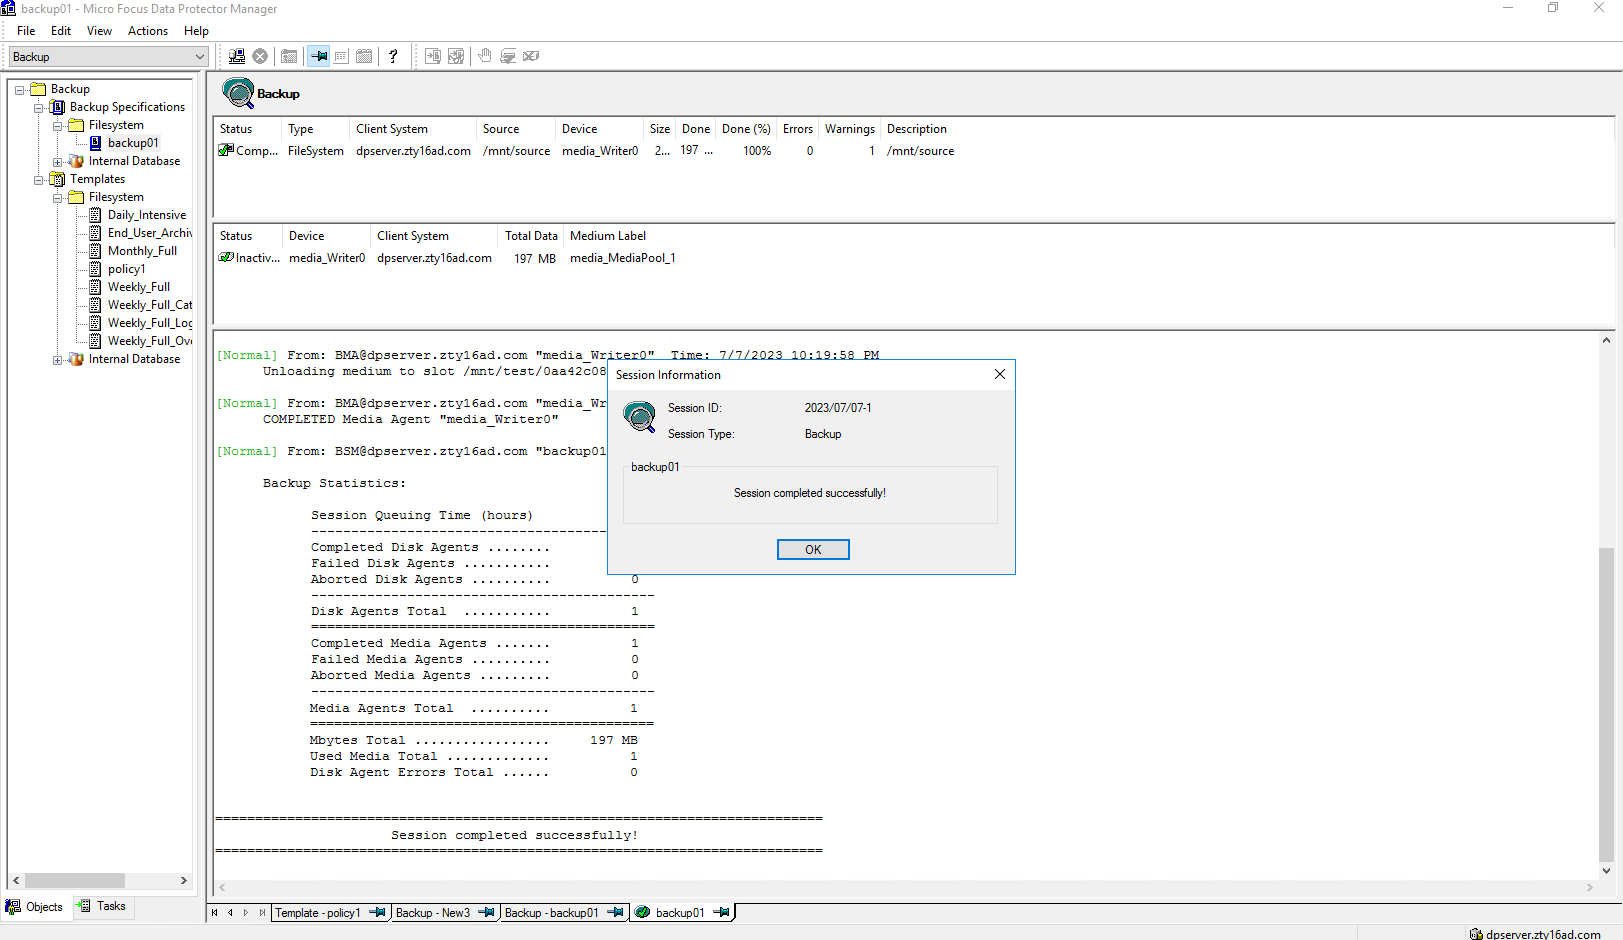 Step3 Click Restore button  Select the Backup List  Set destination client 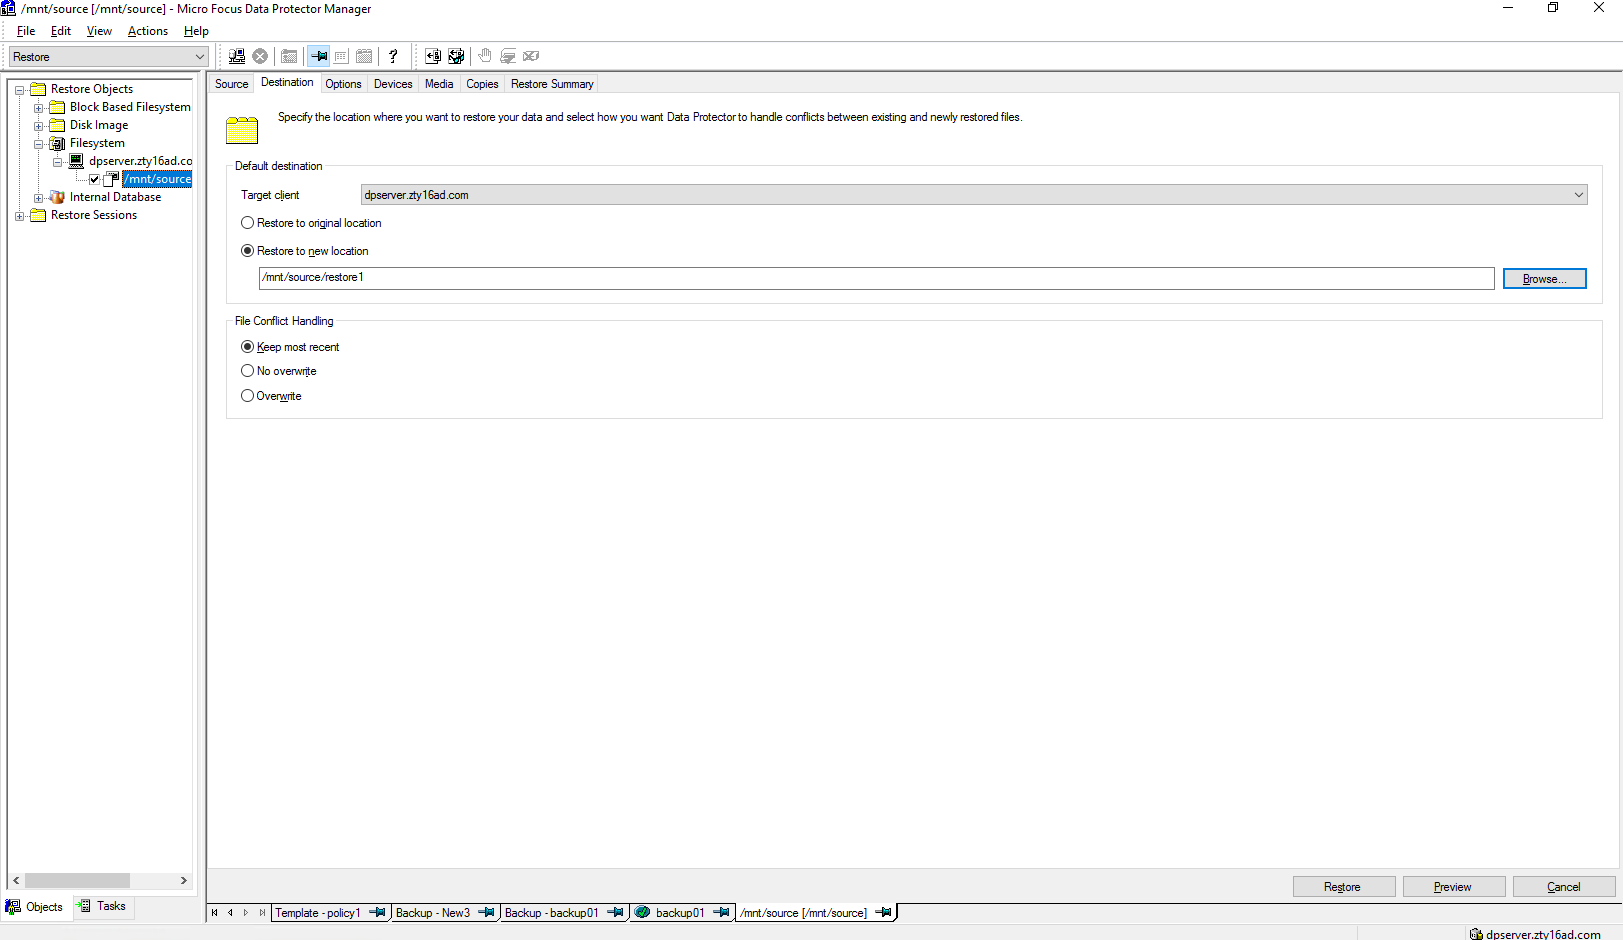 Select the files or folders to restore 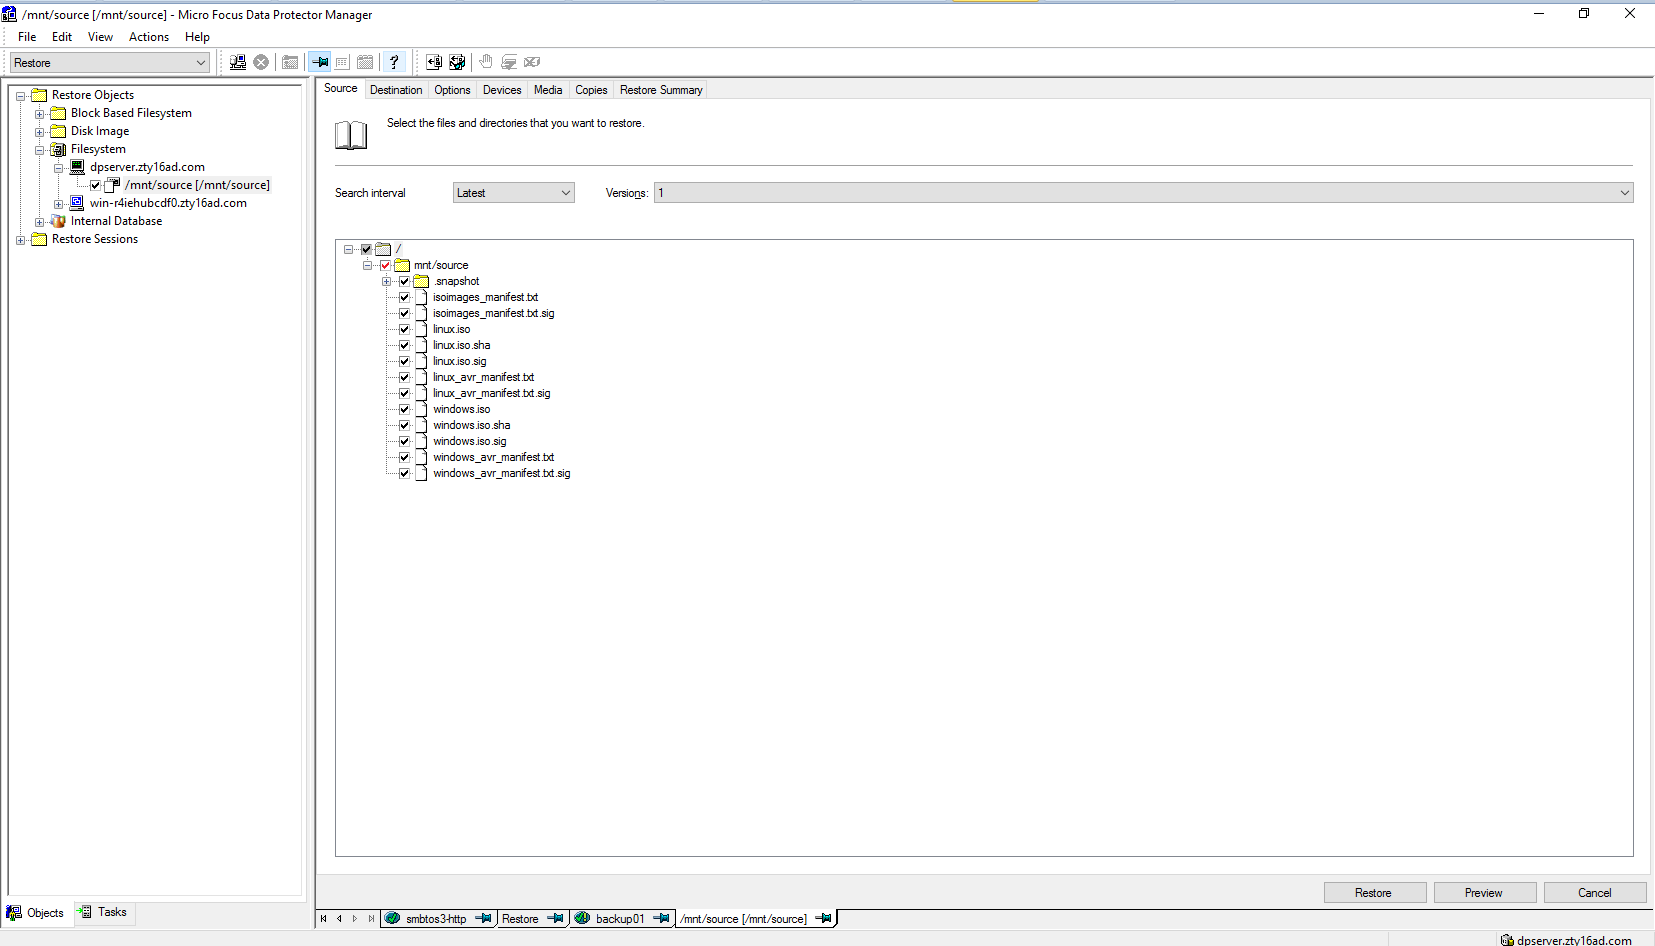 Start restore 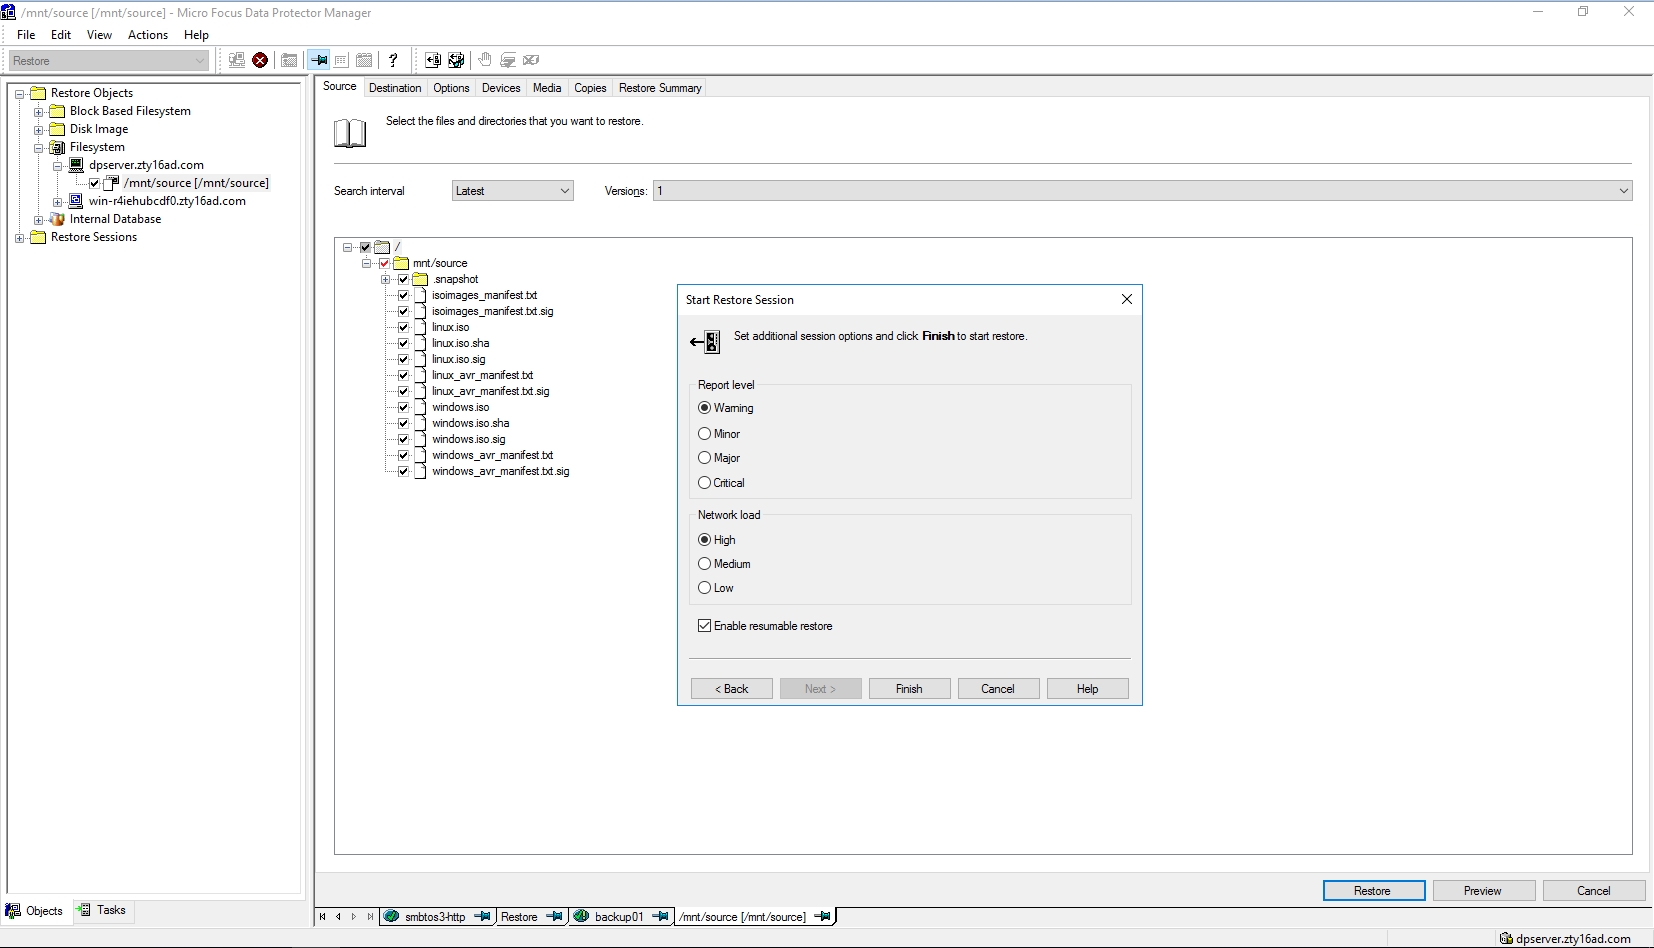 Step4 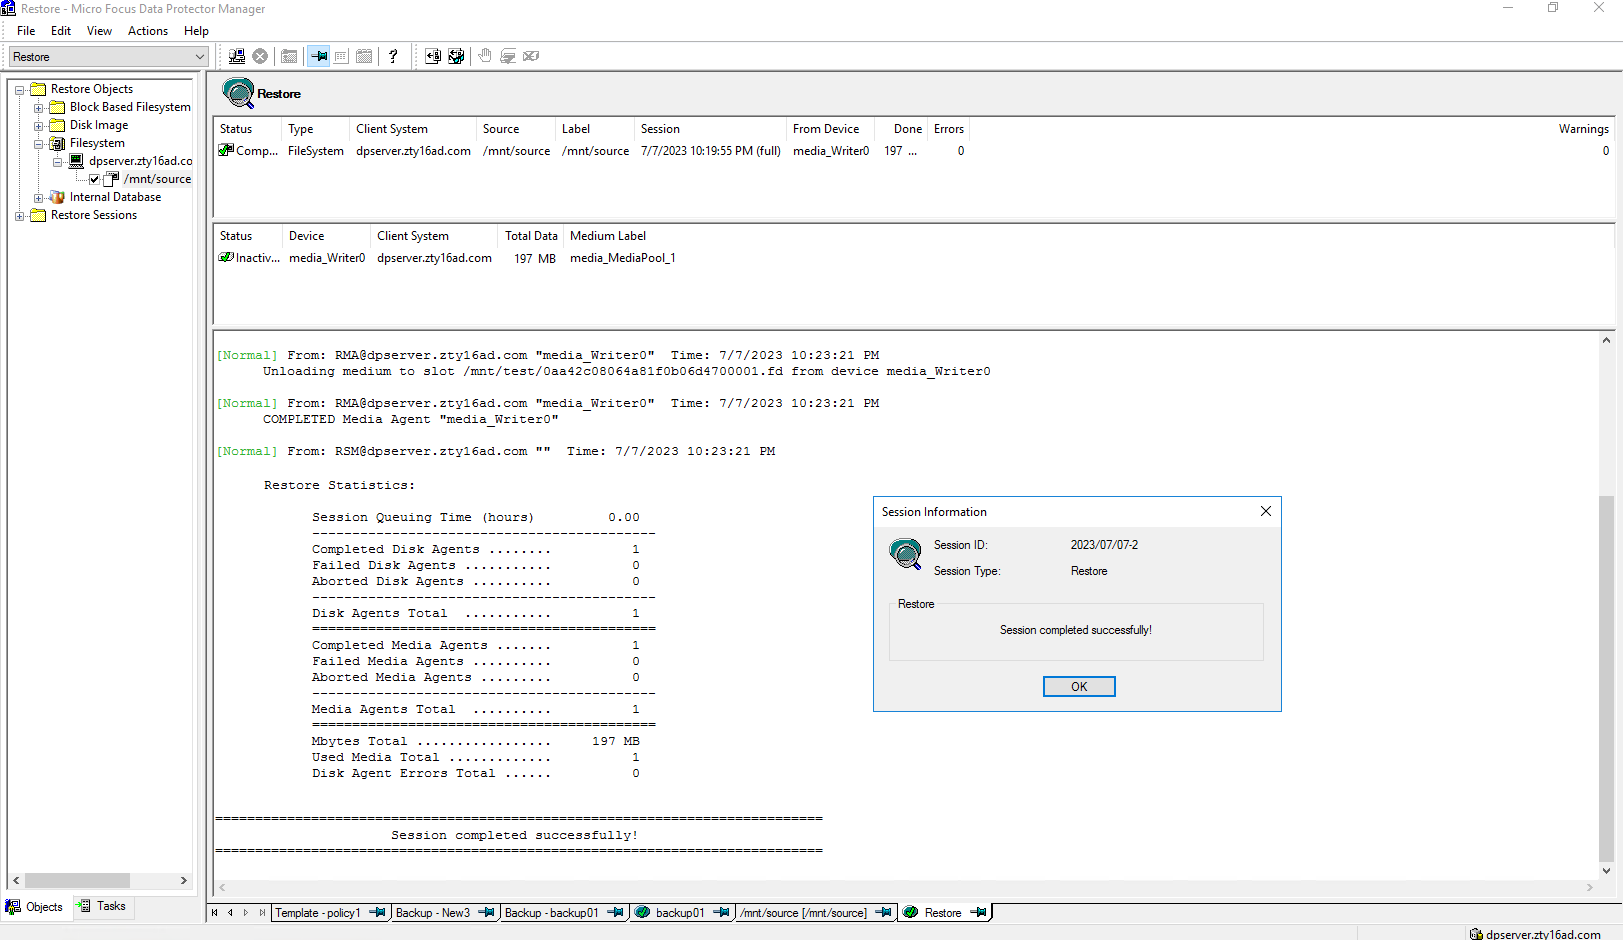 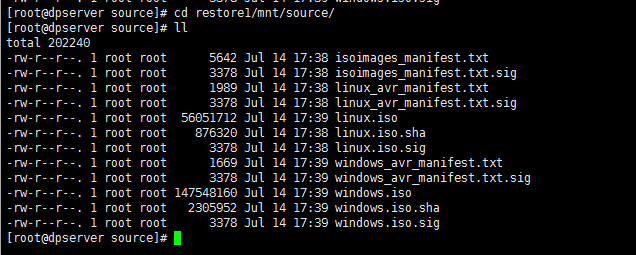 |
3.3 Massive Files Backup and Restore
Test Purpose | Massive files backup and restore |
Test Networking | Huawei OceanProtect Backup Storage Function Compatibility Test Networking |
Prerequisites |
|
| Test Procedure |
|
Expected Result | Step 2 backup finishes successfully Step 4 restore finishes successfully and restored files are the same as original files. |
Test Result | Passed Step1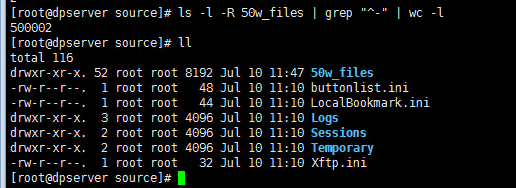 Step2  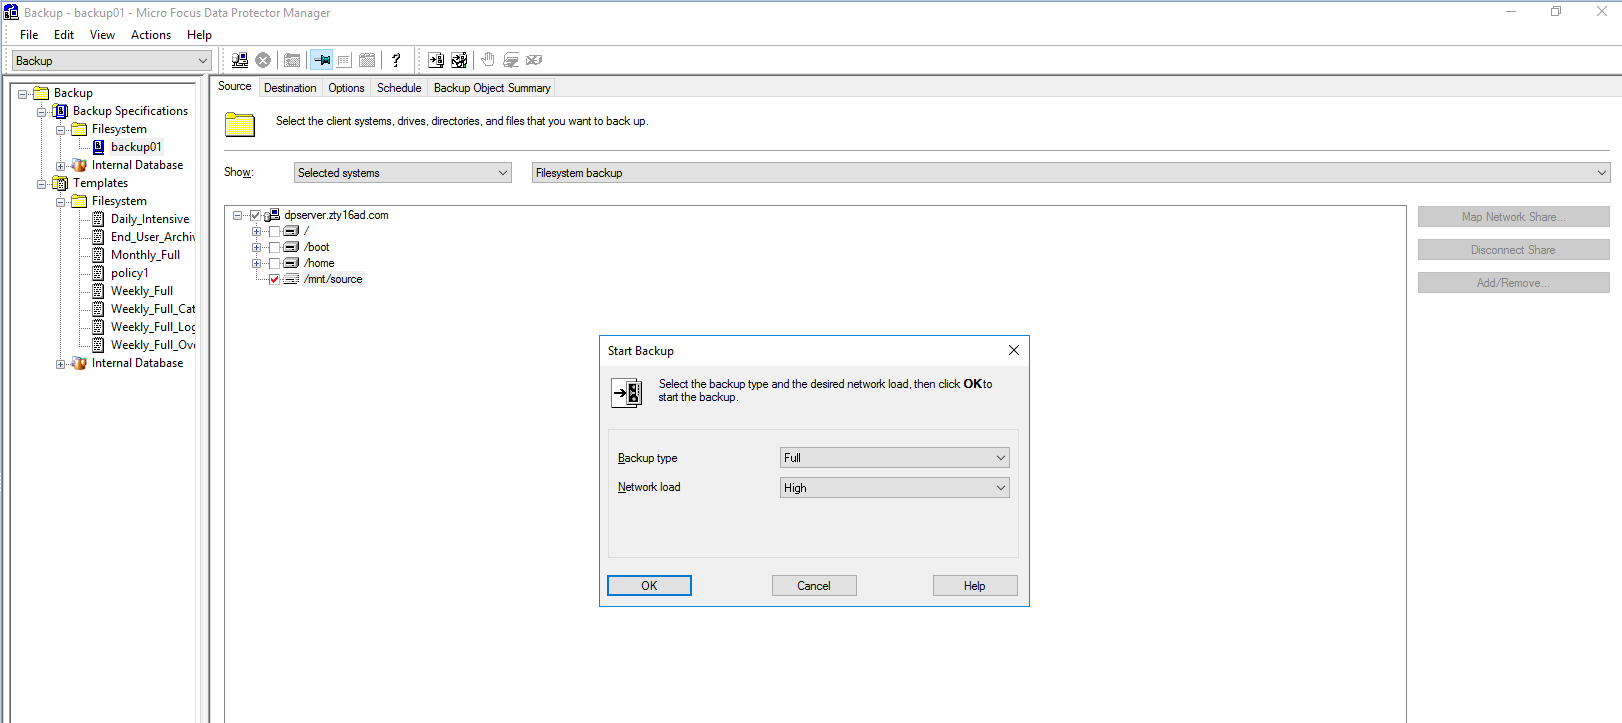 Step3 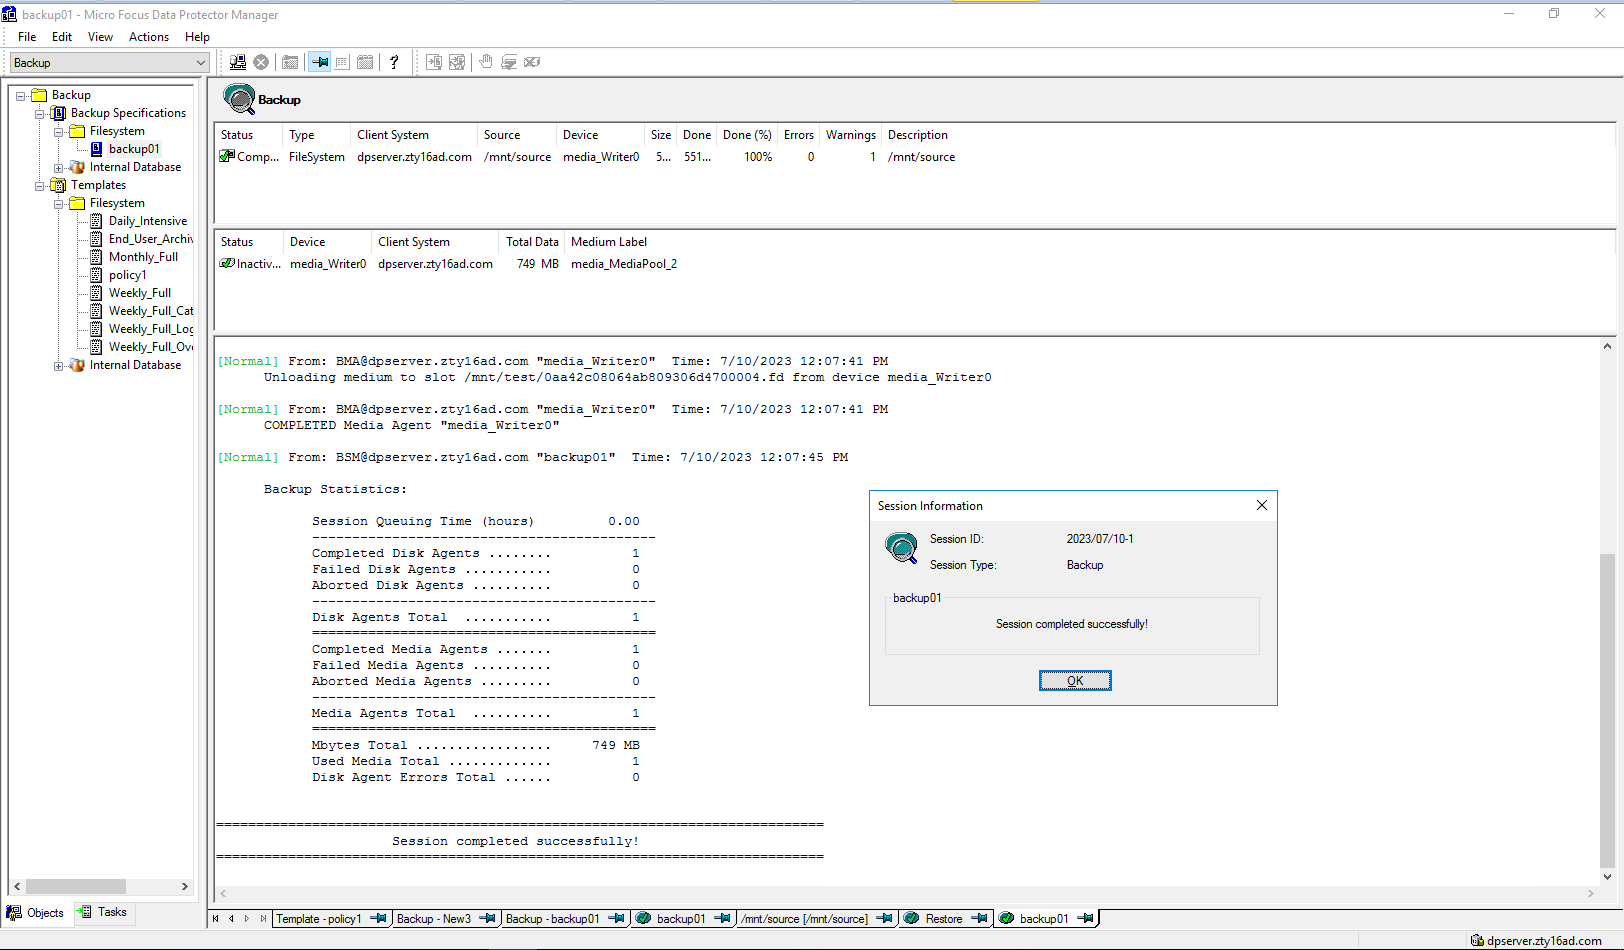 Step4 Click Restore button  Select the backup List  Select the files or folders to restore 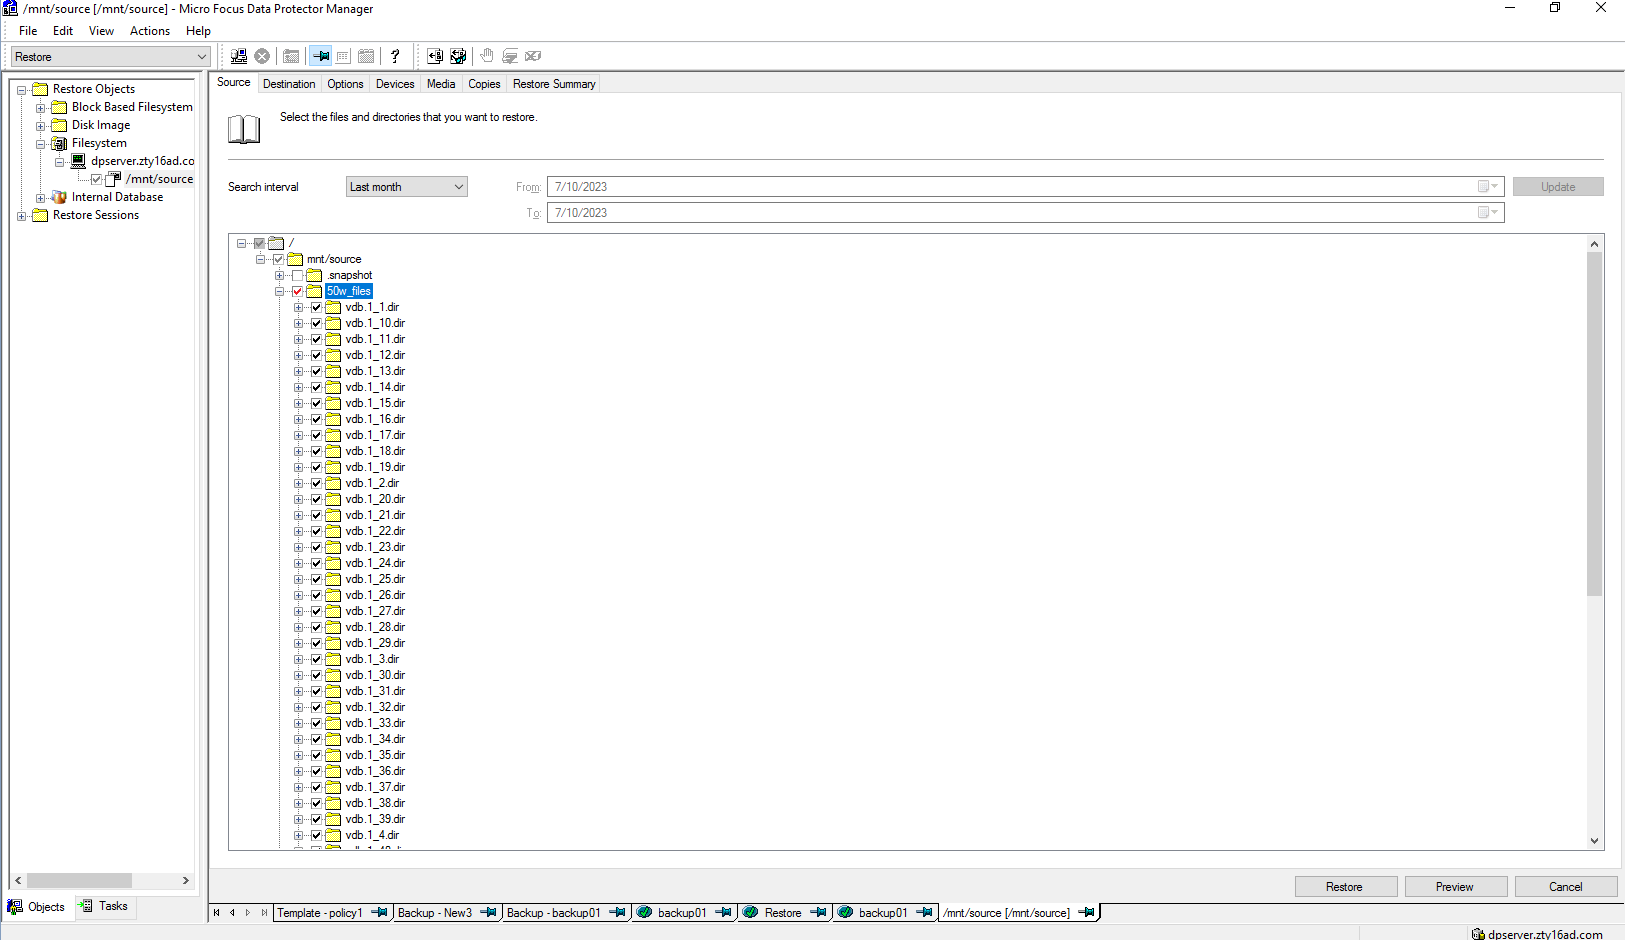 Set destination restore location 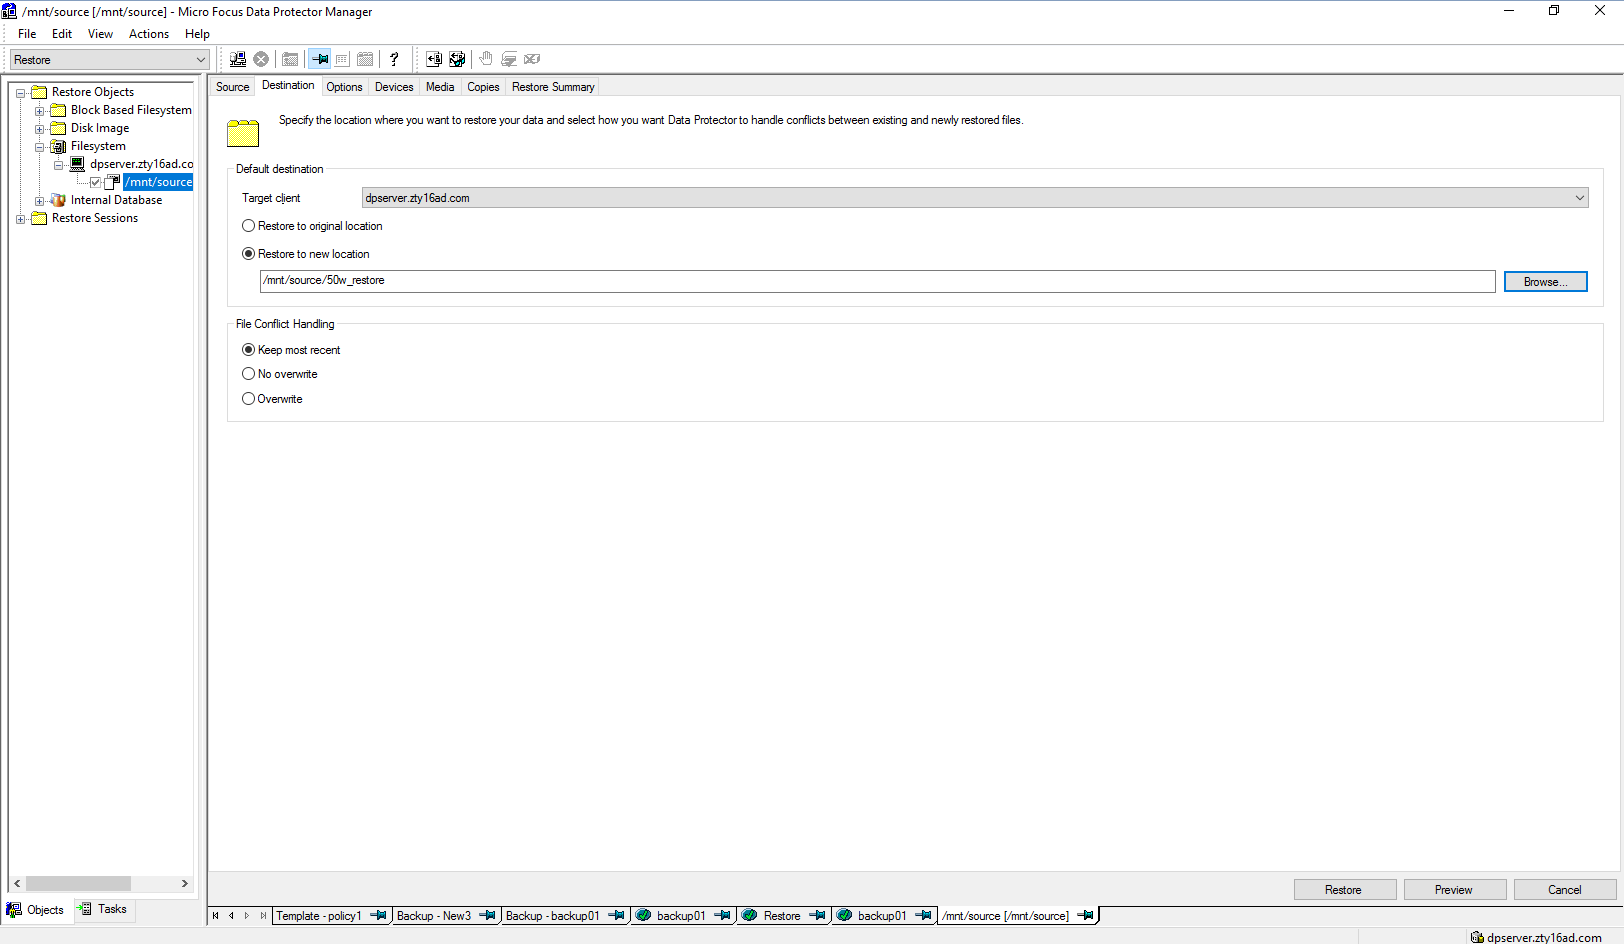 Check information in summary 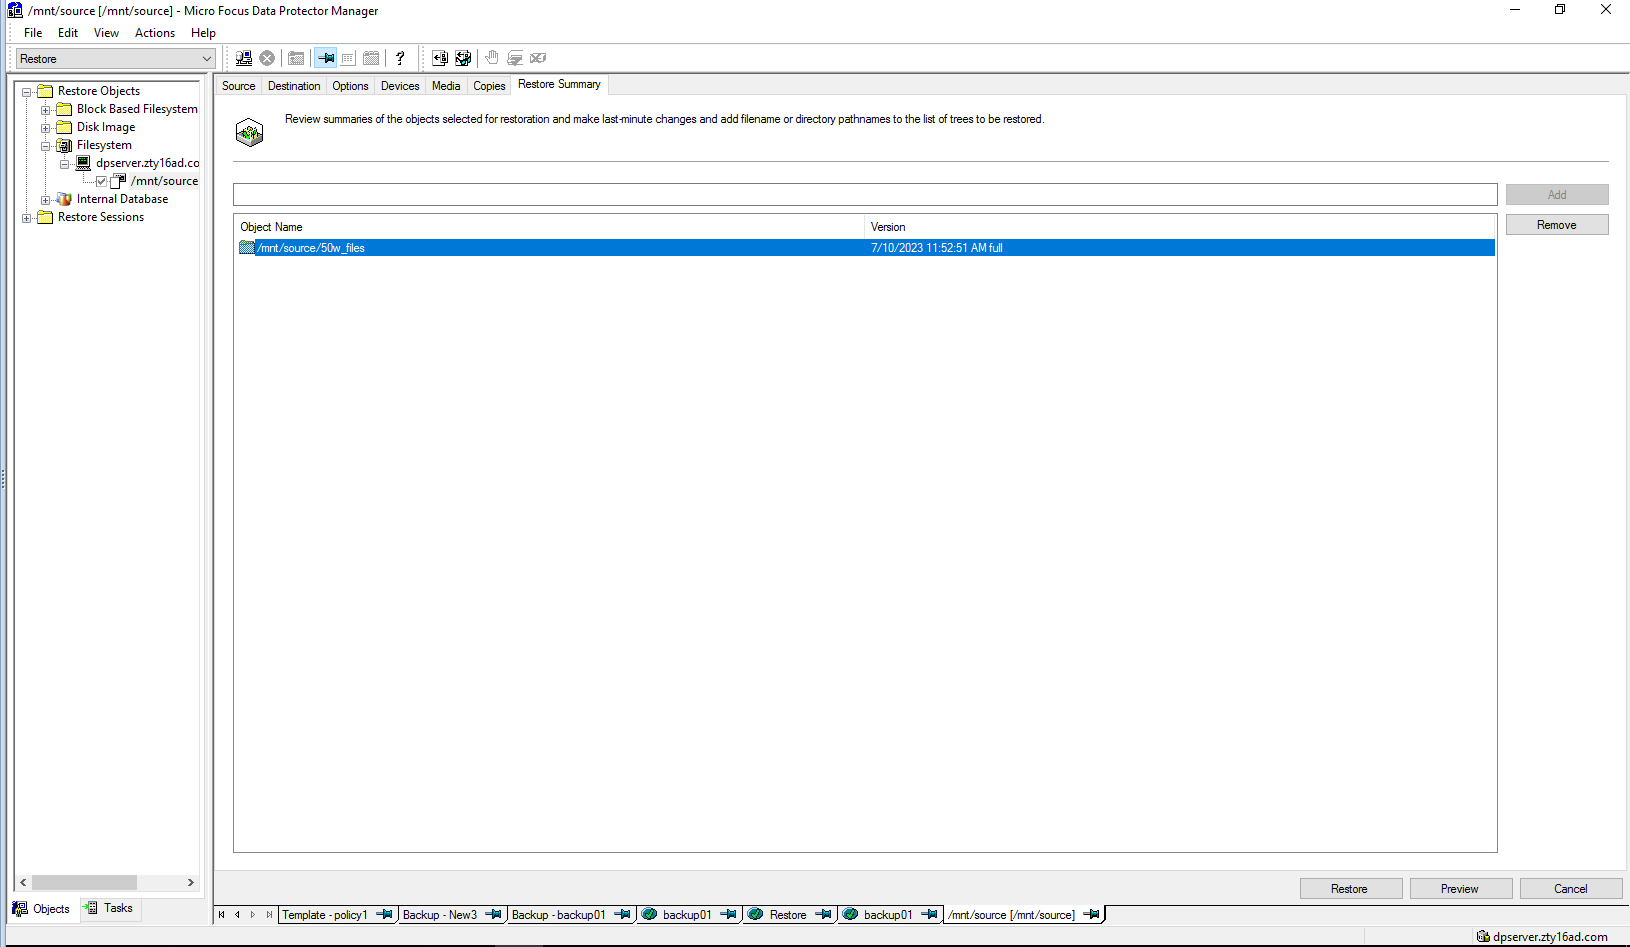 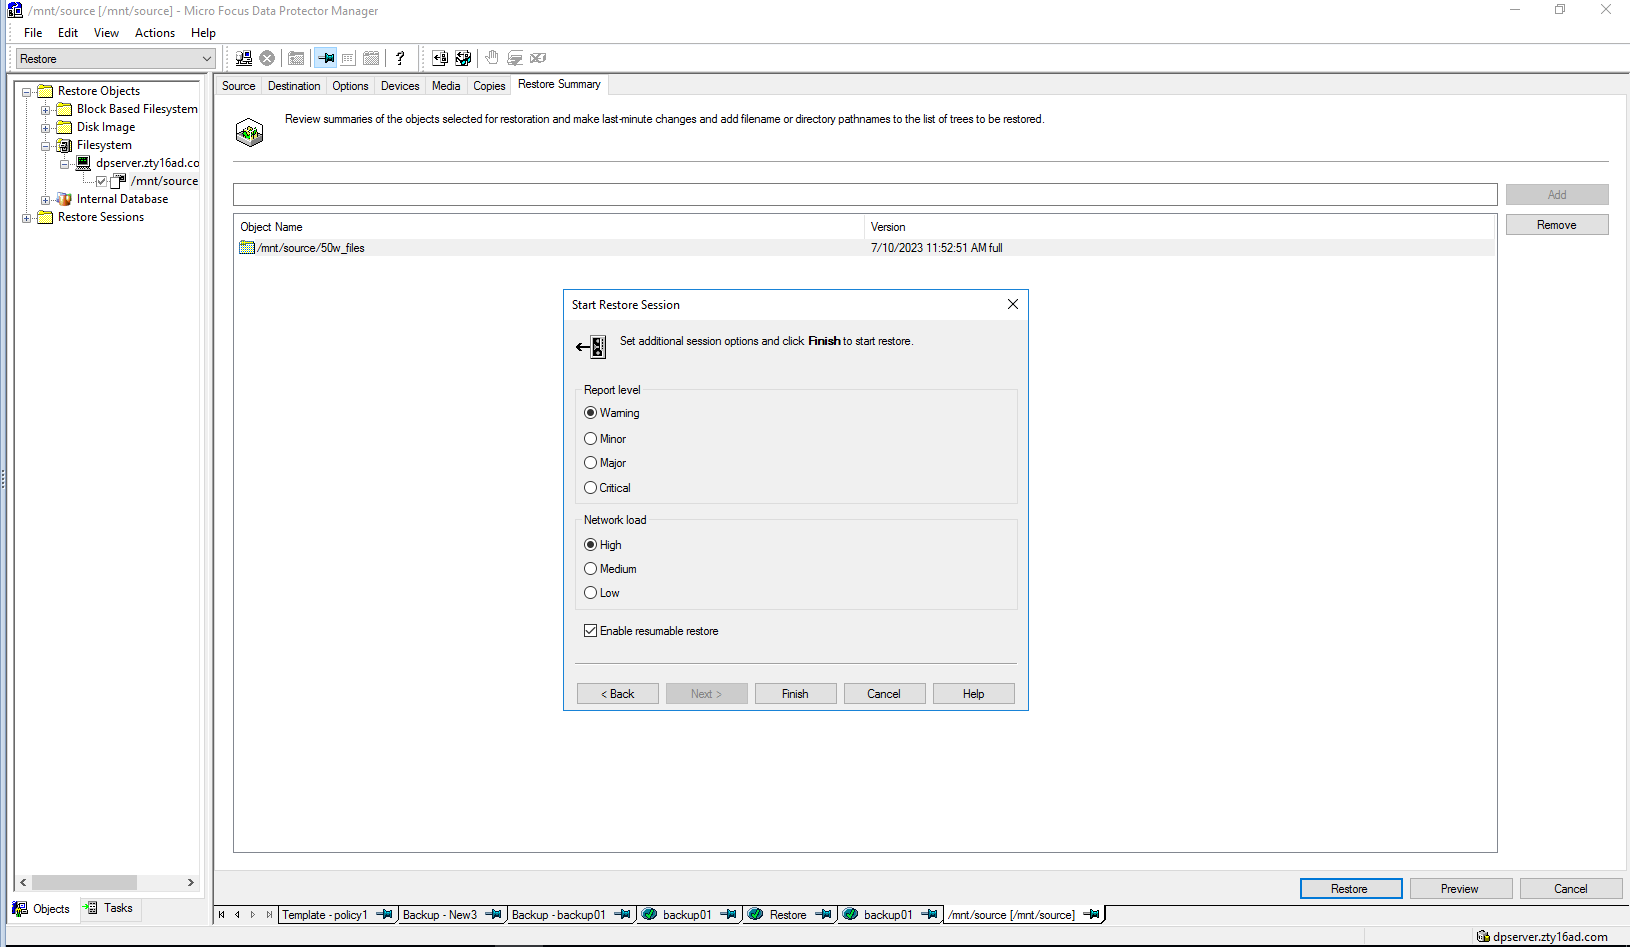 Step5 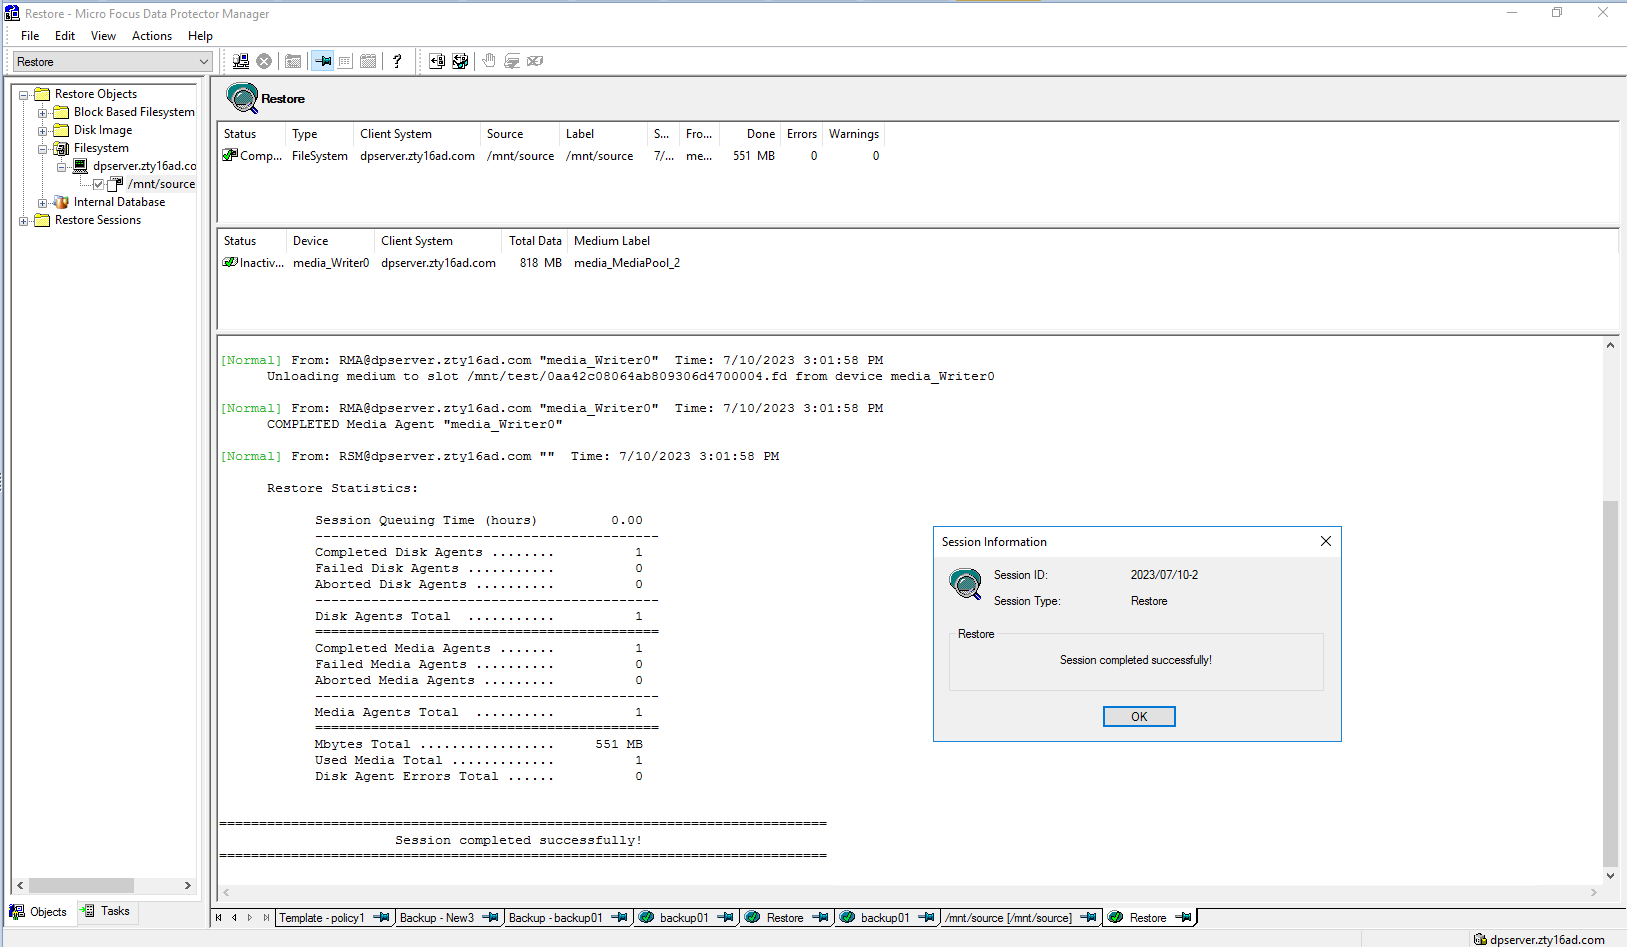  |
3.4 Large Files Backup and Restore
Test Purpose | Large files backup and restore |
Test Networking | Huawei OceanProtect Backup Storage Function Compatibility Test Networking |
Prerequisites |
|
Test Procedure |
|
Expected Result | Step 2 backup finishes successfully Step 4 restore finishes successfully and restored files are the same as original files. |
Test Result | Passed Step1 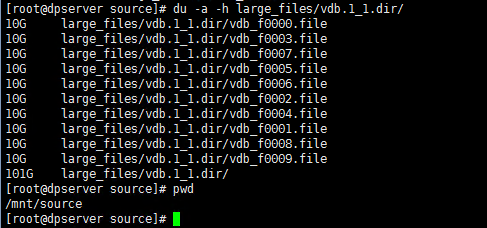 Step2  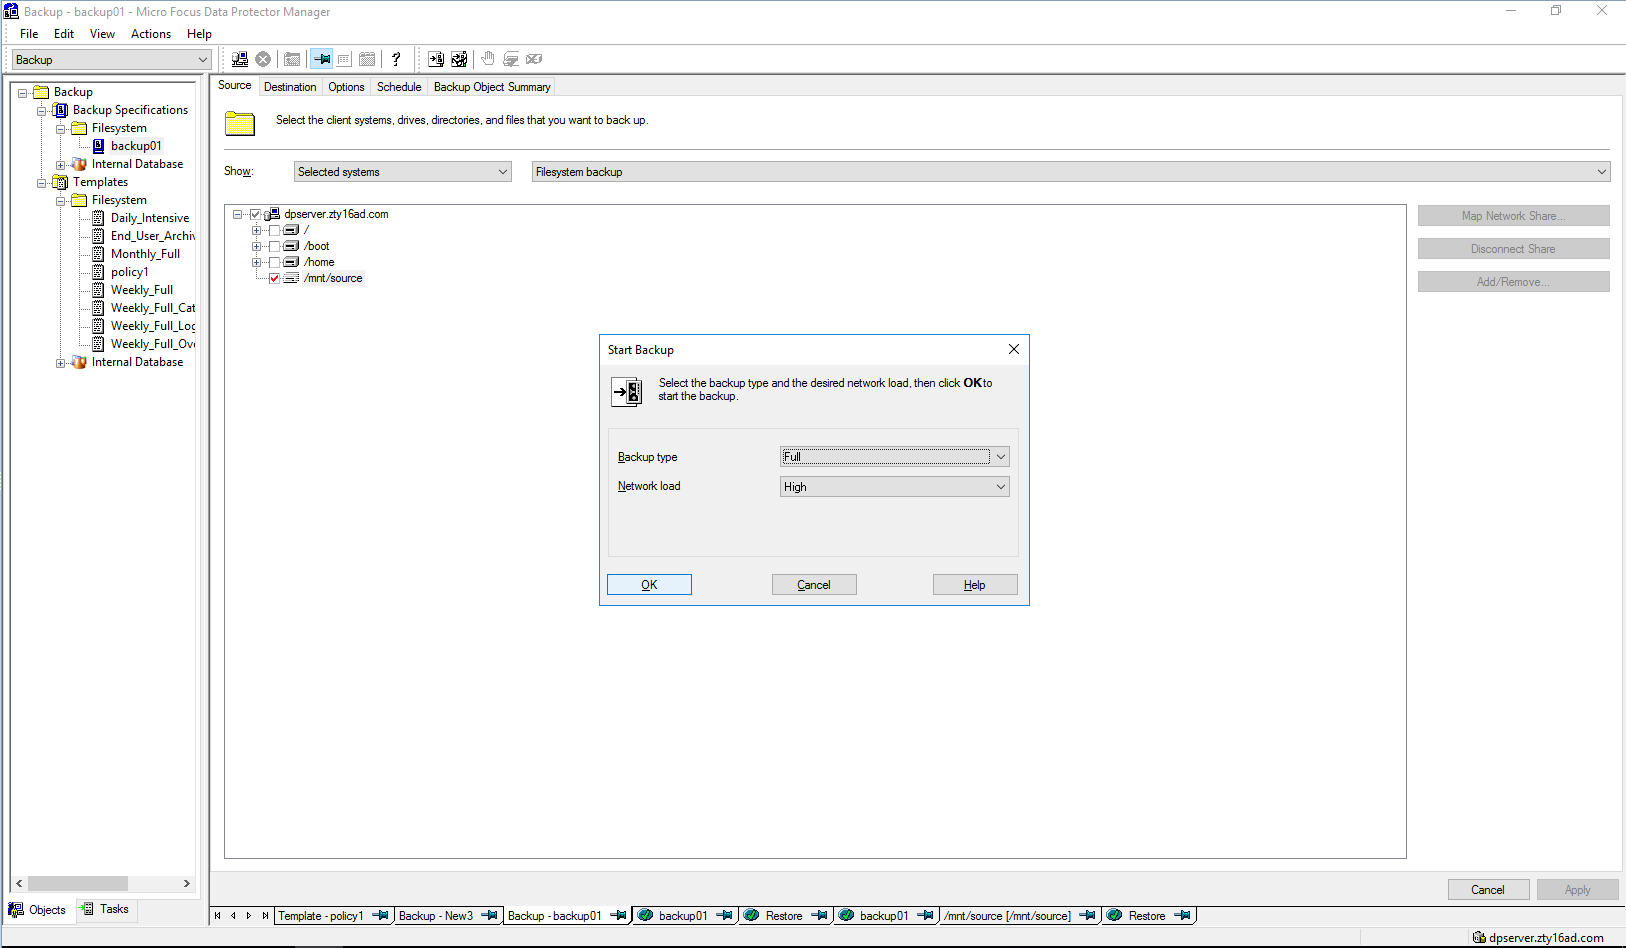 Step3 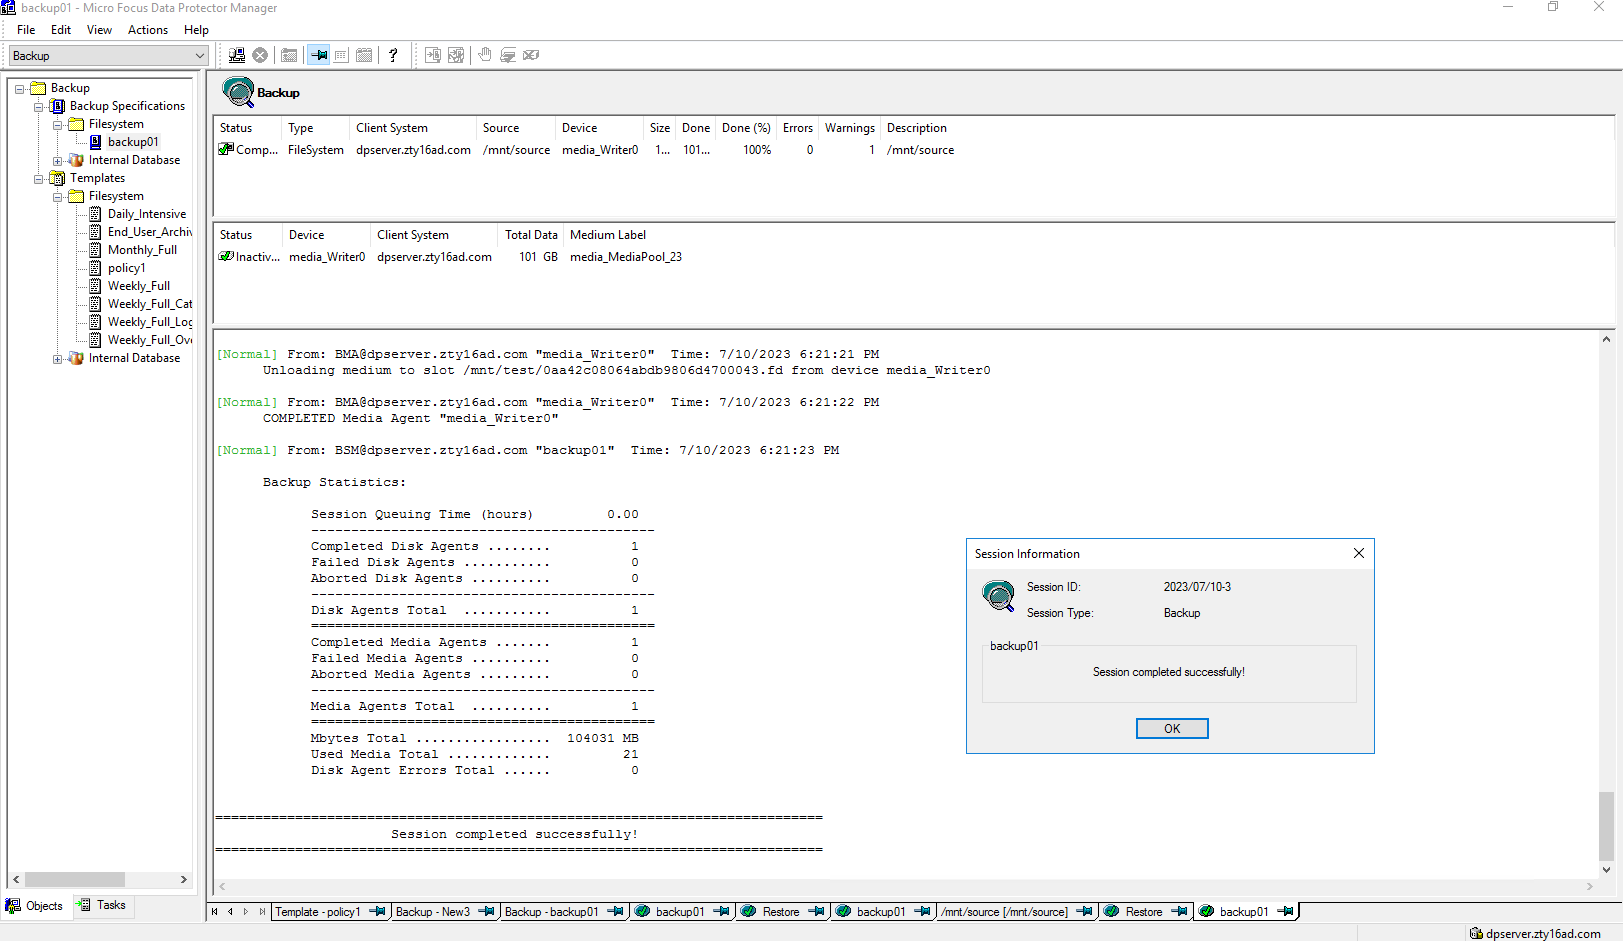 Step4 Click Restore button  Select the backup list  Select the files or folders to restore 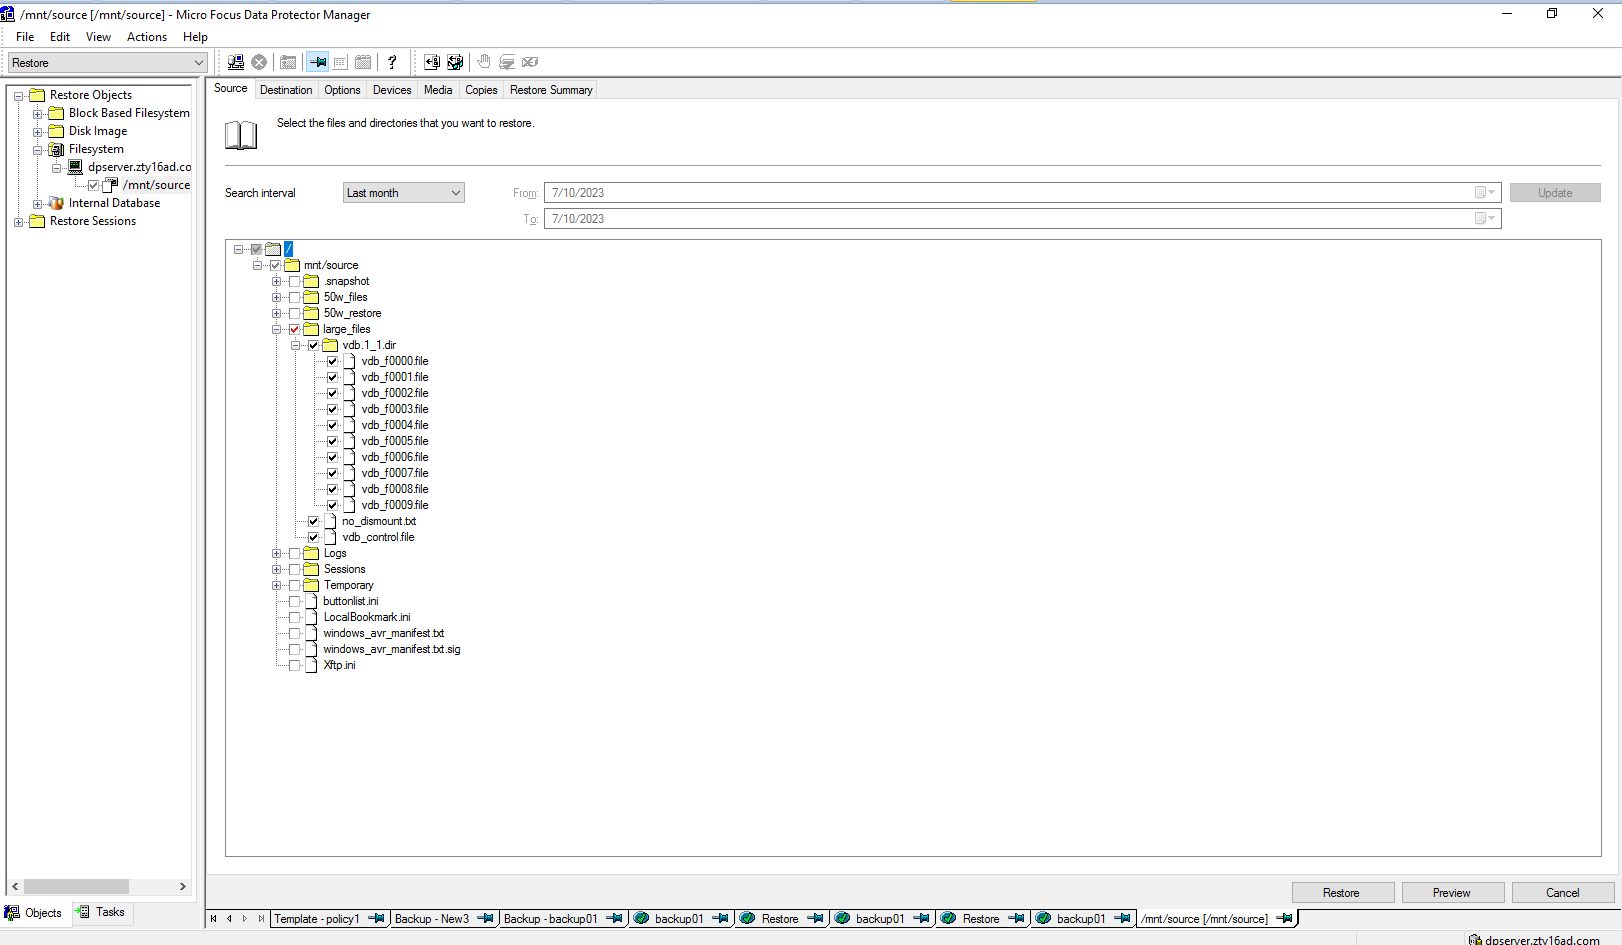 Set destination restore location 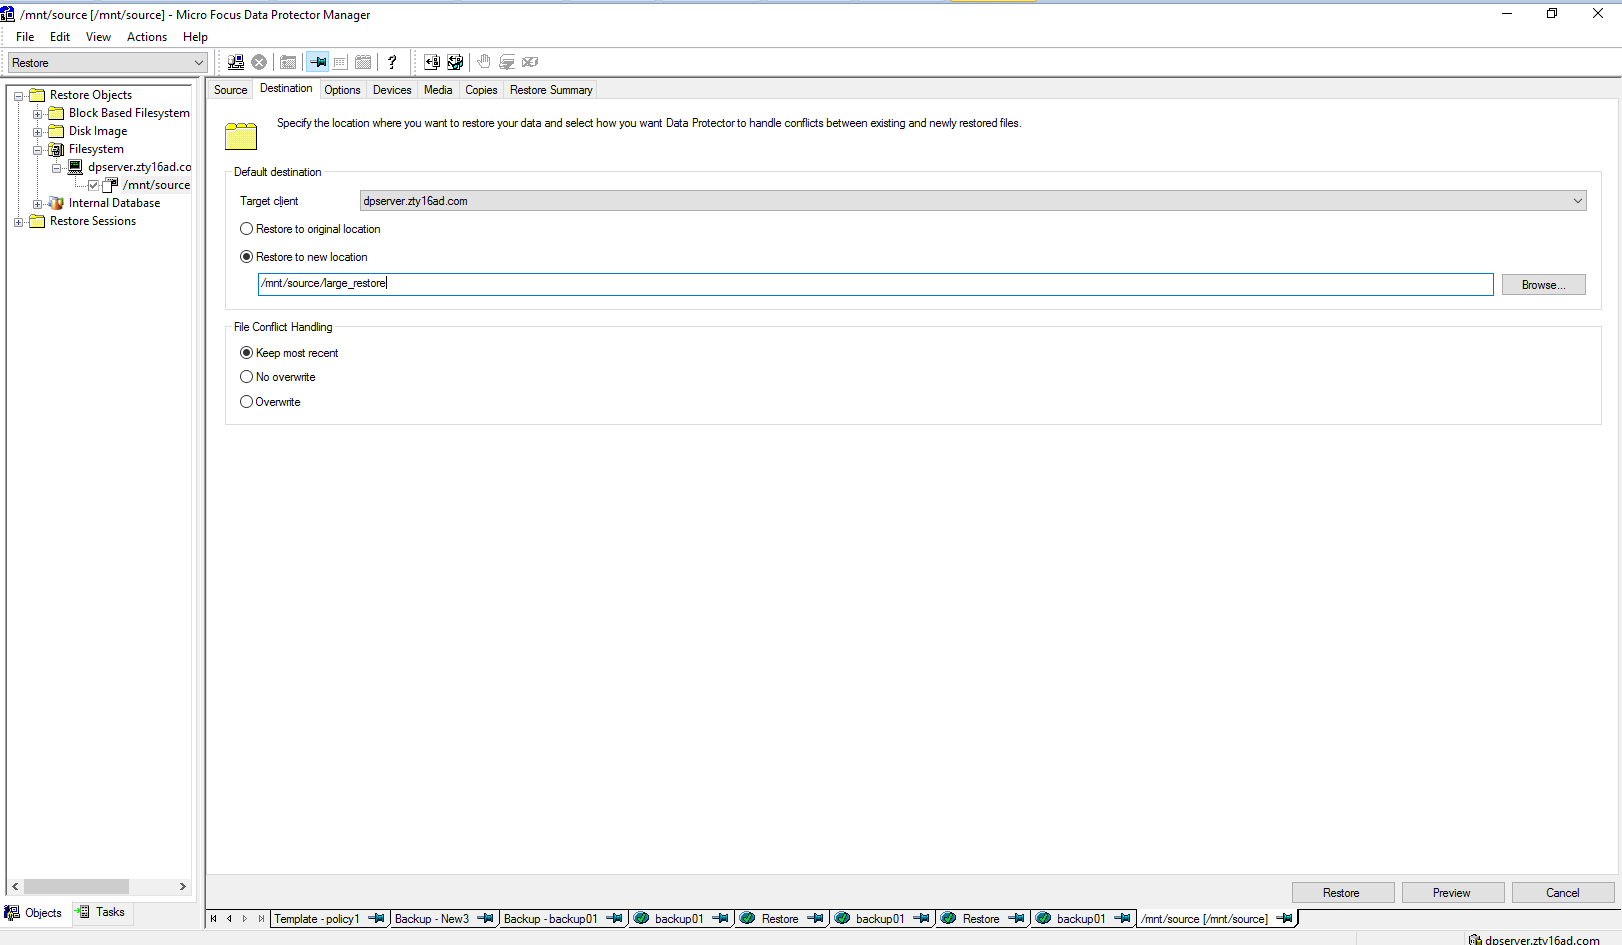 Check information in summary 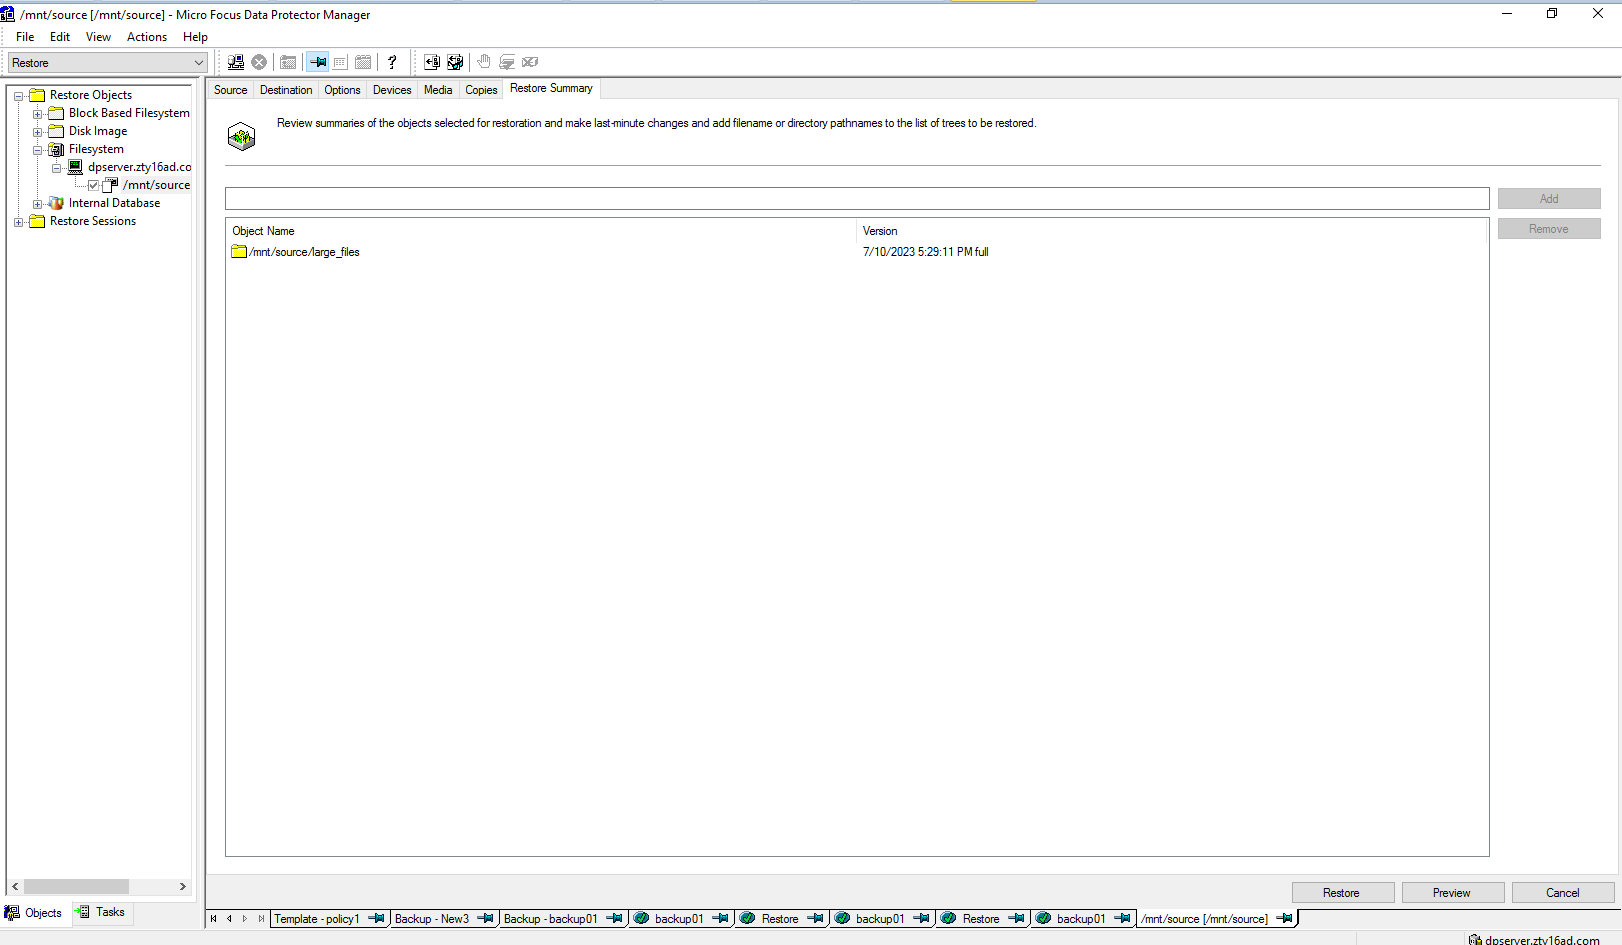 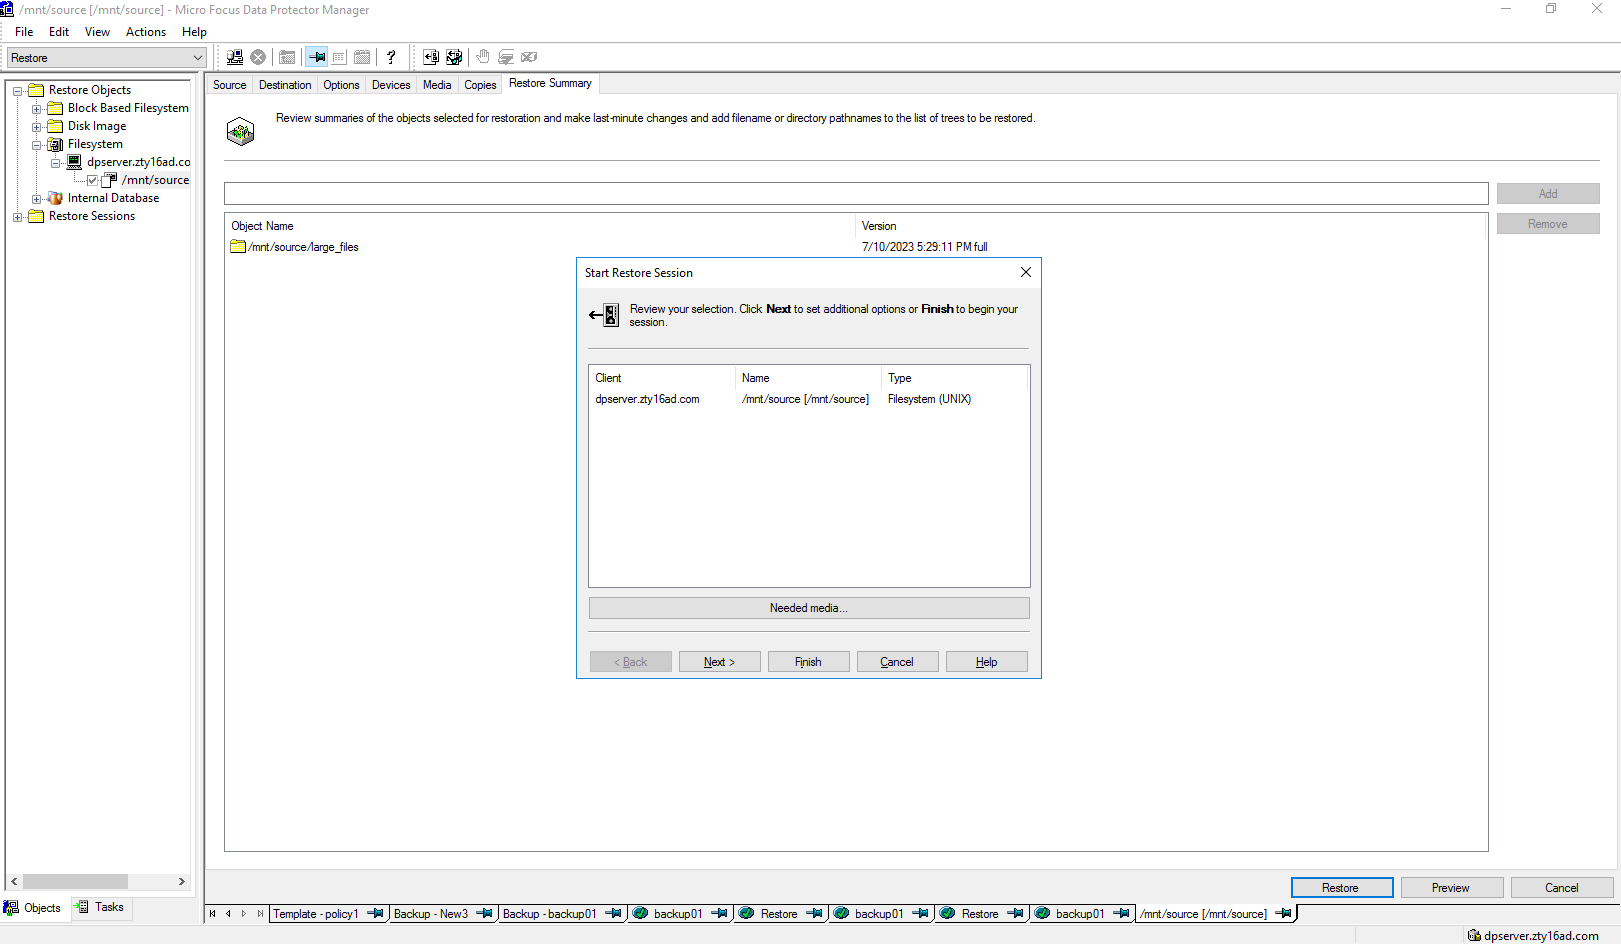 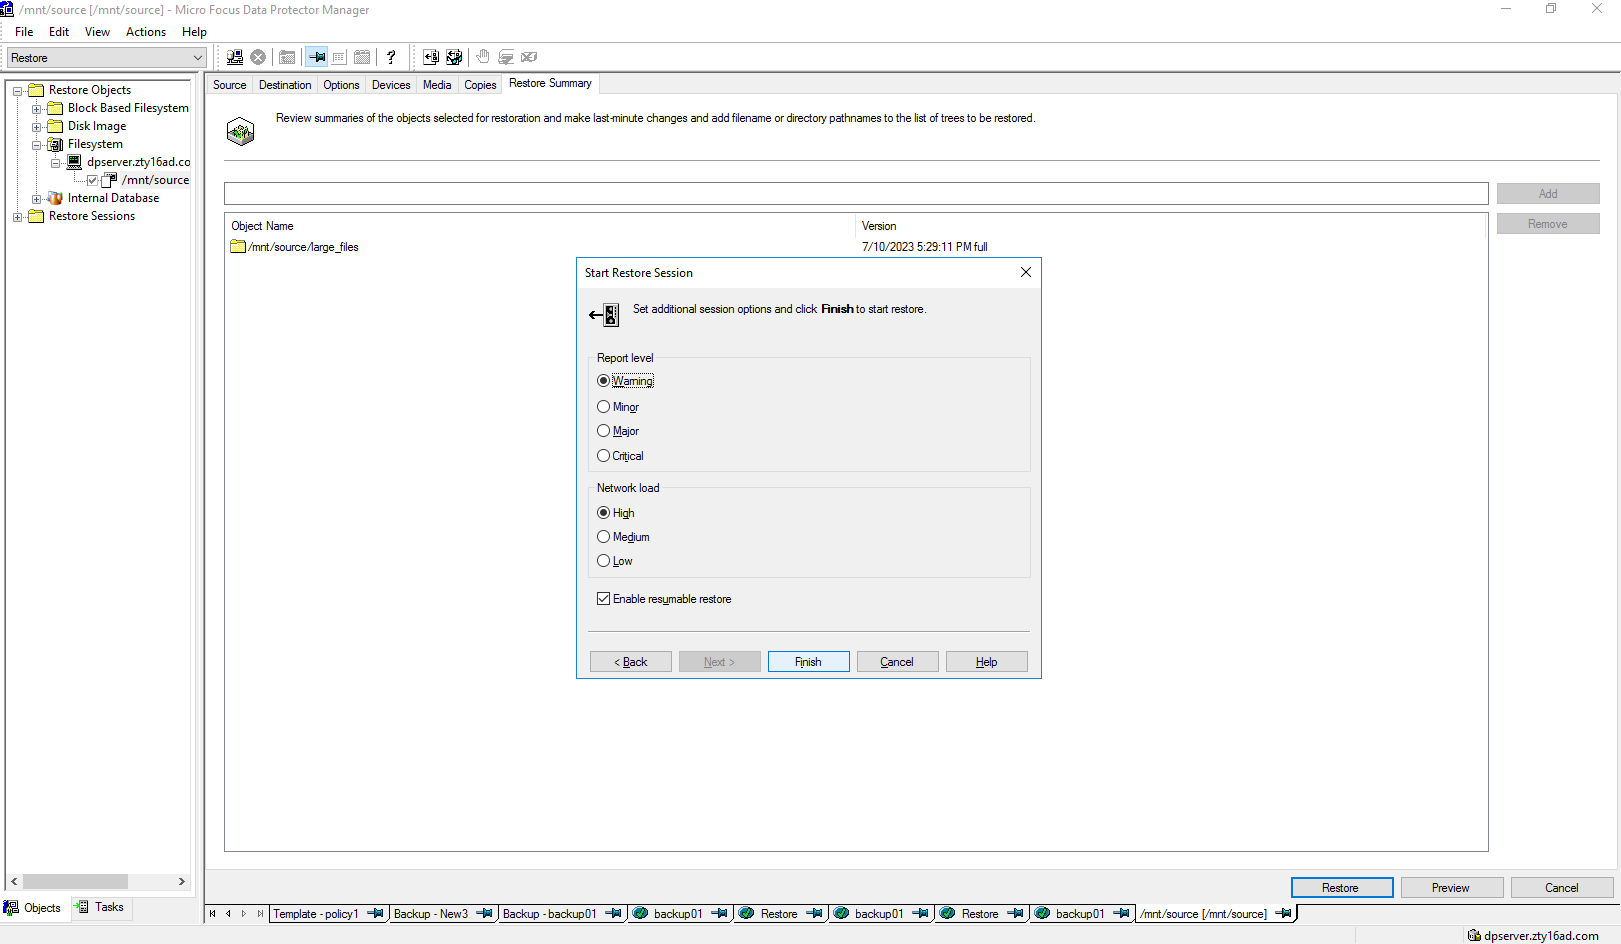 Step5 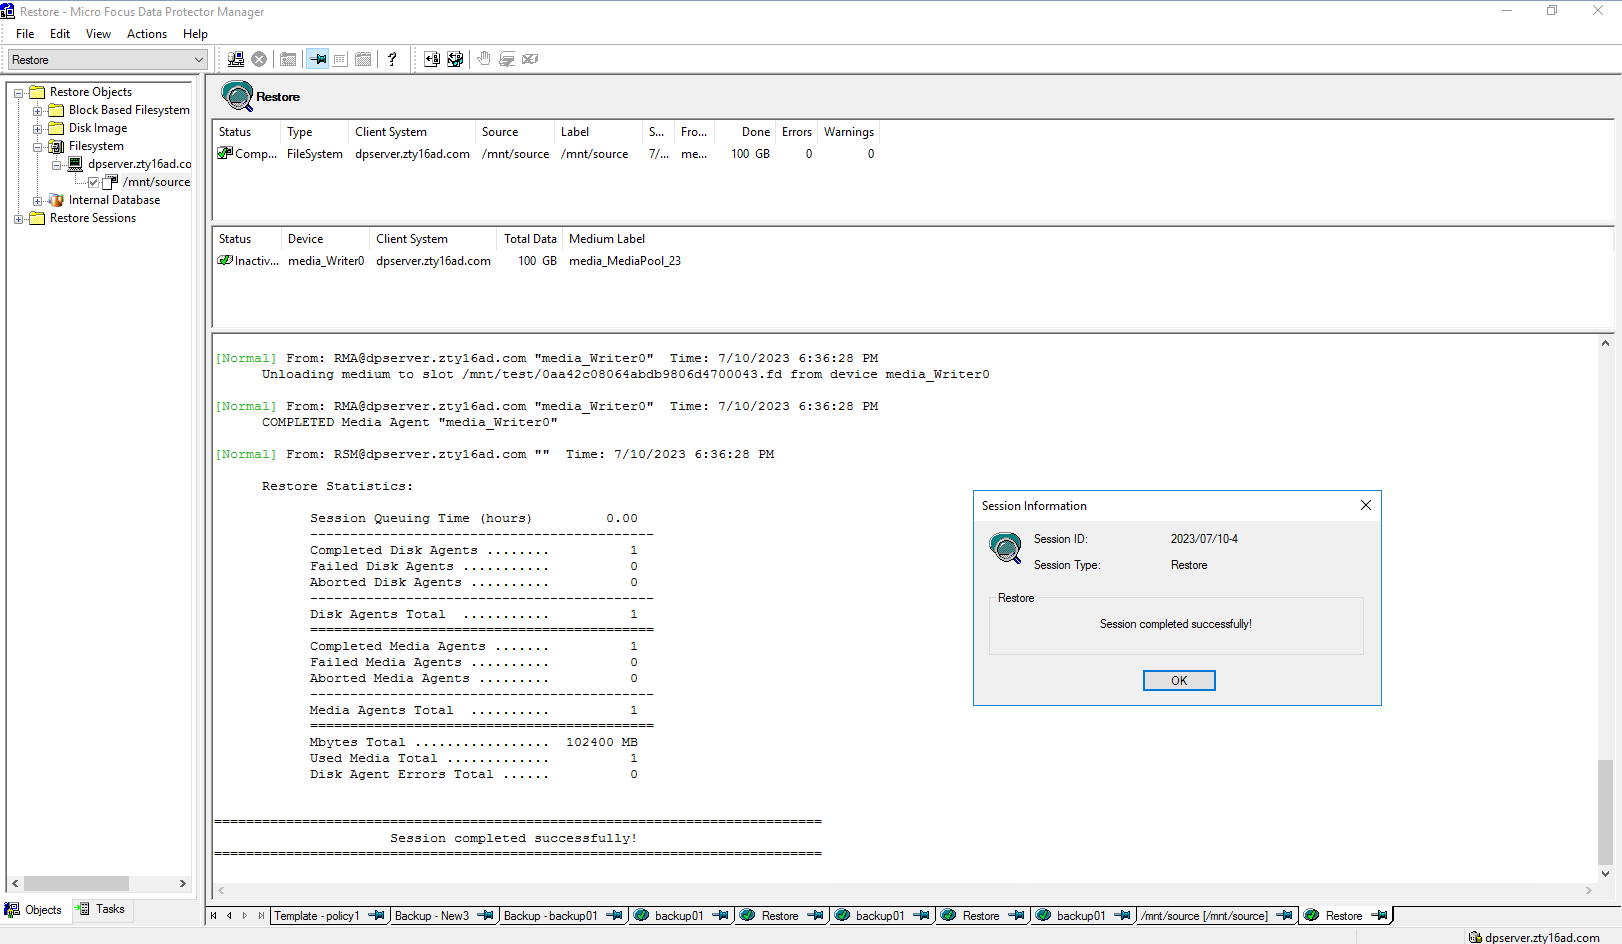 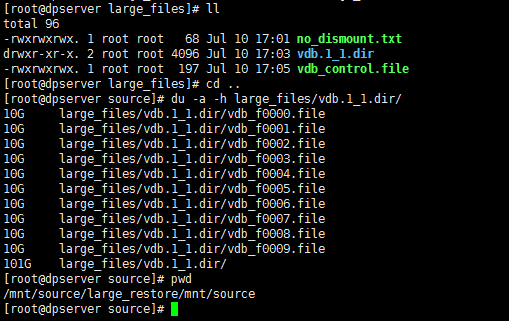 |
3.5 Special Files Backup and Restore
Test Purpose | Special files backup and restore |
Test Networking | Huawei OceanProtect Backup Storage Function Compatibility Test Networking |
Prerequisites |
|
| Test Procedure |
|
| Expected Result | Step 2 backup finishes successfully Step 4 restore finishes successfully and restored files are the same as original files. |
Test Result | Passed Step1 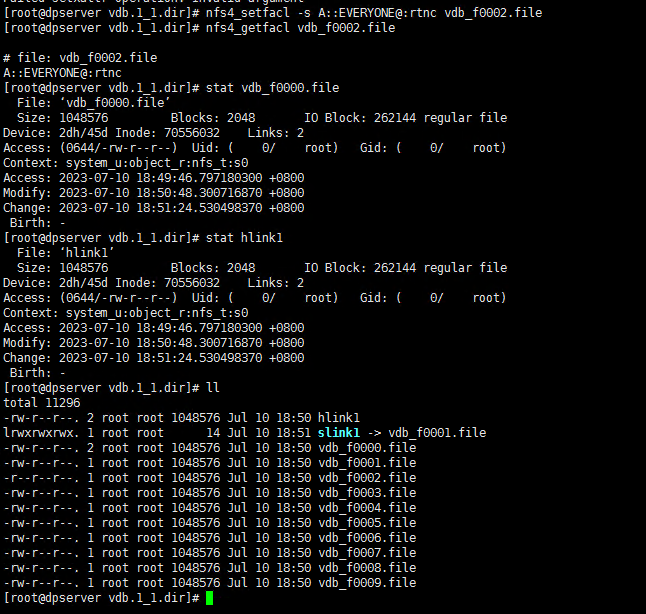 Step2  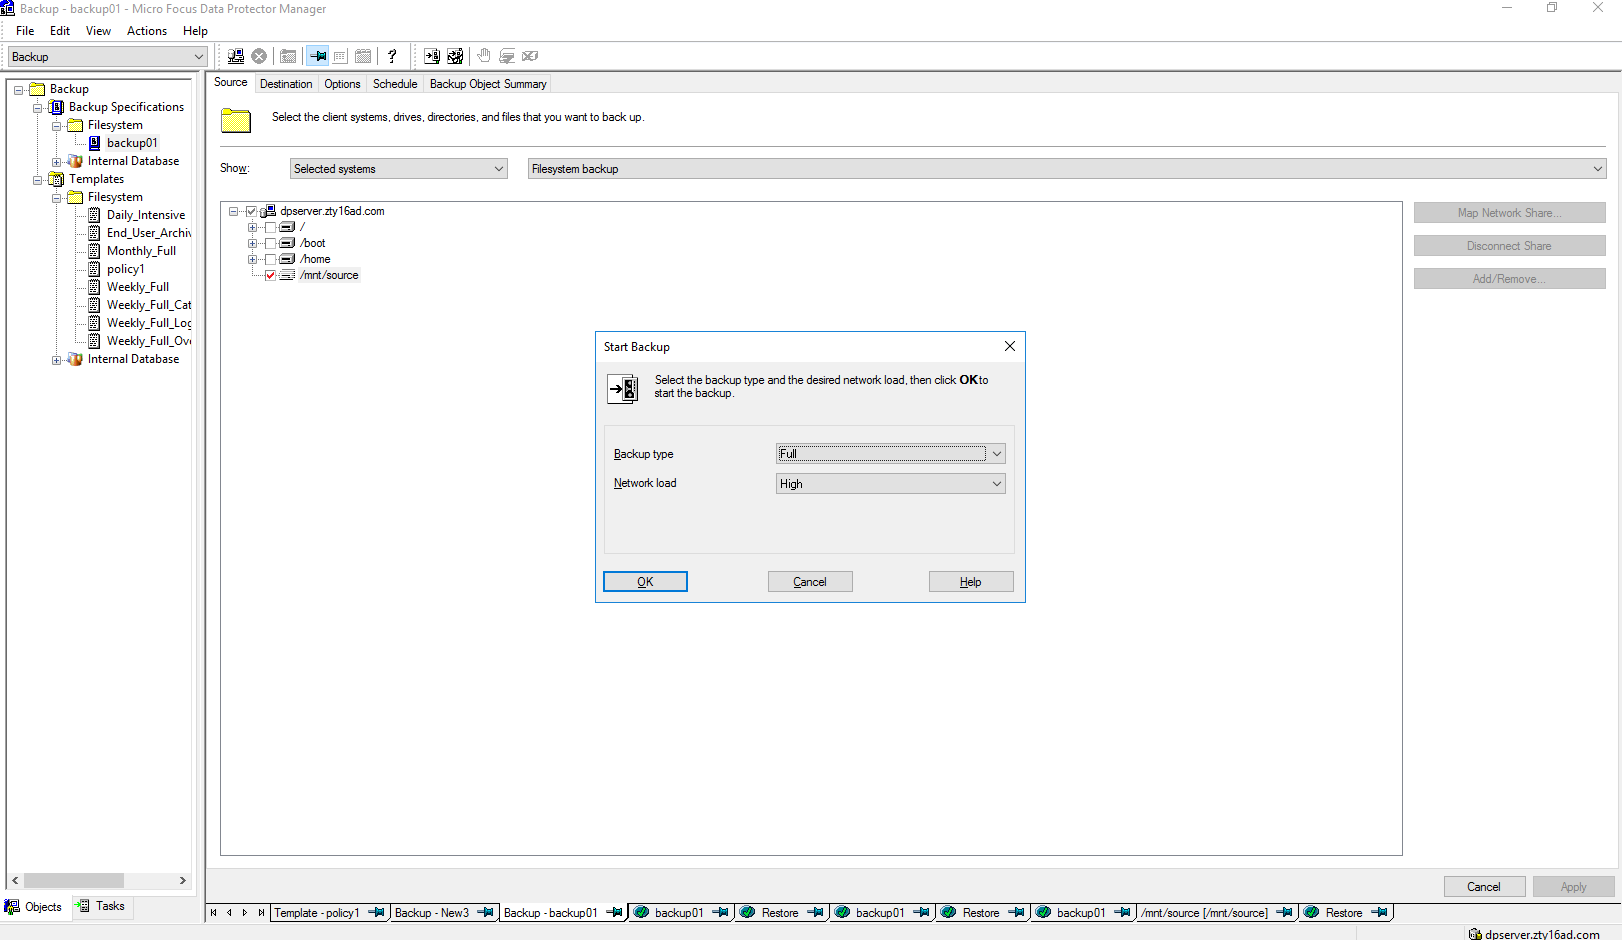 Step3 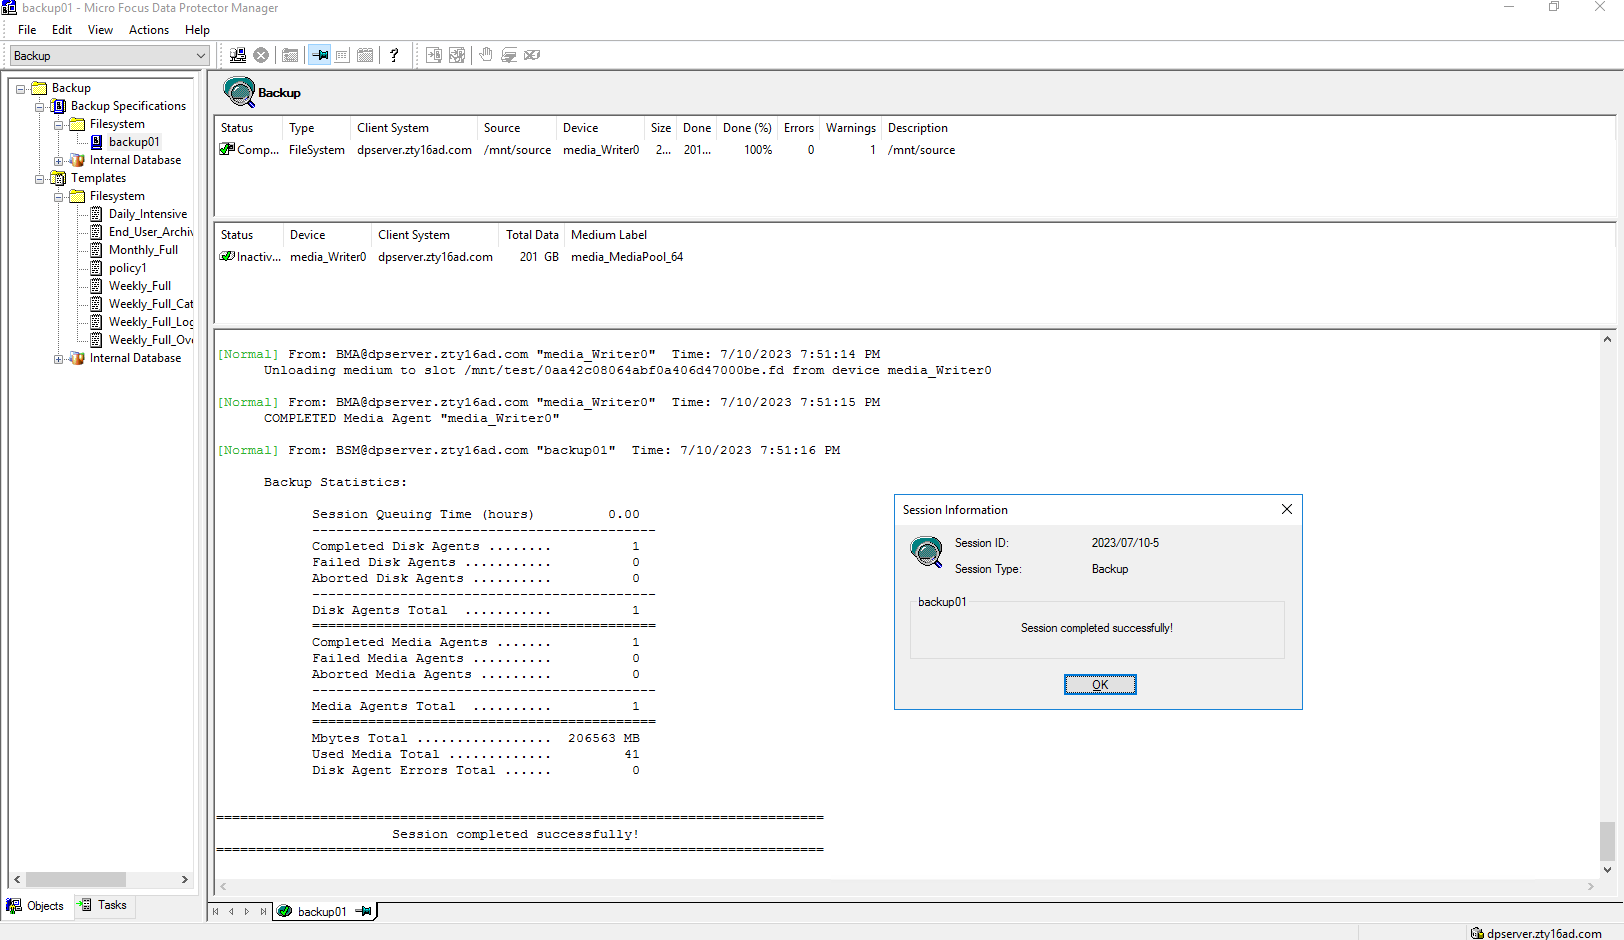 Step4 Click Restore button  Select the backup list Select the files or folders to restore 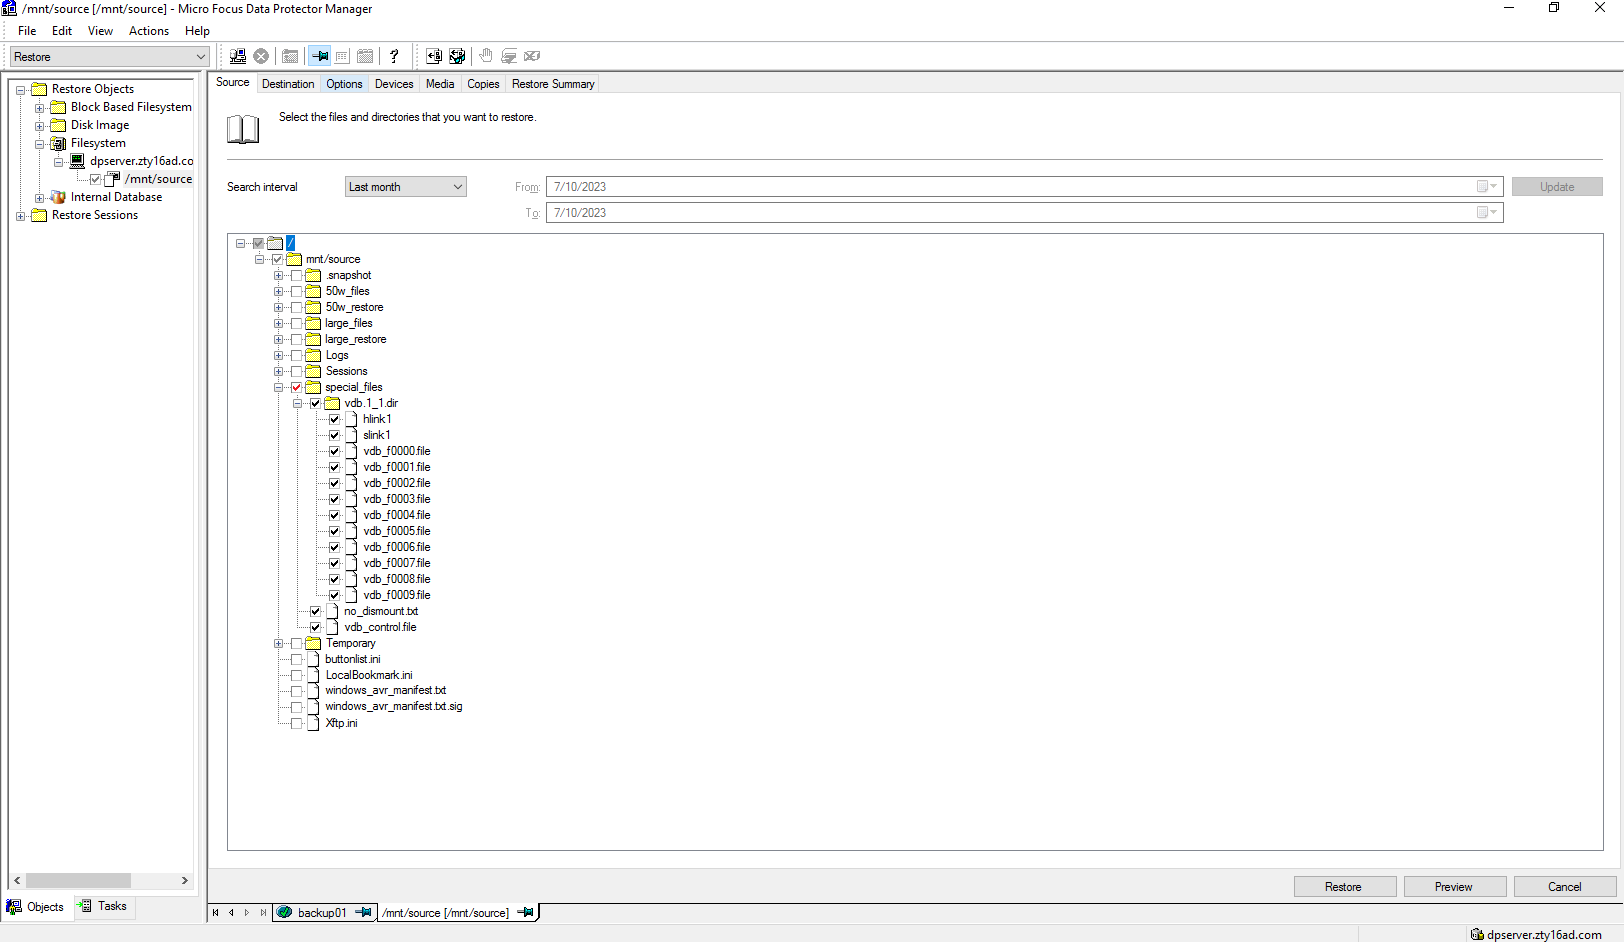 Set destination restore location 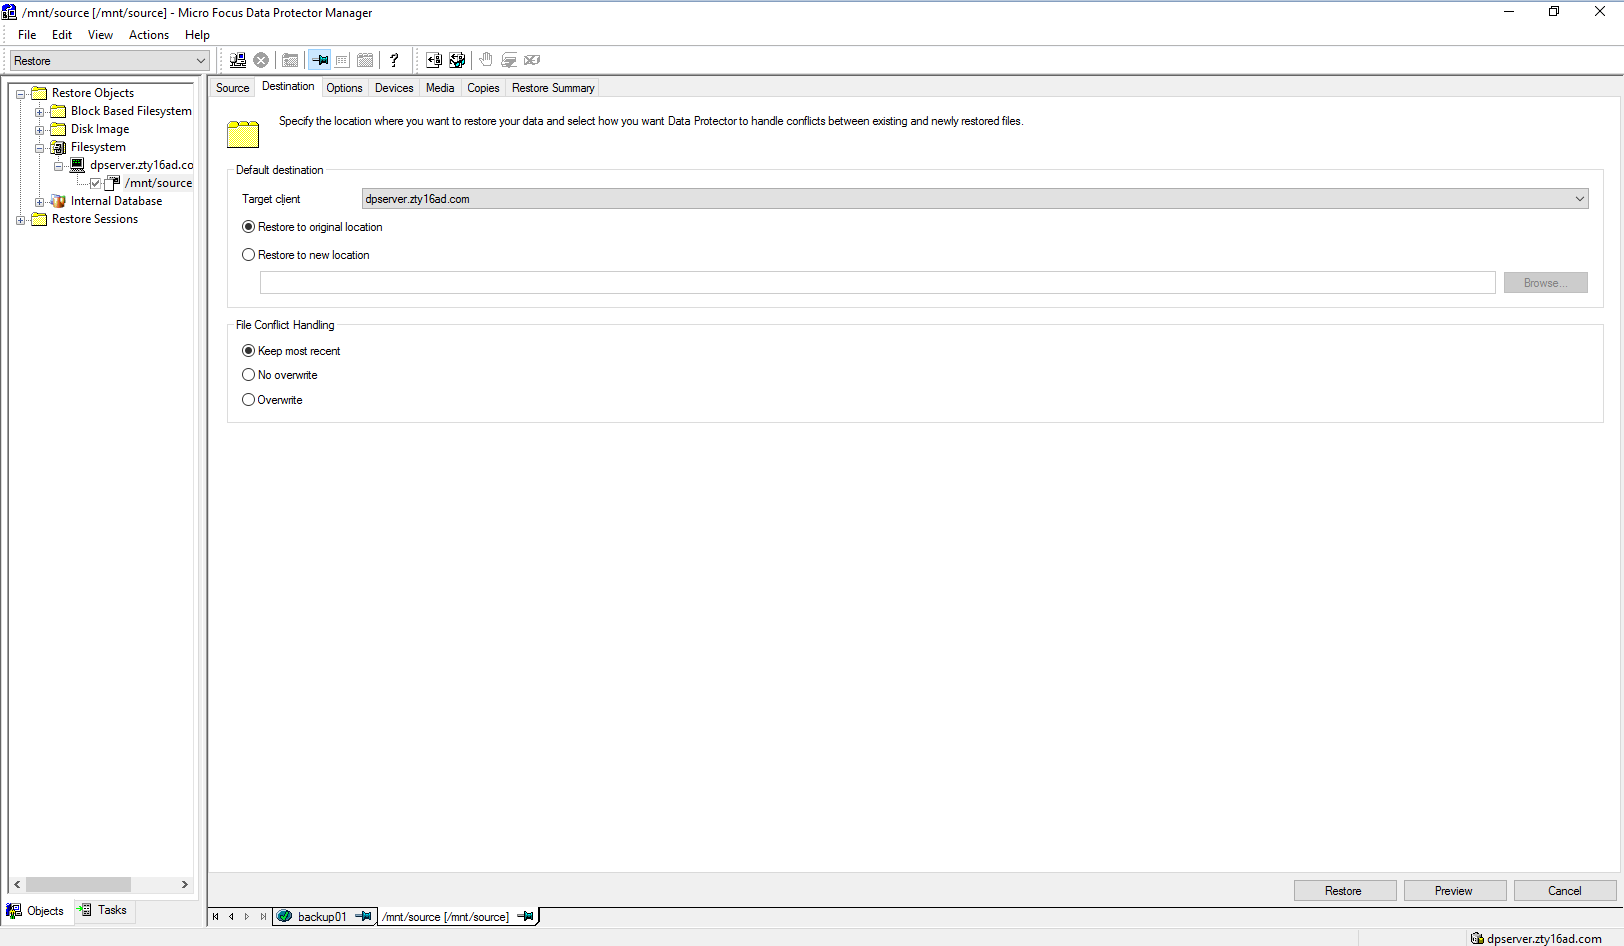 Check information in summary 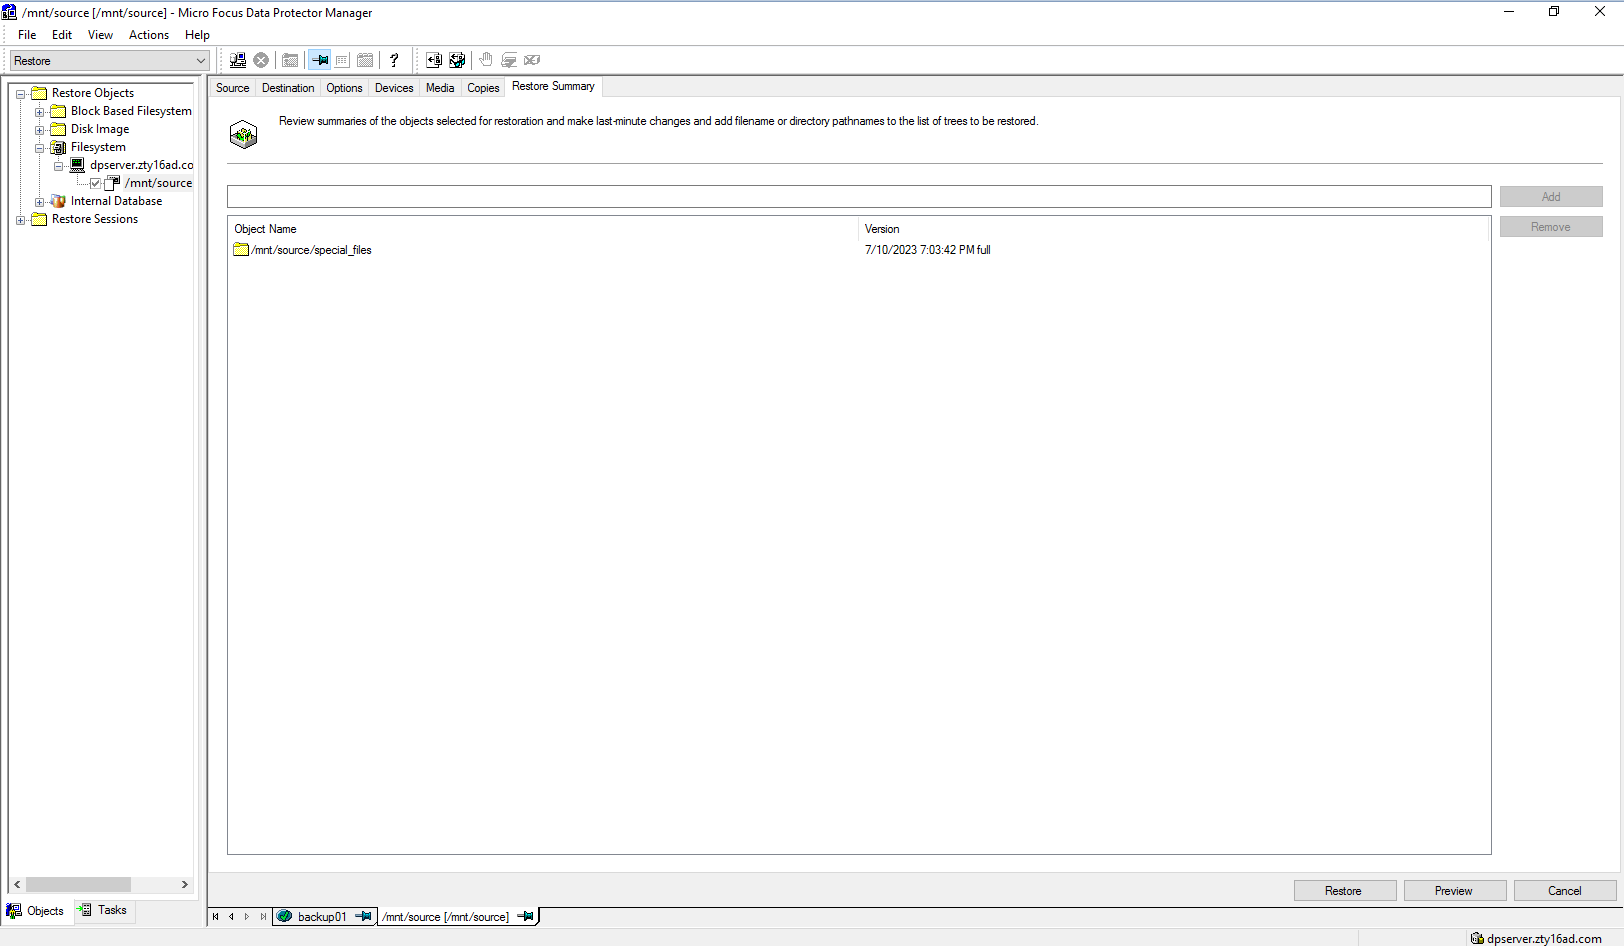 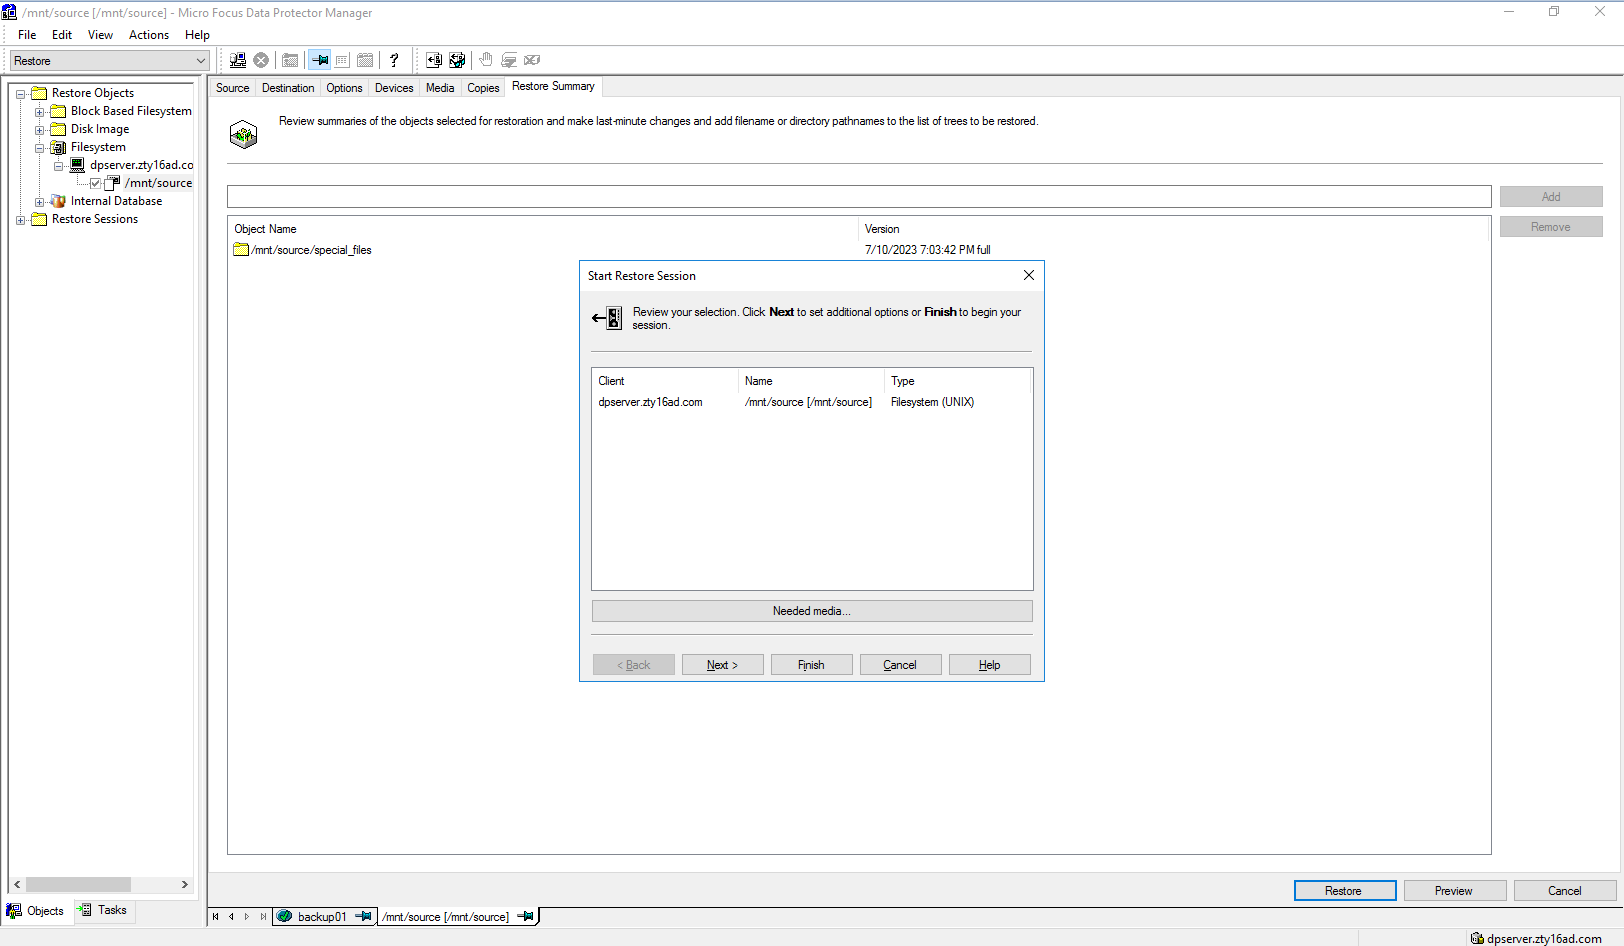 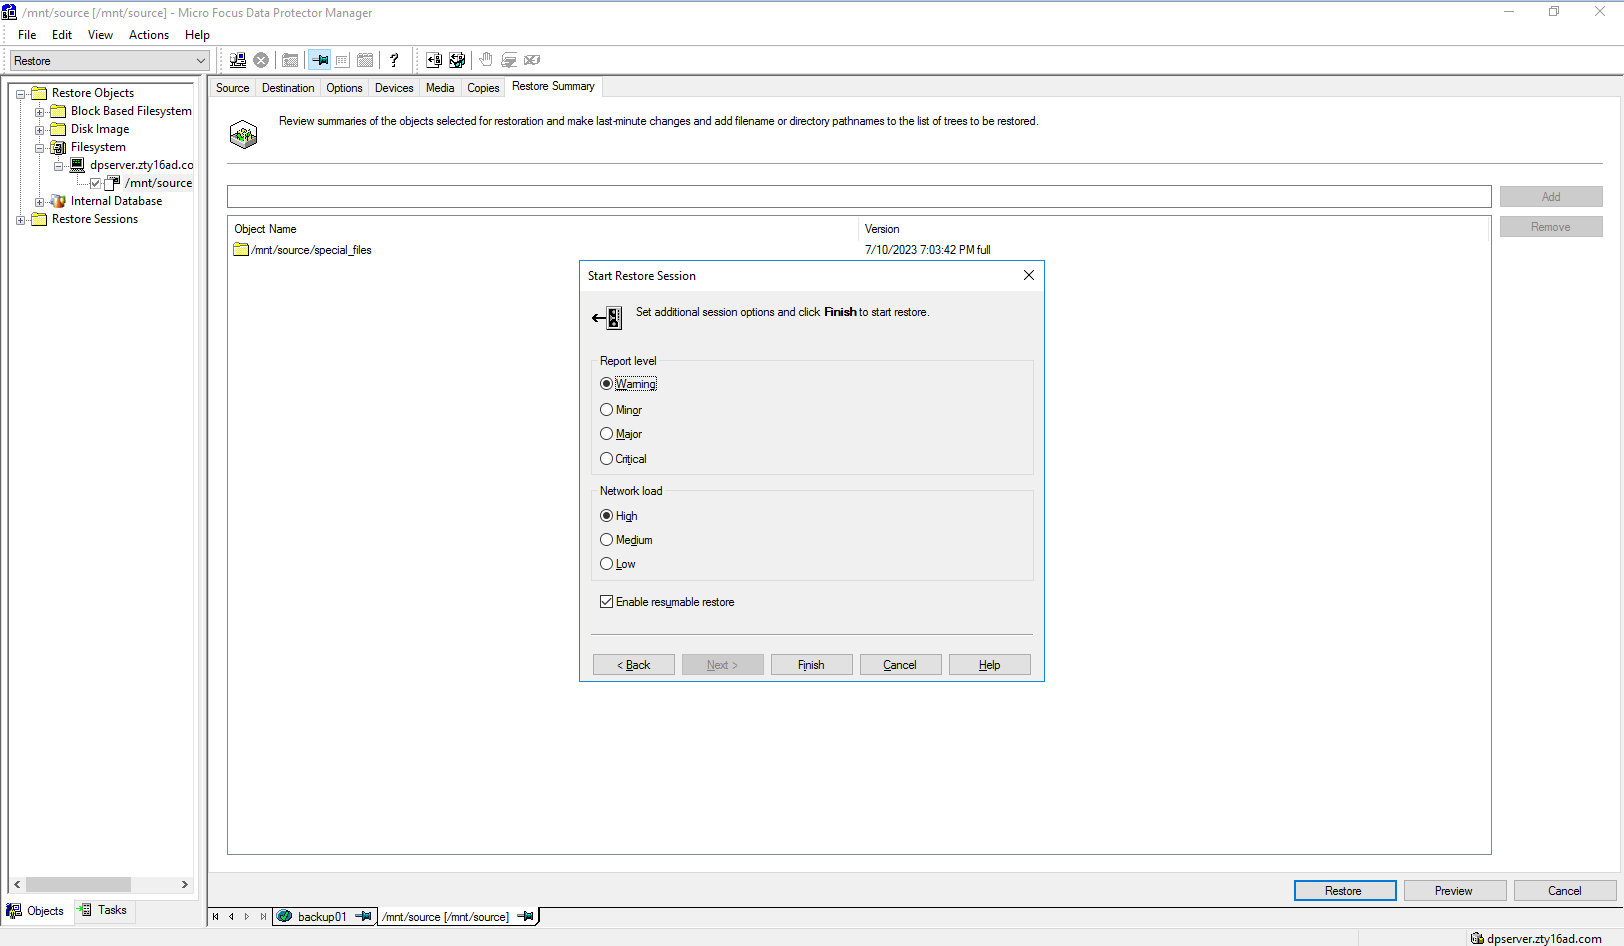 Step5 Before restore 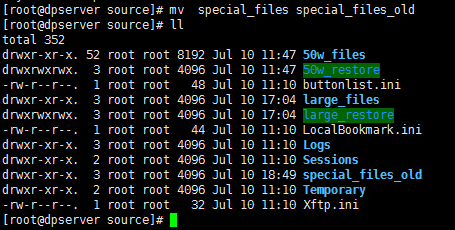 After restore 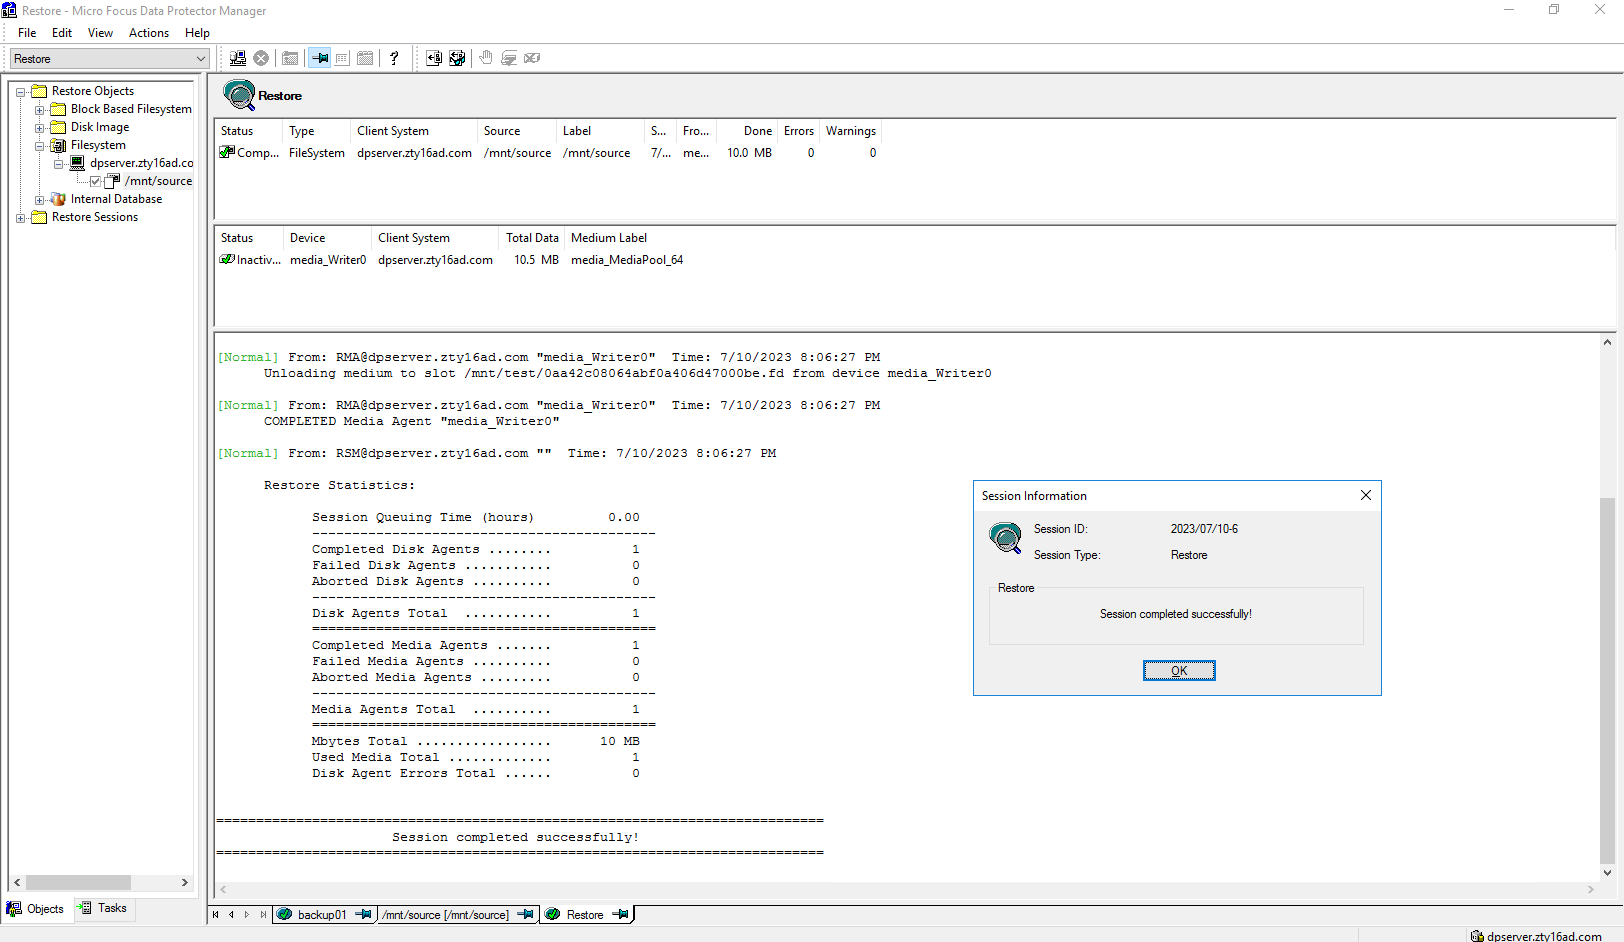 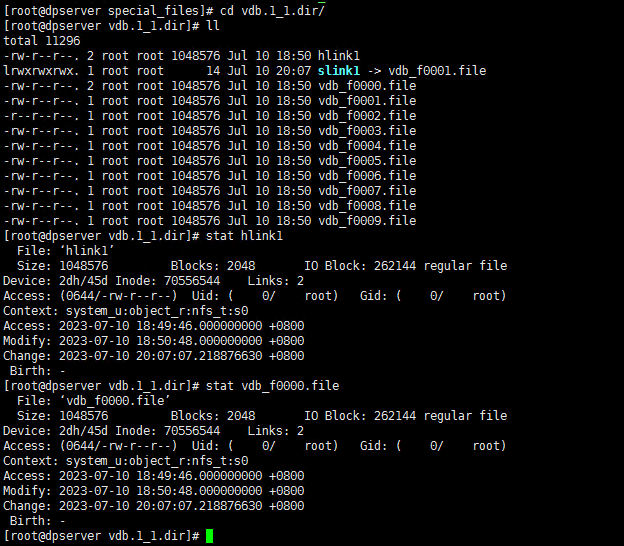 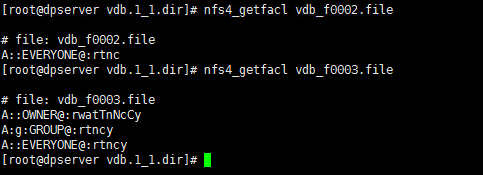 |
3.6 Deduplication&compression switch disable Backup and Restore
Test Purpose | Deduplication&compression switch disable backup and restore |
Test Networking | Huawei OceanProtect Backup Storage Function Compatibility Test Networking |
Prerequisites |
|
| Test Procedure |
|
Expected Result | Step 2 backup finishes successfully Step 3 backup finishes successfully Step 5 restore finishes successfully and restored files are the same as original files. Step 7 restore finishes successfully and restored files are the same as original files. Step 8 The Dataturbo logical write bandwidth is basically the same as the Dataturbo write bandwidth. |
Test Result | Passed Step1 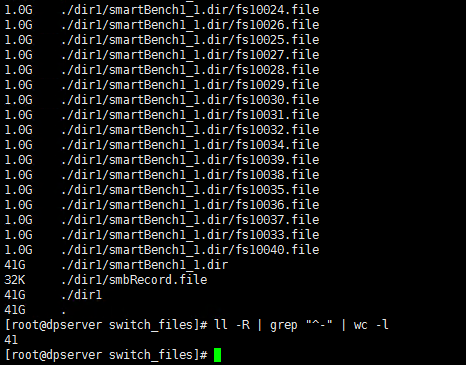  Step2 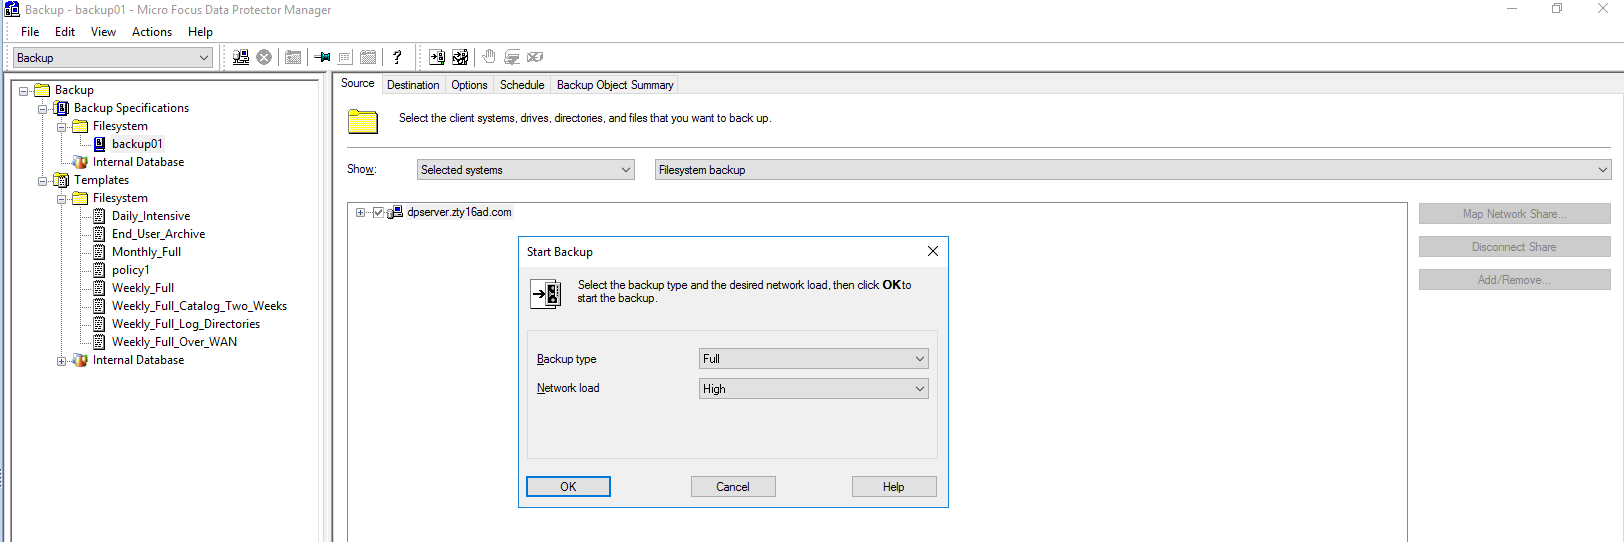 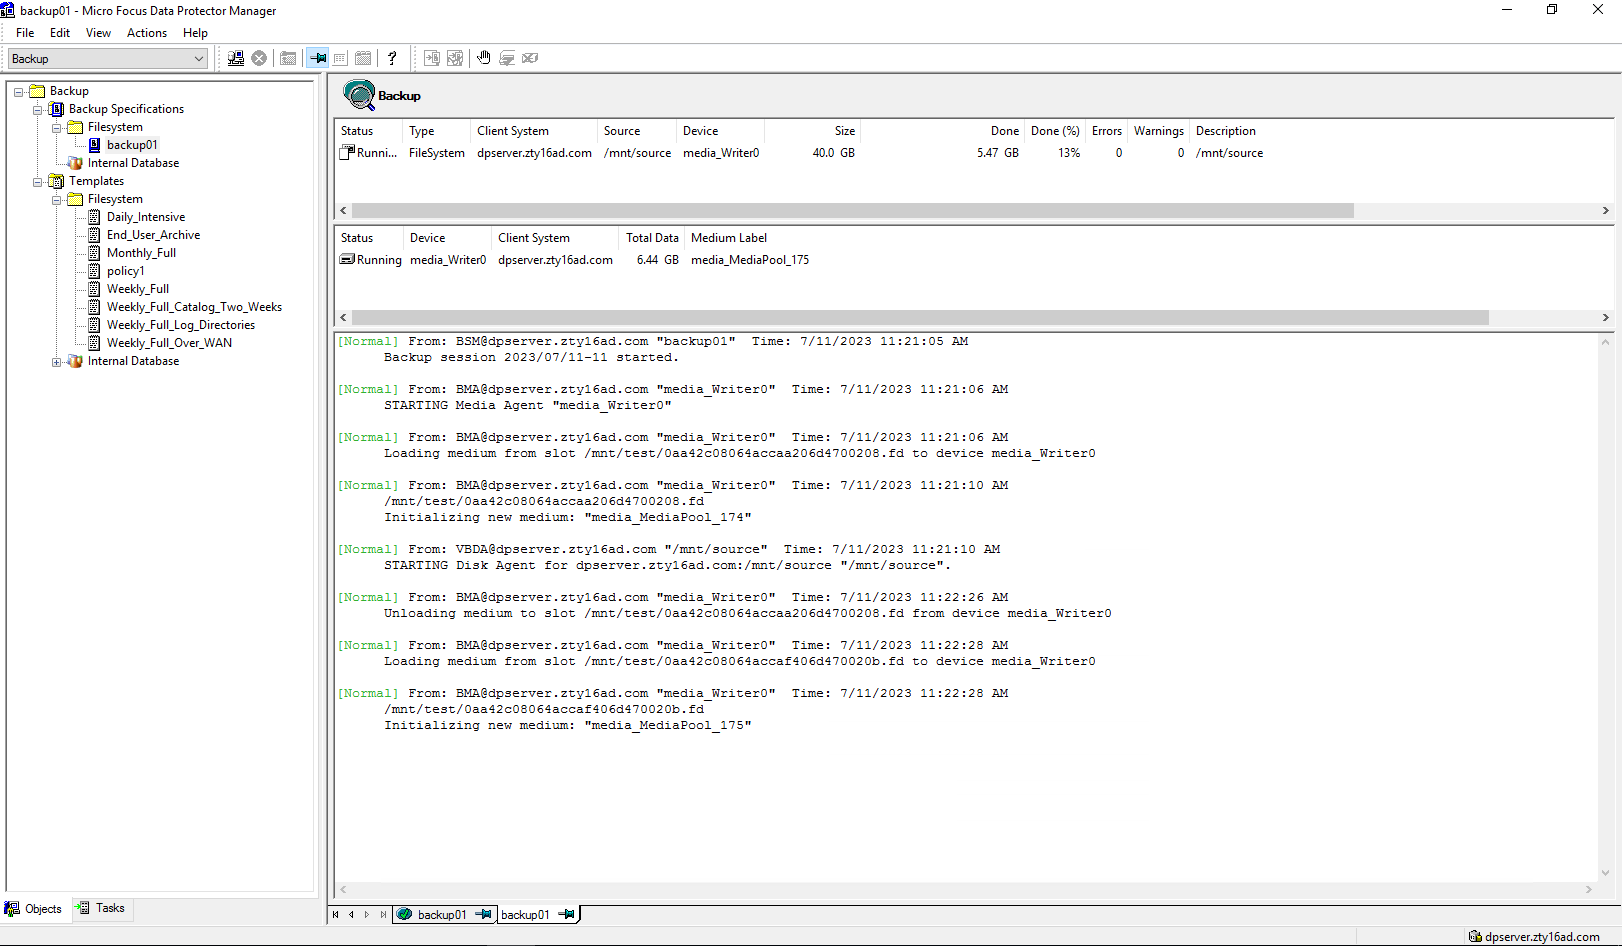 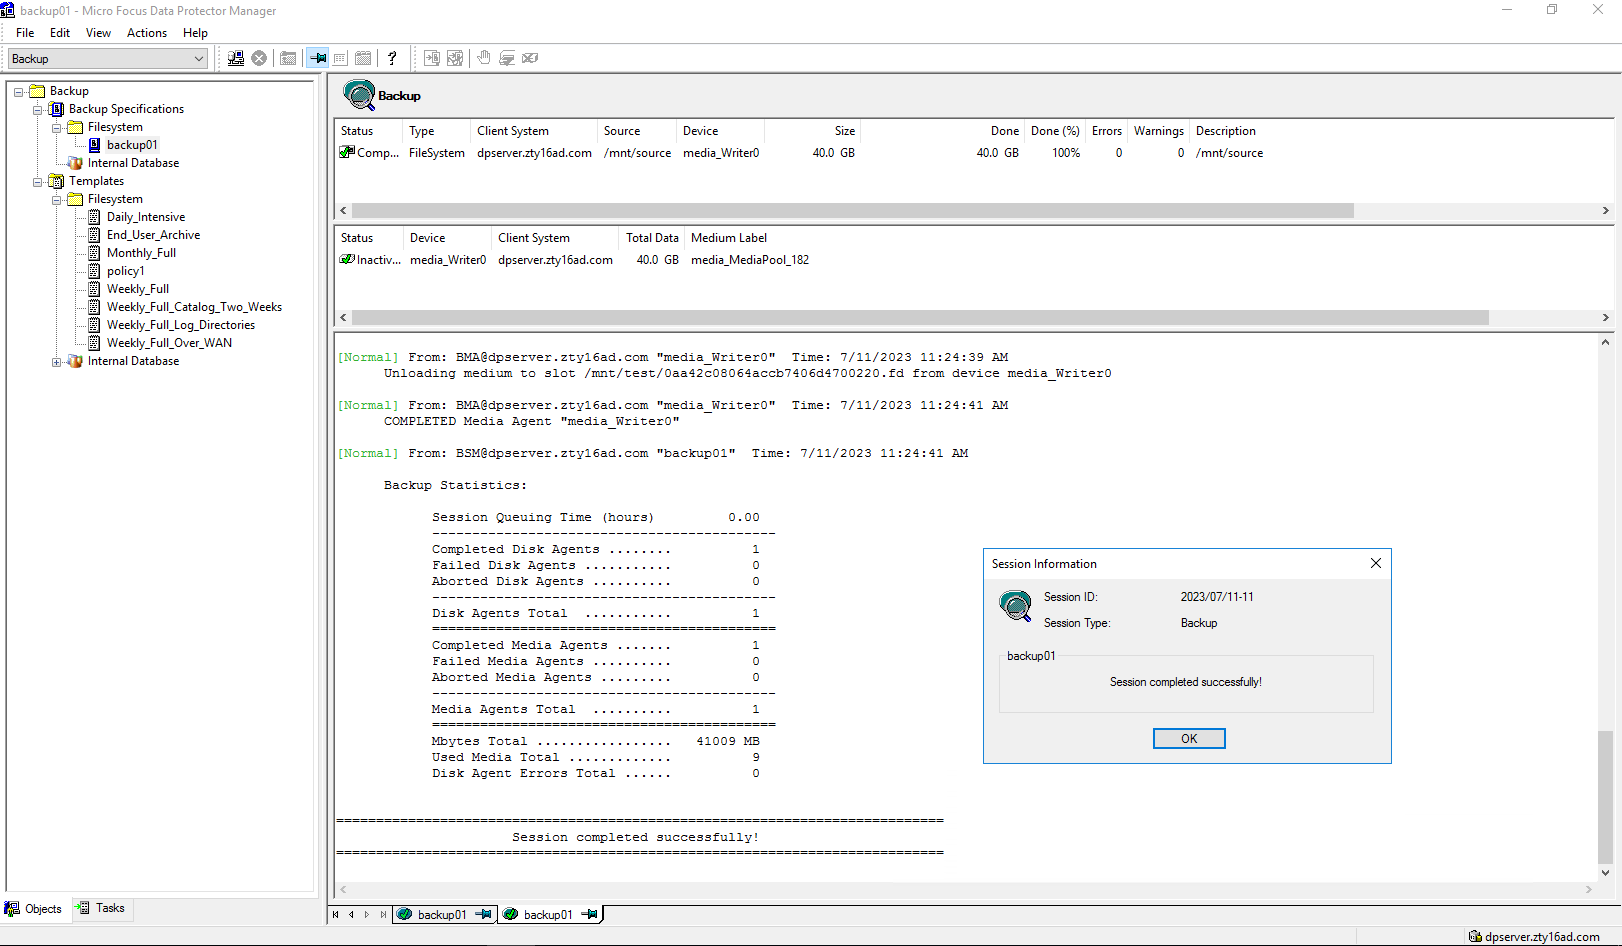 Backup start time: 11:21:05 AM Backup end time: 11:24:41 AM Backup total time:3min36s Step3 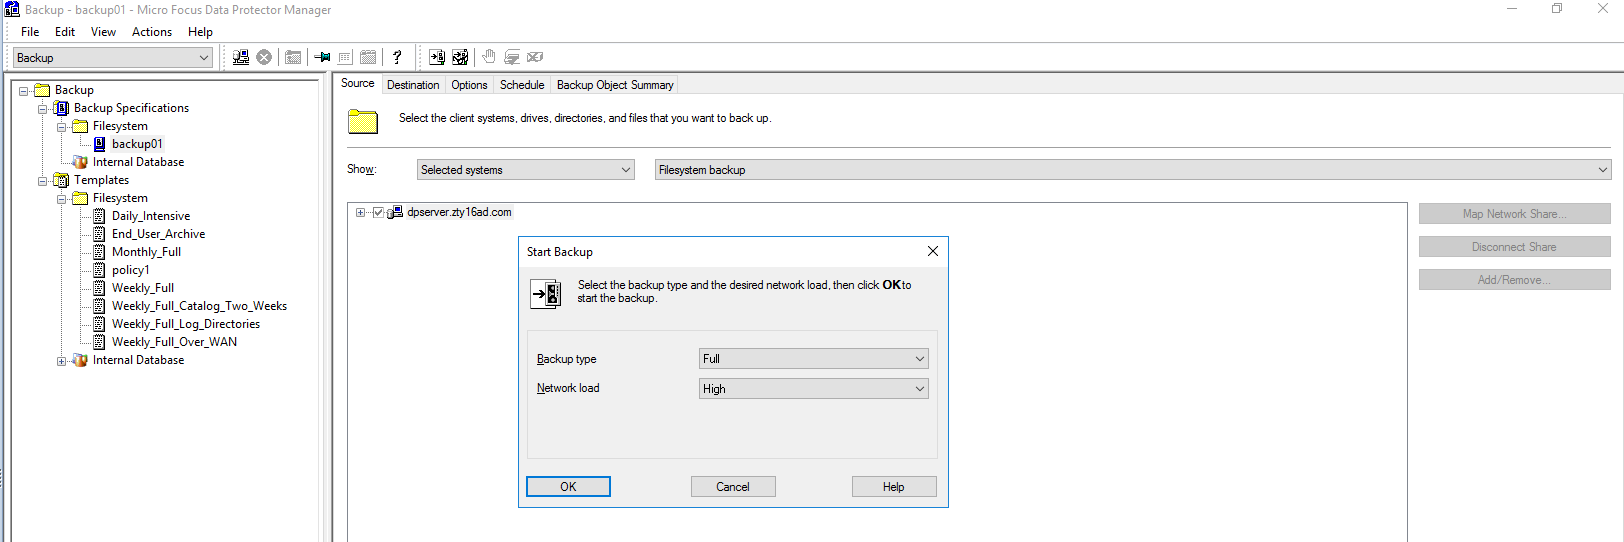 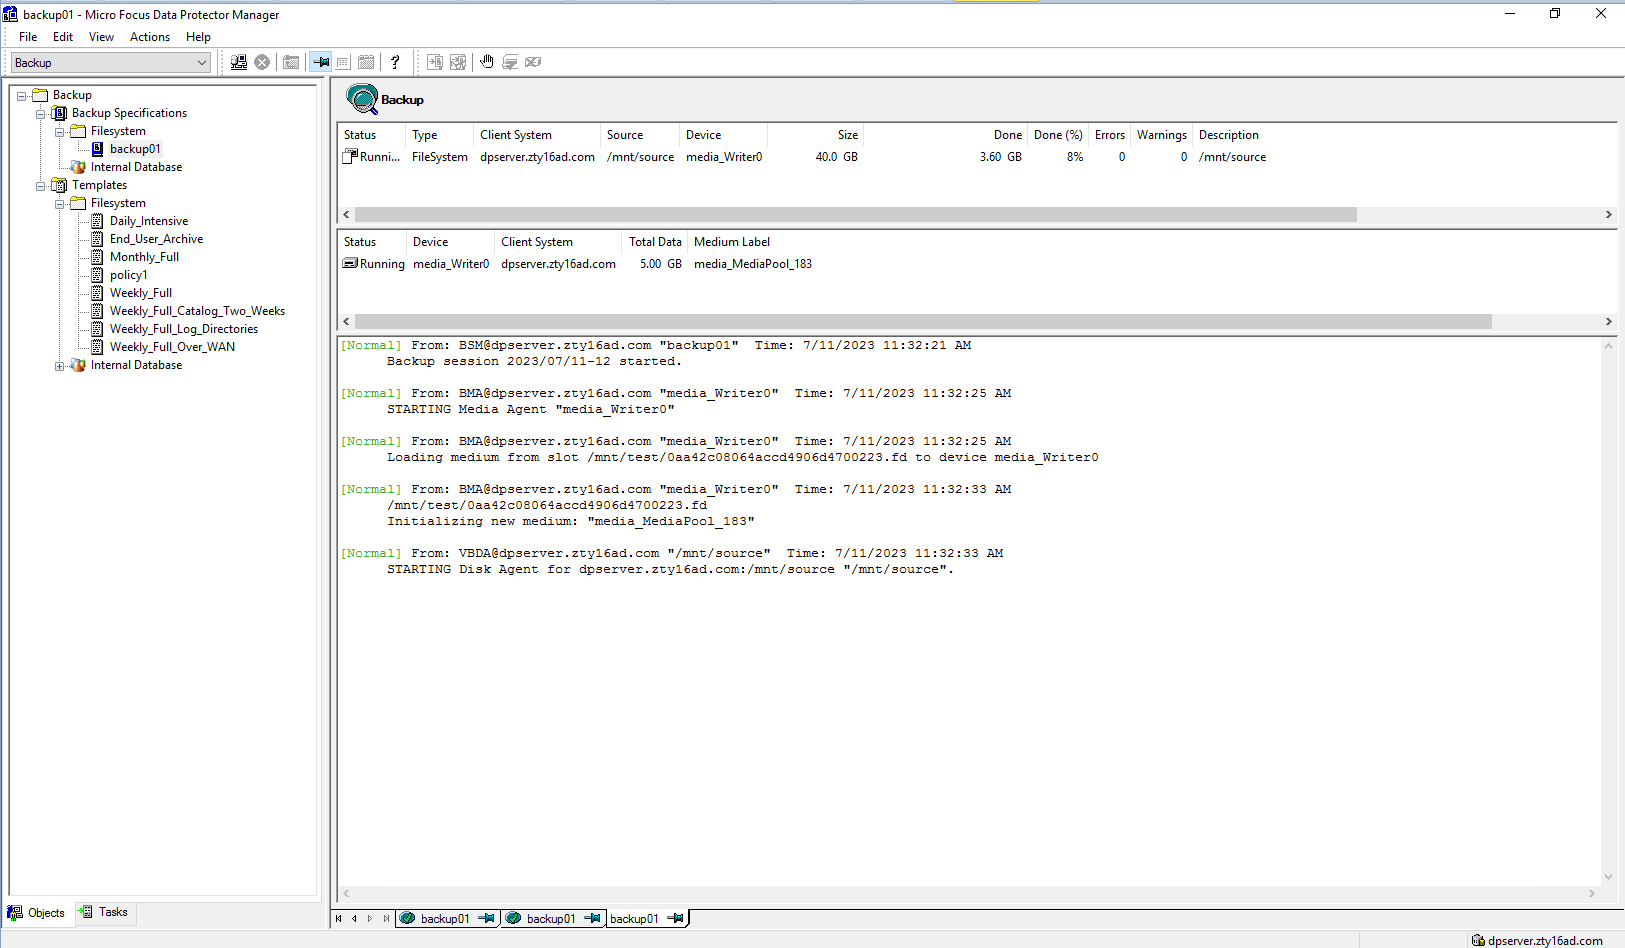 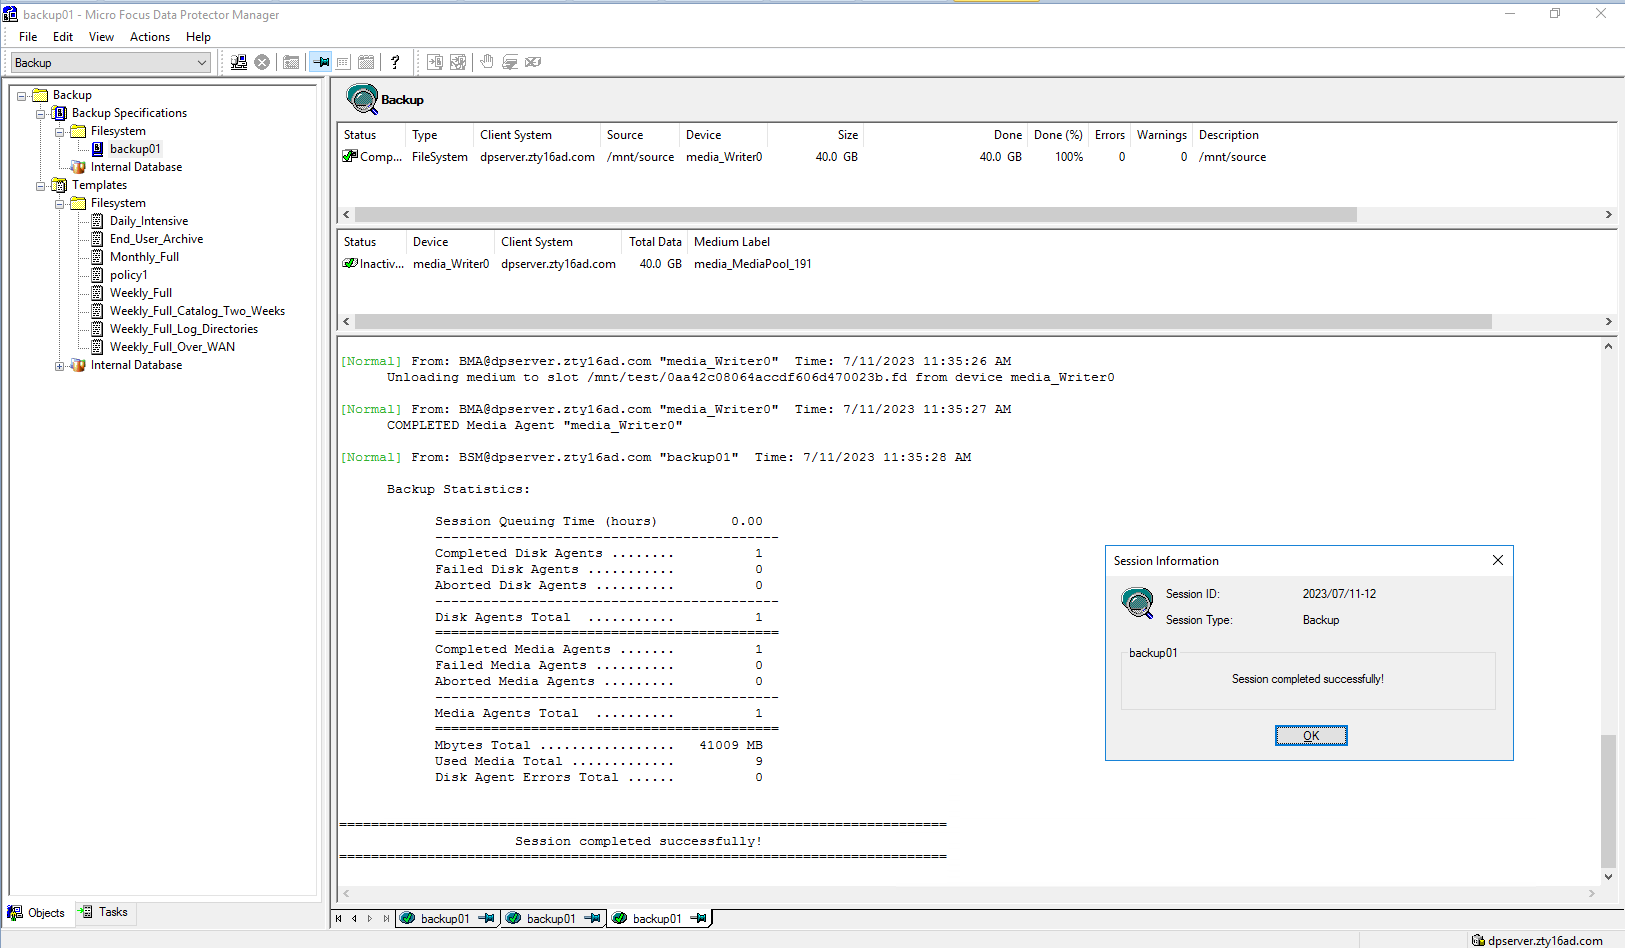 Backup start time: 11:32:21 AM Backup end time: 11:35:28 AM Backup total time:3min7s Step4 Click Restore button  Select the backup list  Select the files or folders to restore 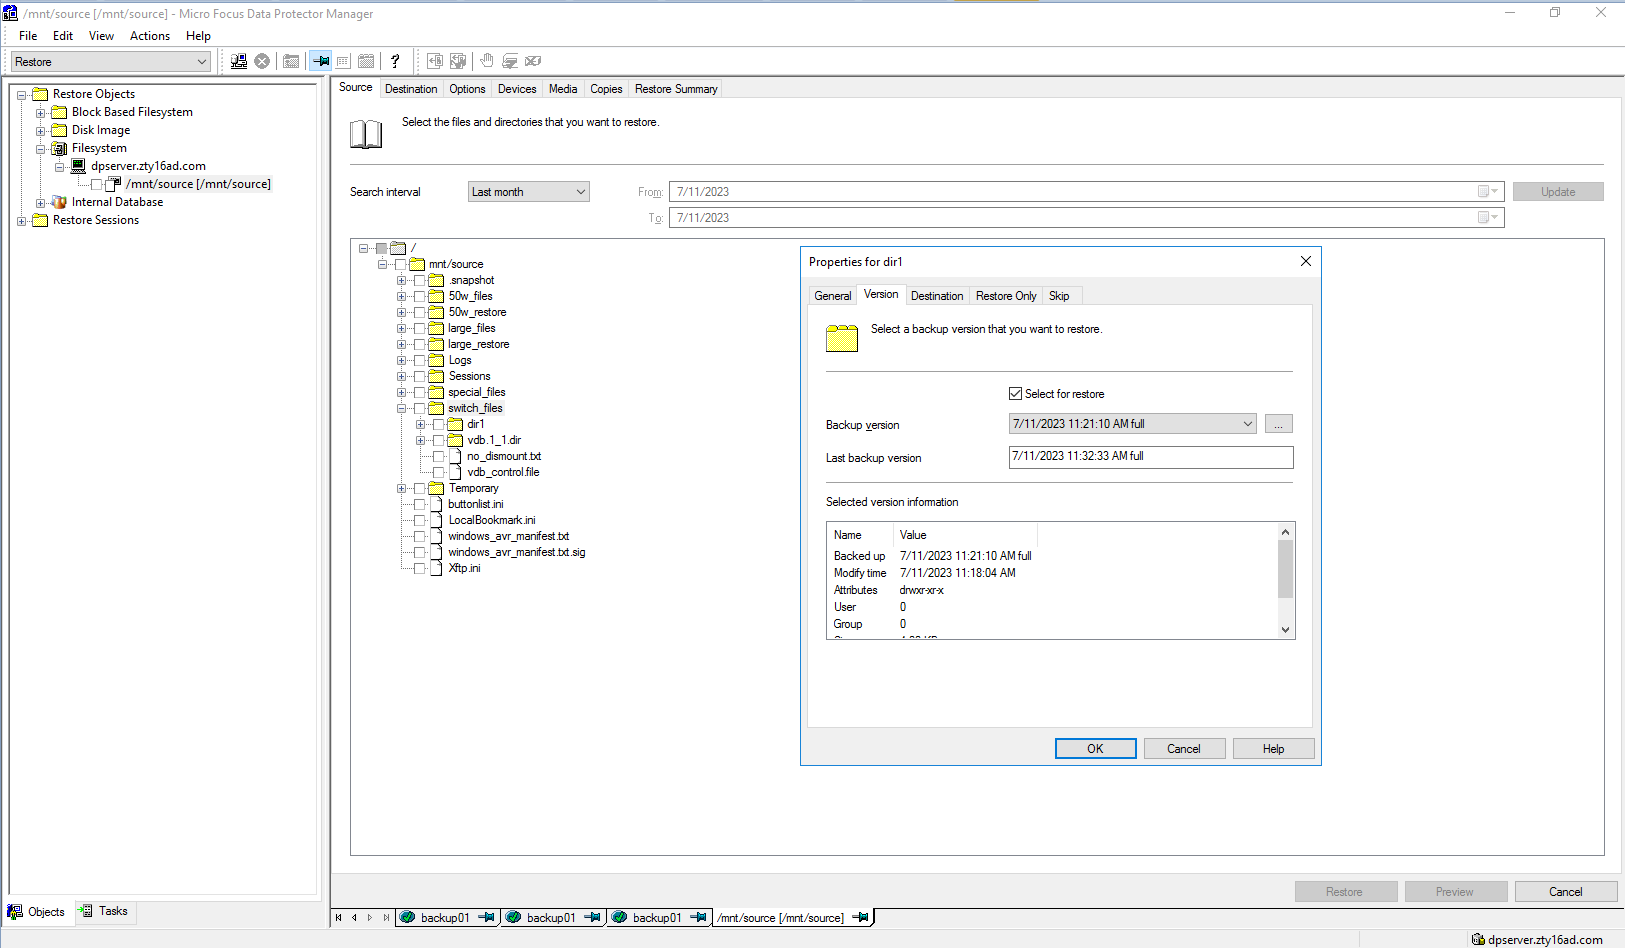 Set destination restore location 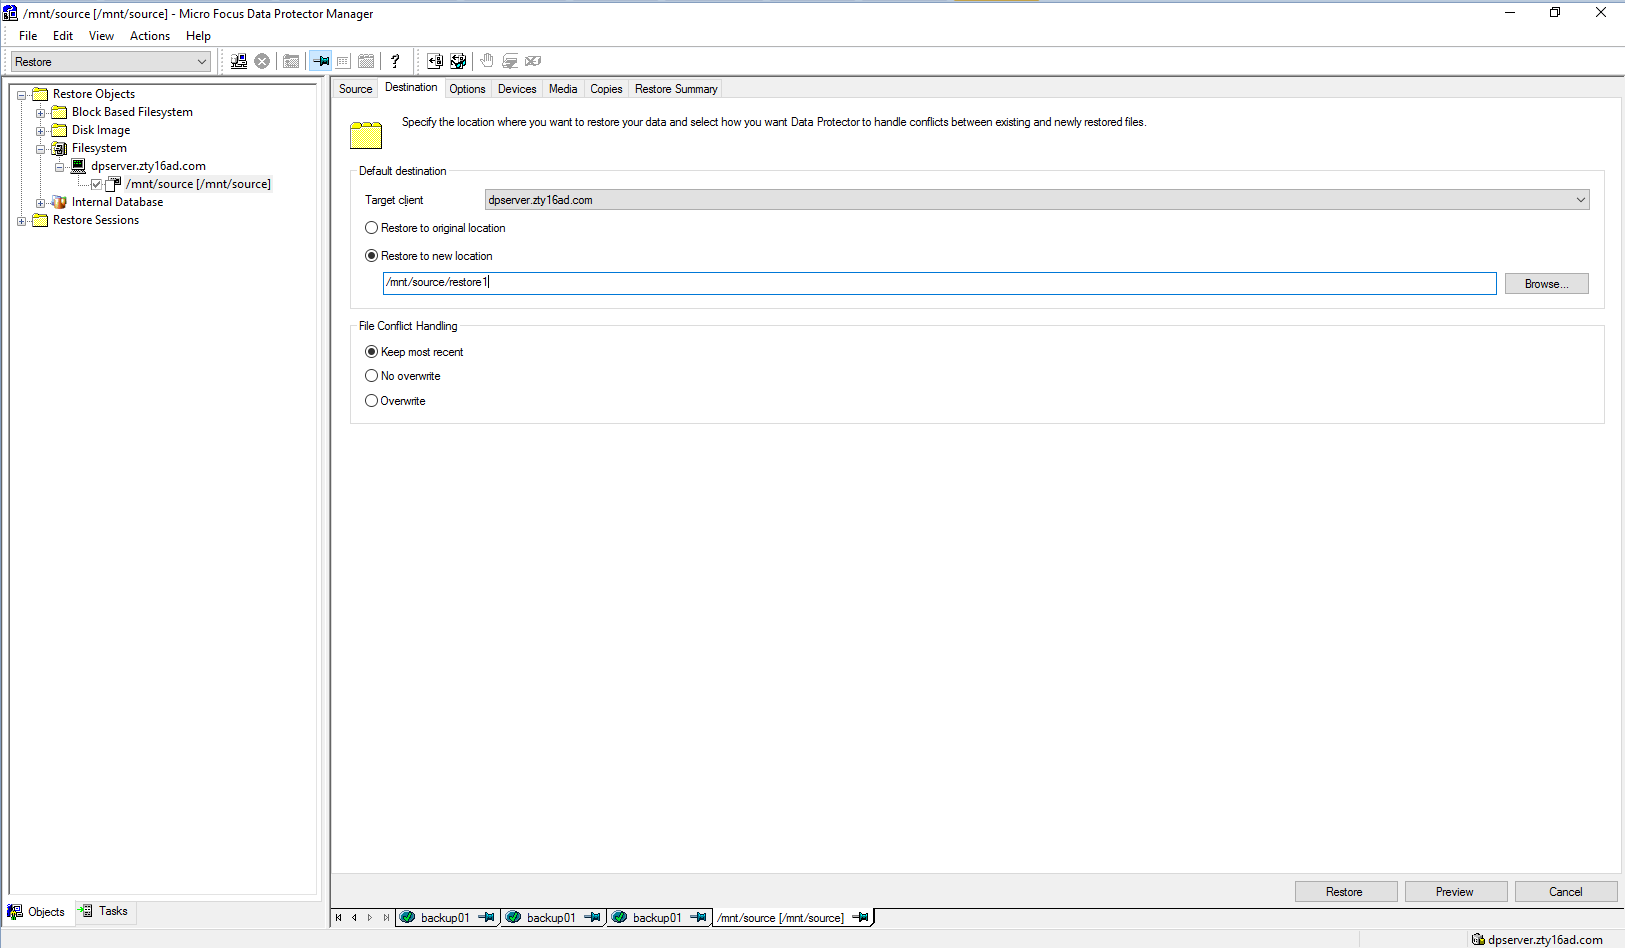 Check information in summary 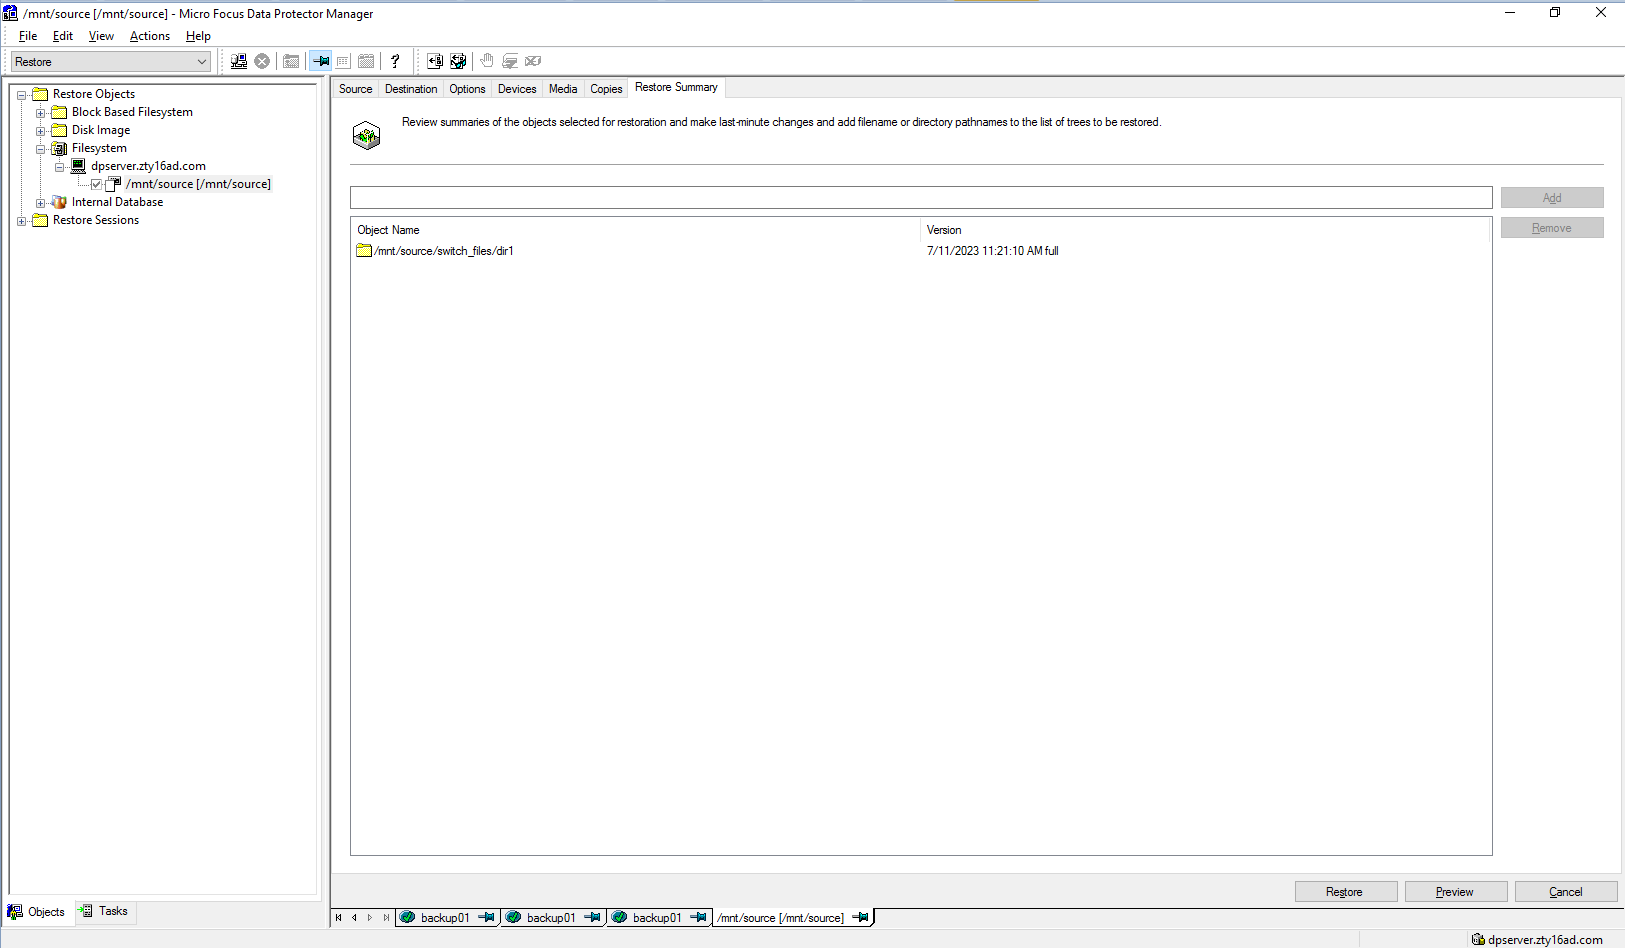 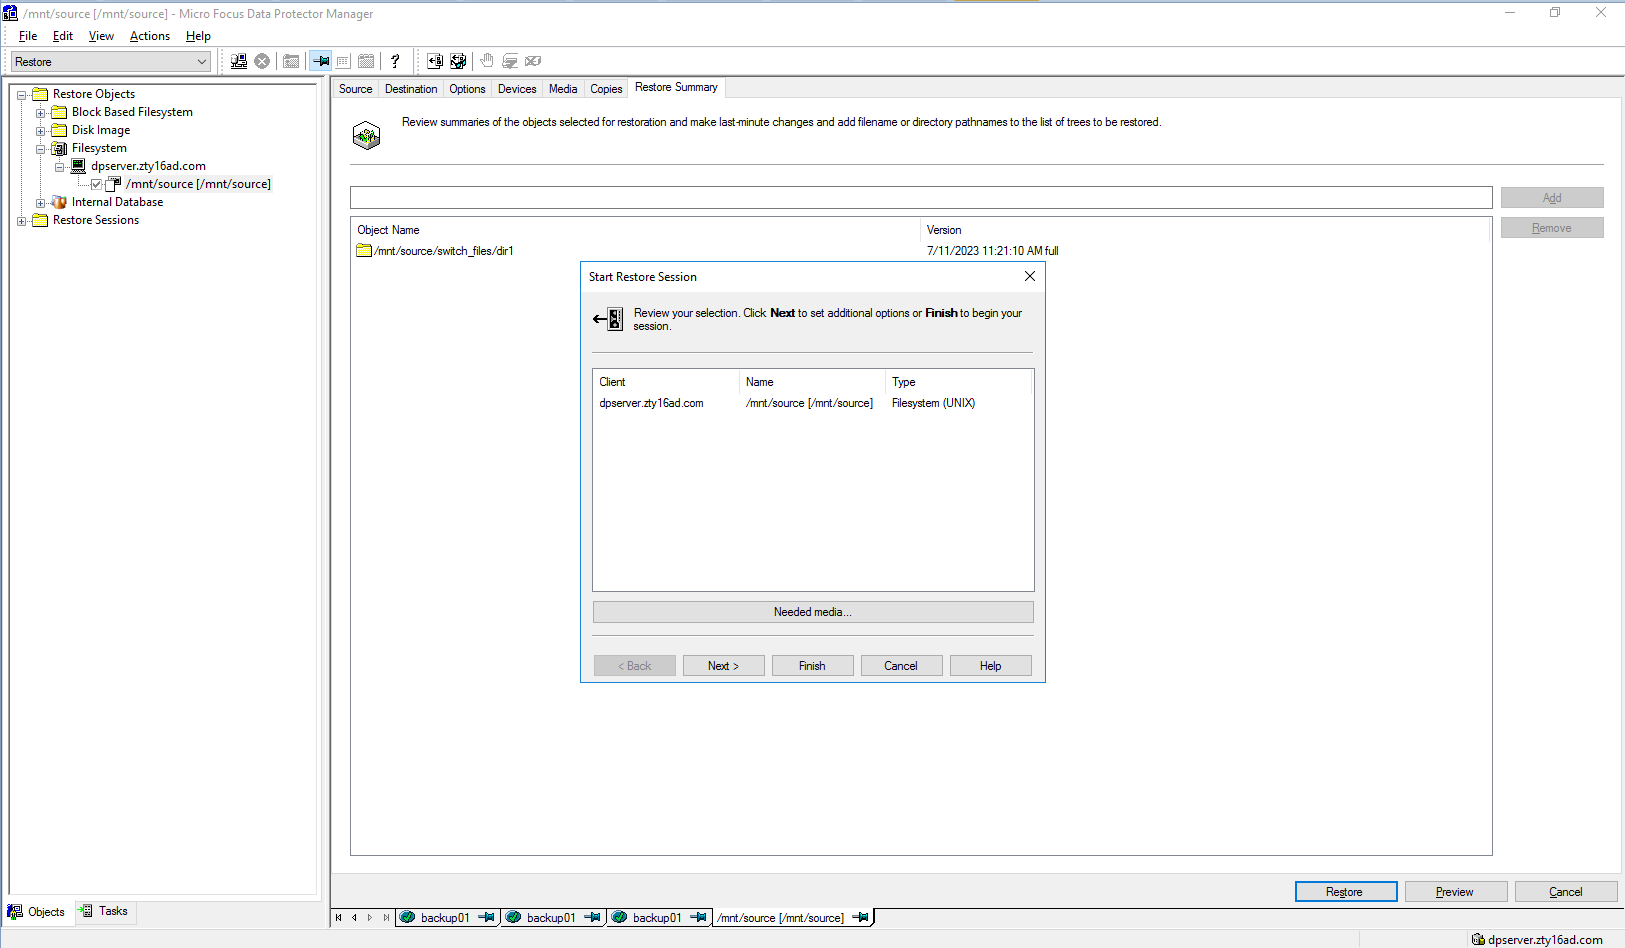 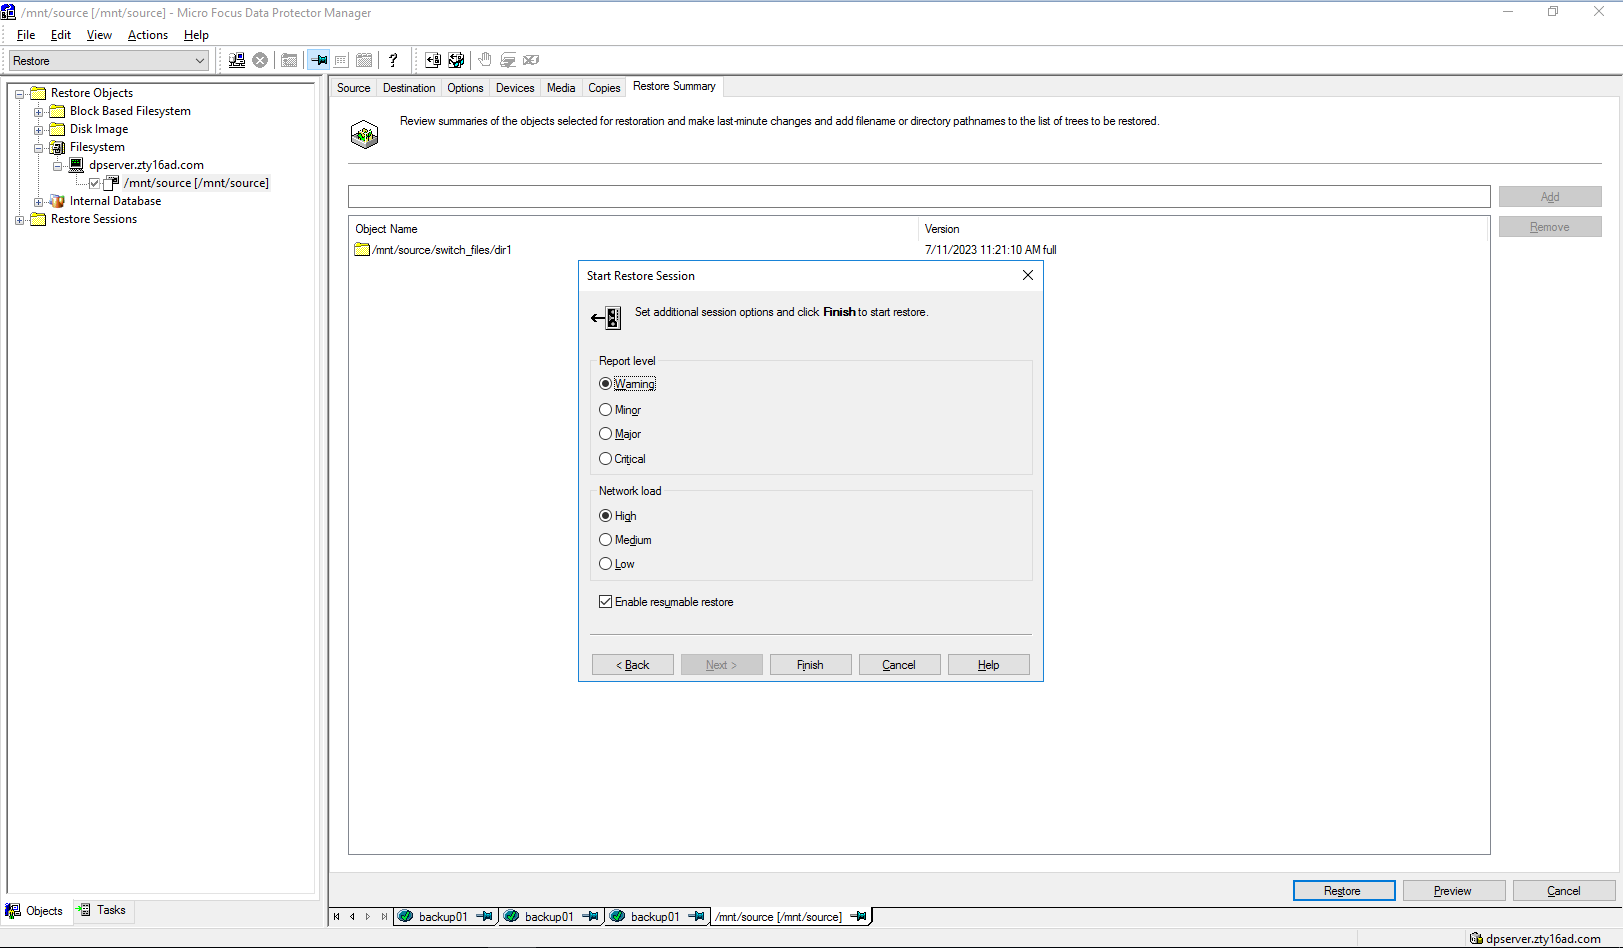 Step5 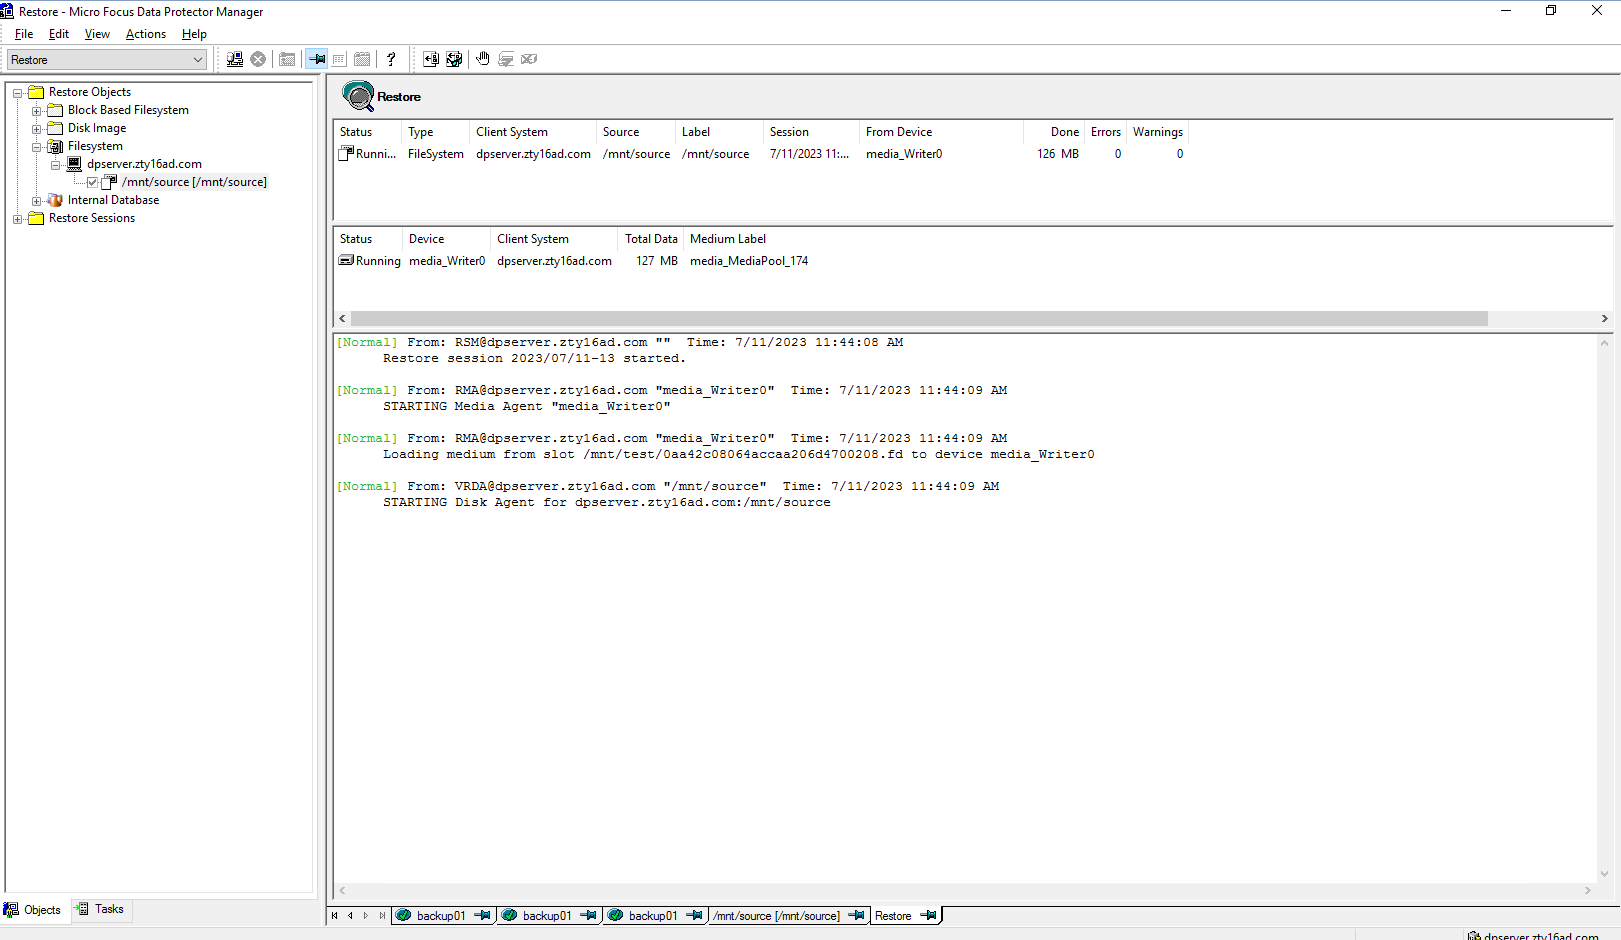 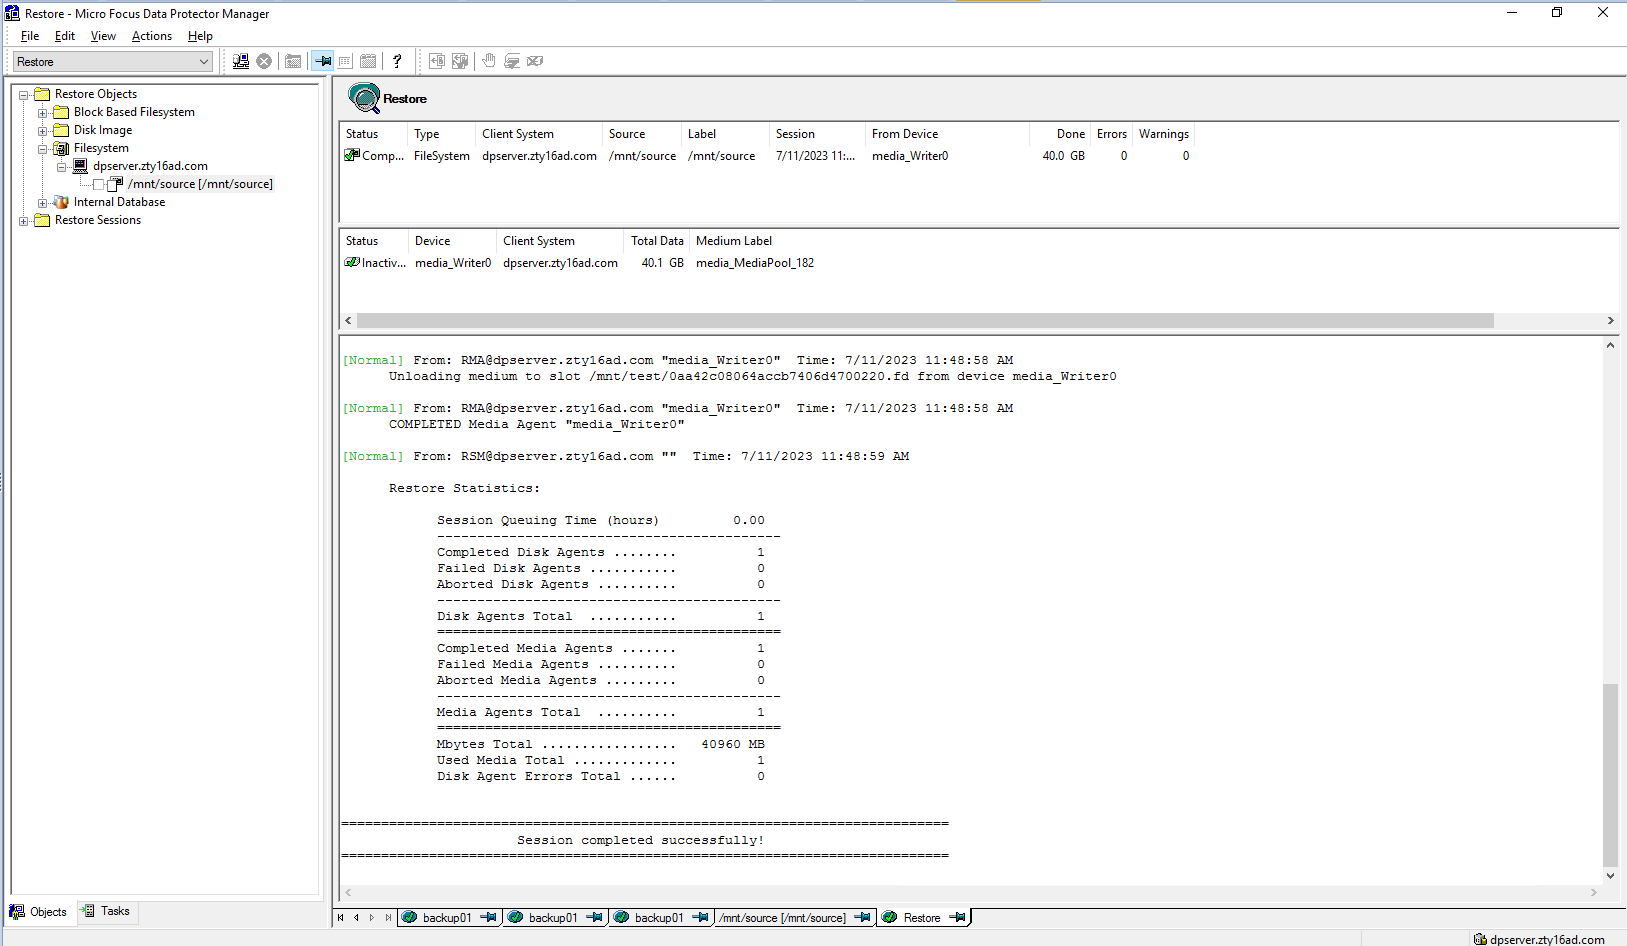 Start restore time: 11:44:08 AM End restore time: 11:48:59 AM Total restore time: 4min51s 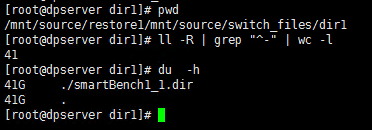 Step6 Click Restore button  Select the backup list  Select the files or folders to restore 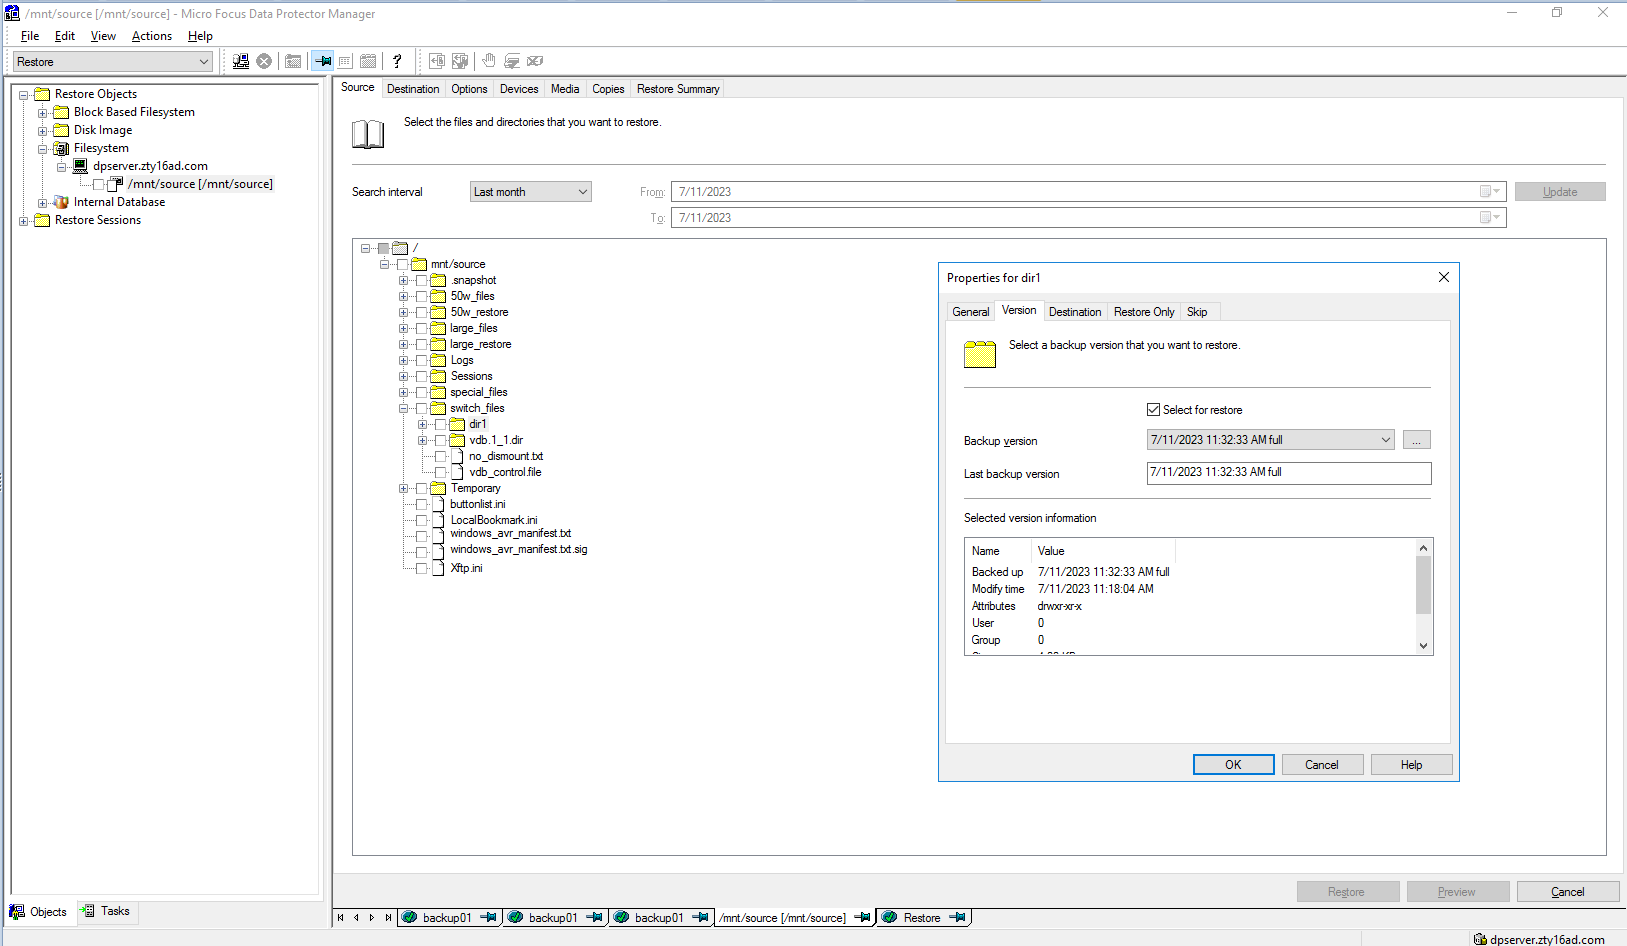 Set destination restore location 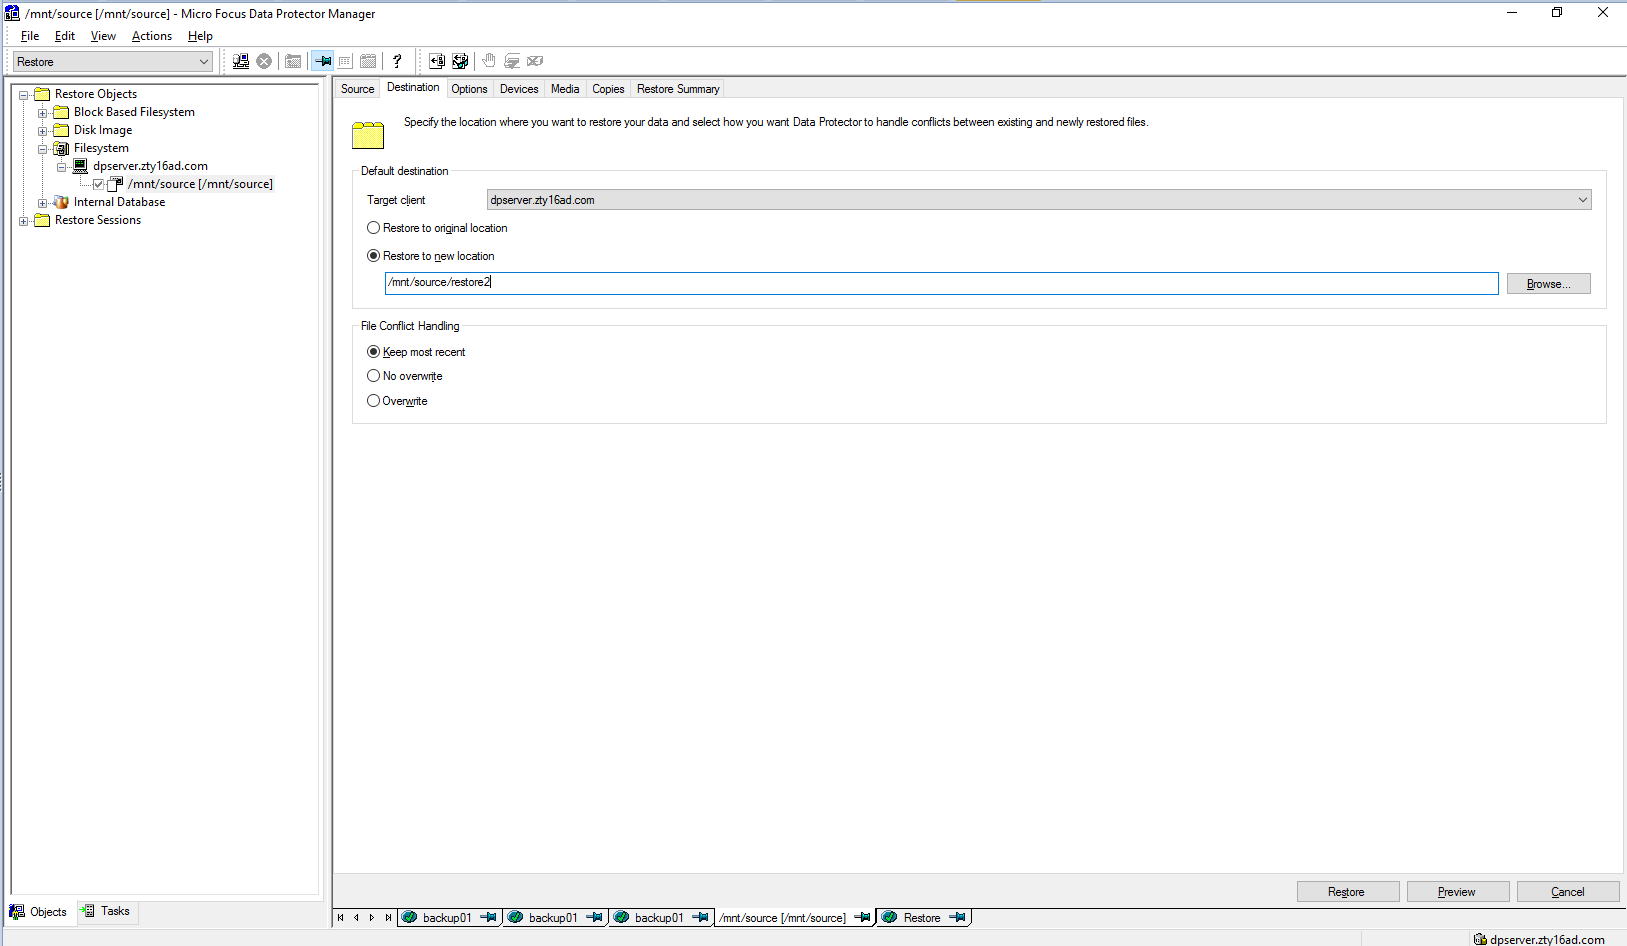 Check information in summary 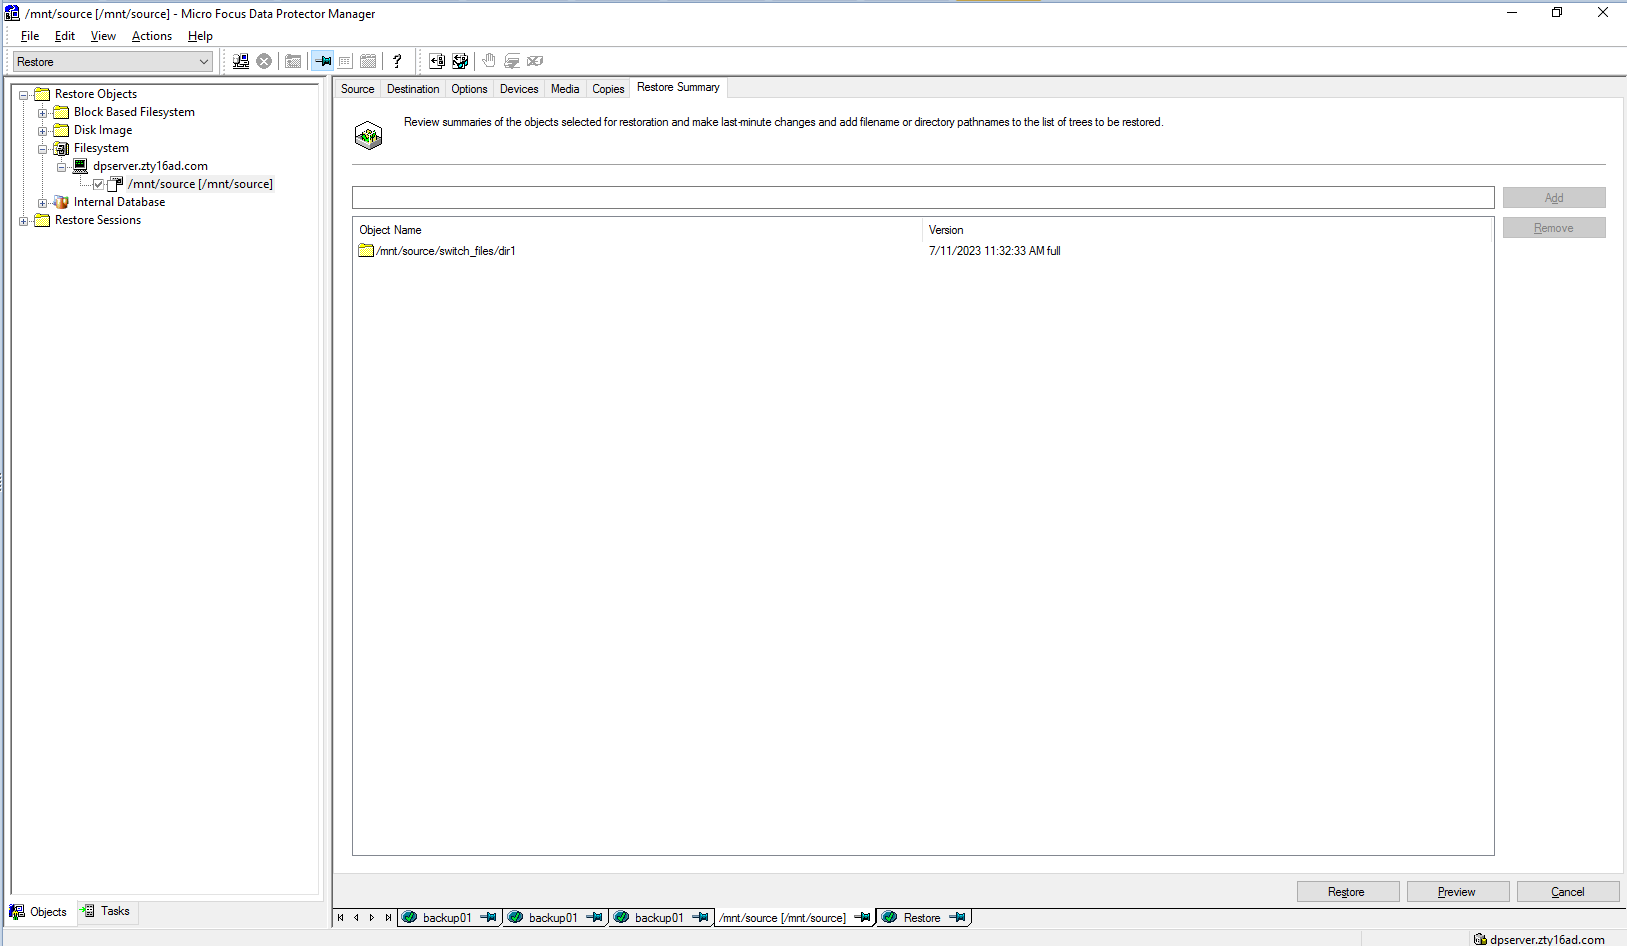 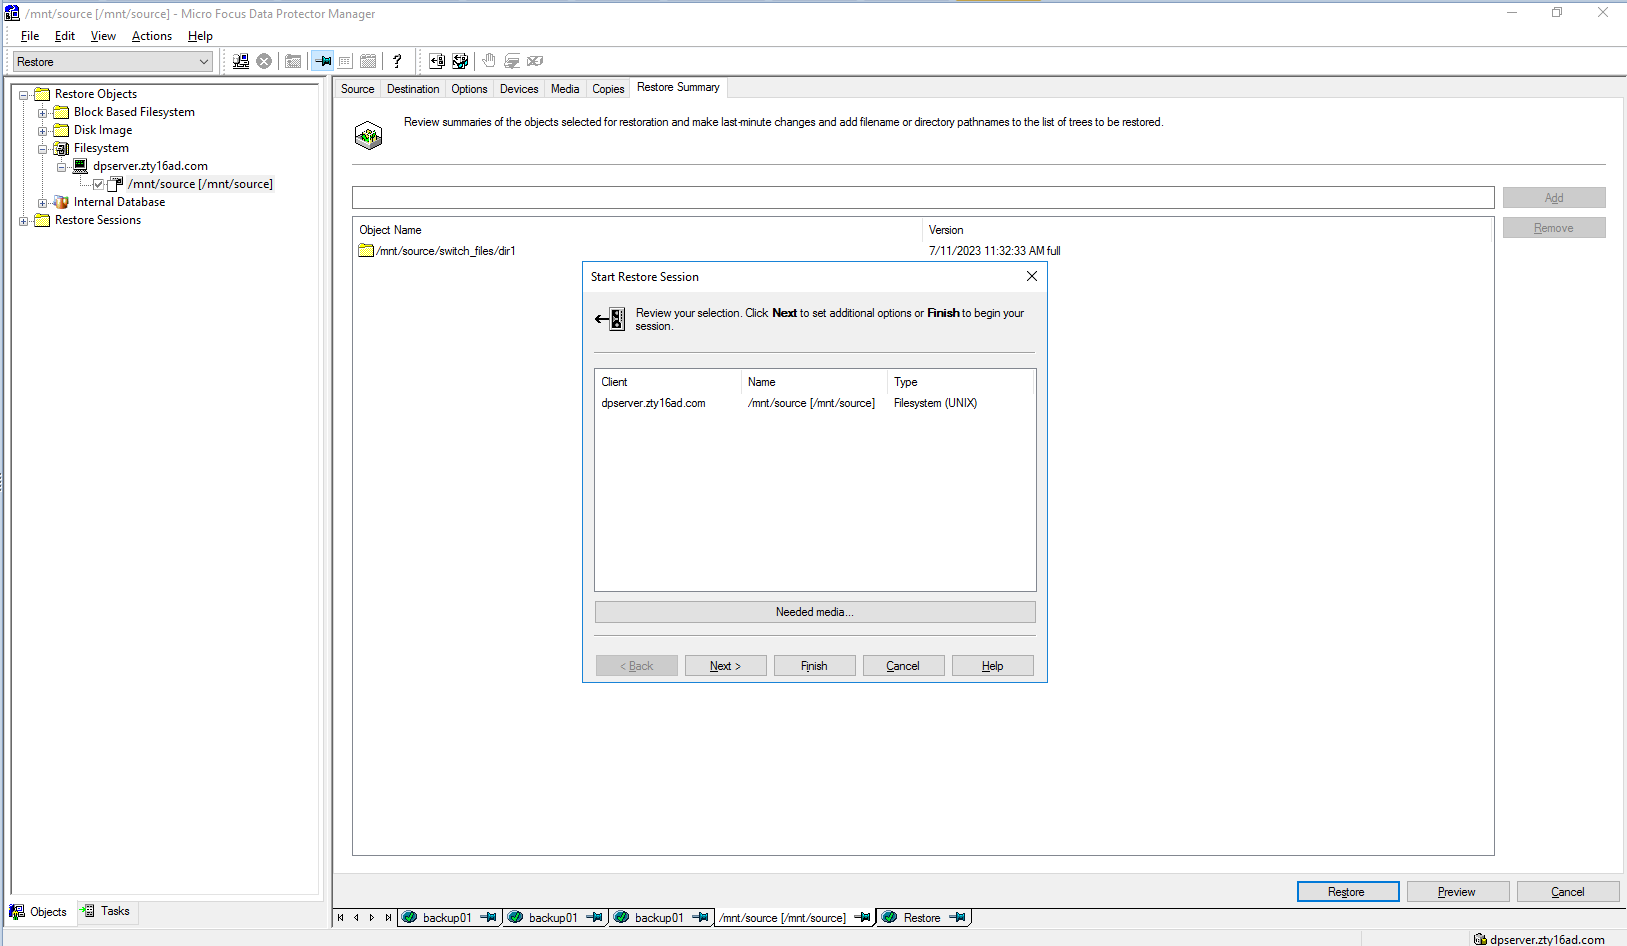 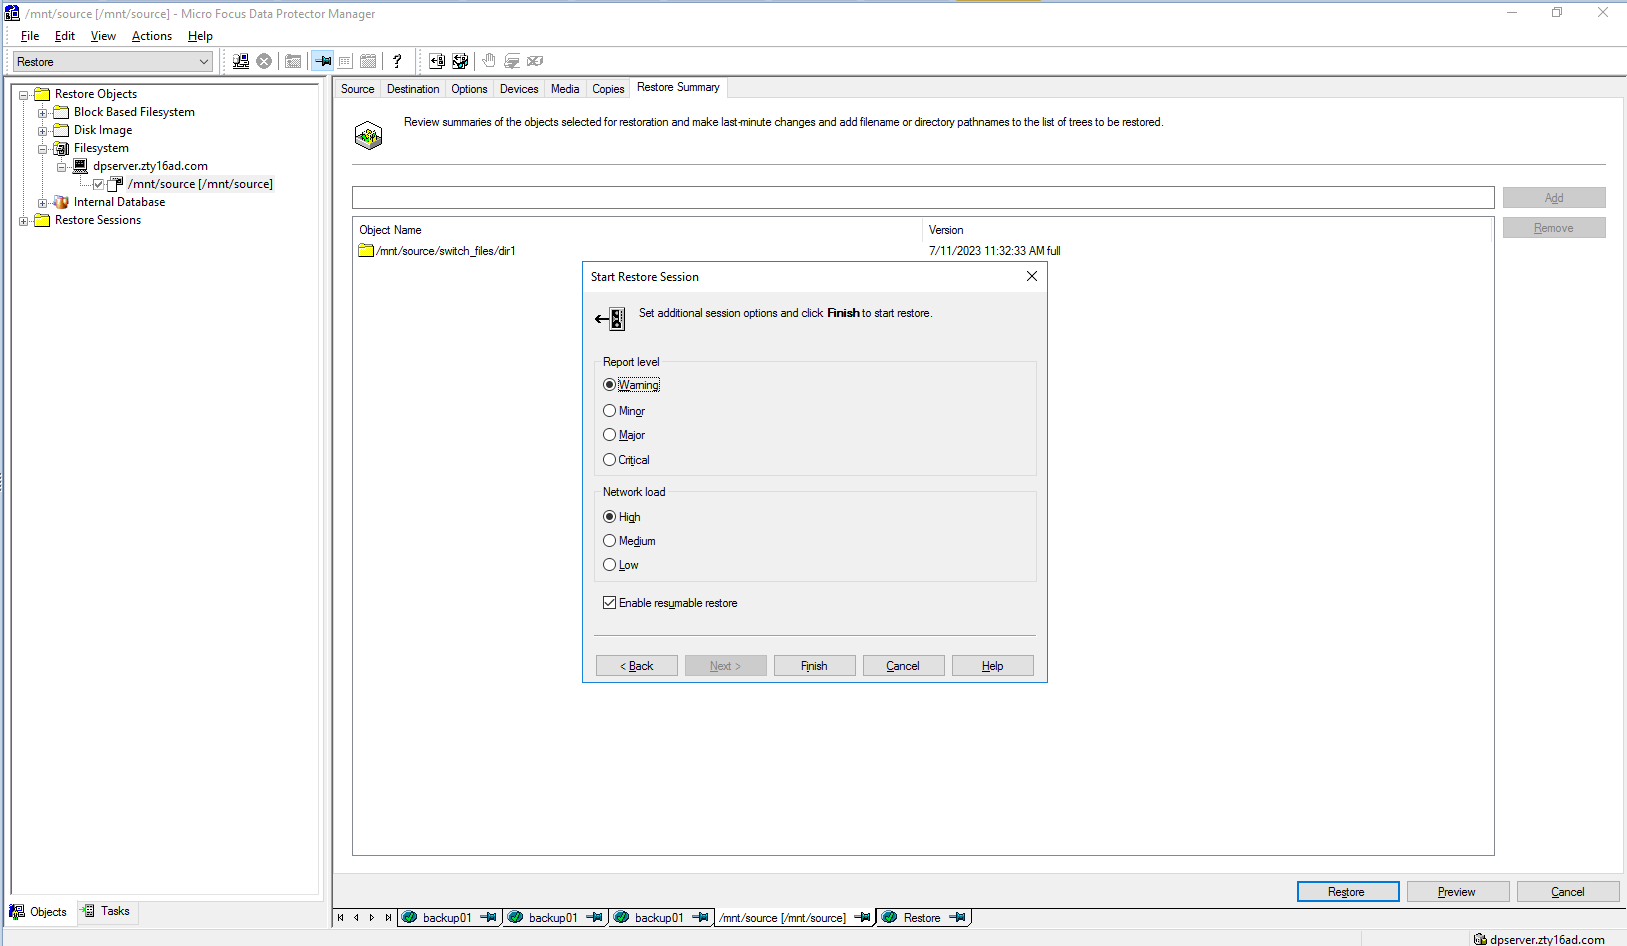 Step7 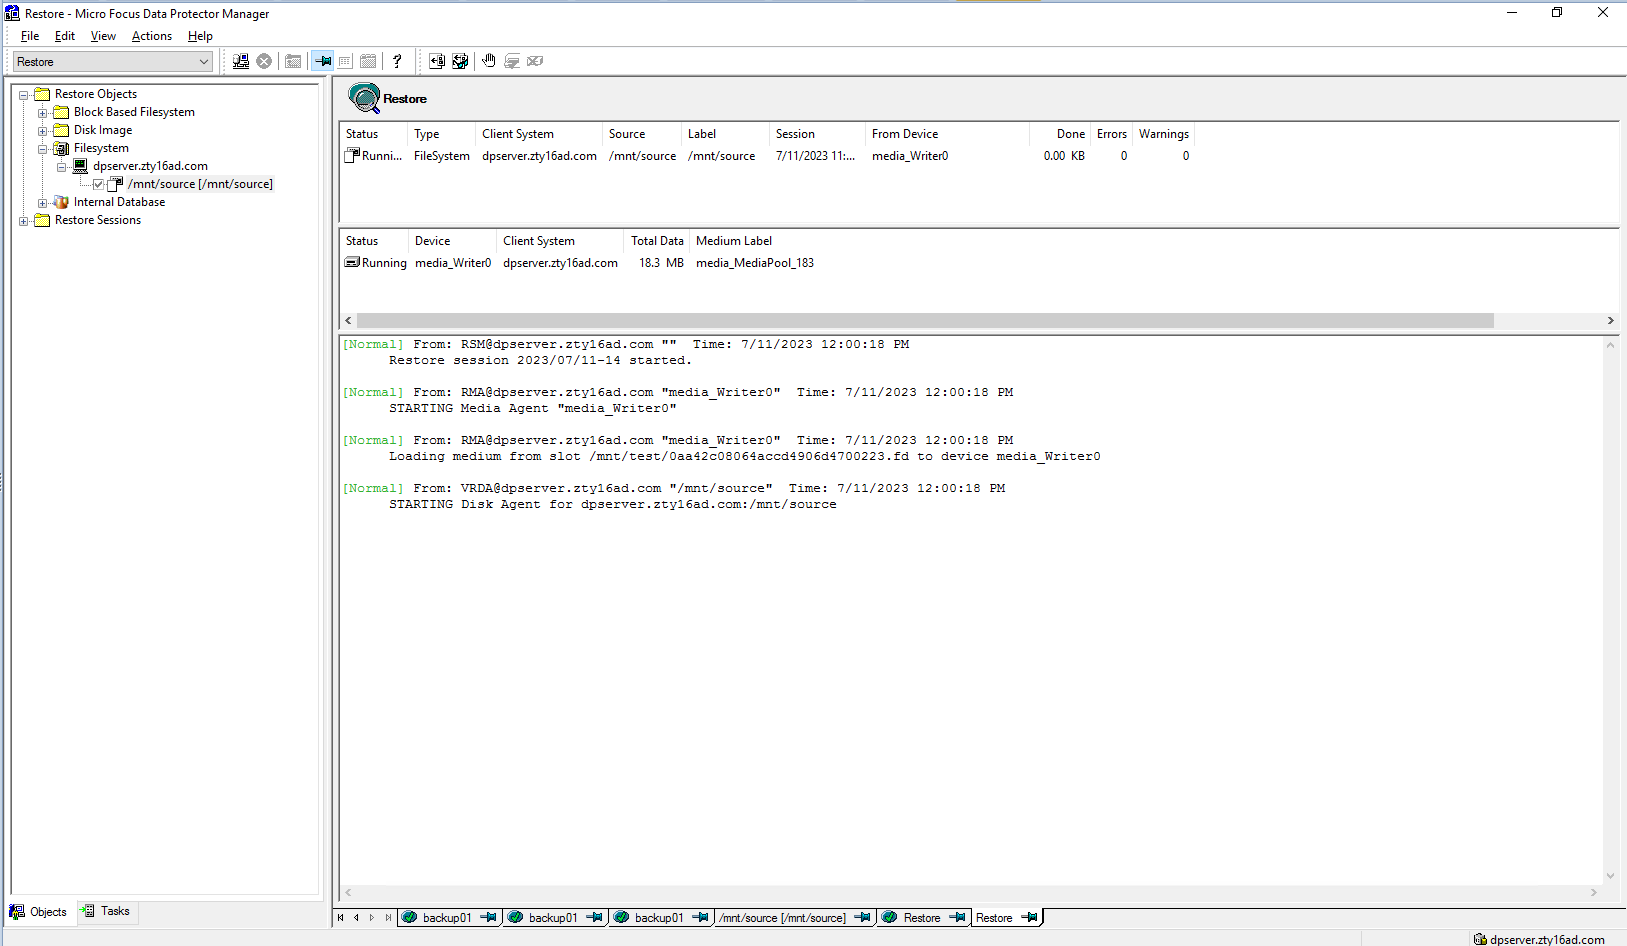 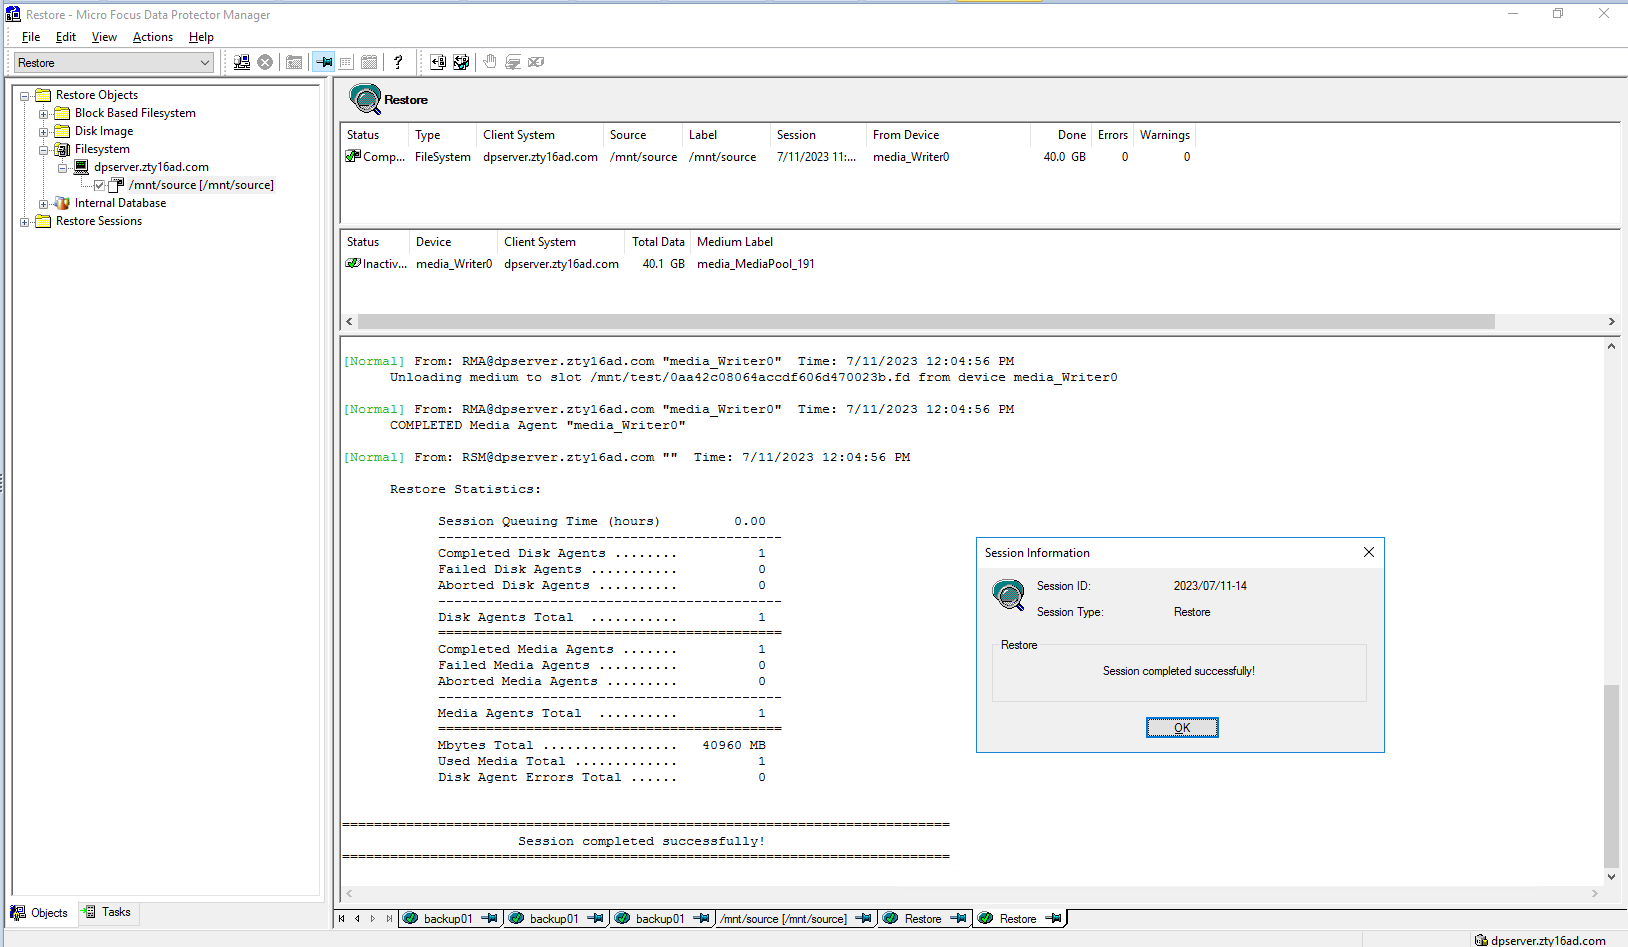 Start restore time: 12:00:18 AM End restore time: 12:04:56 AM Total restore time: 4min38s  Step8 Performance of Dataturbo client 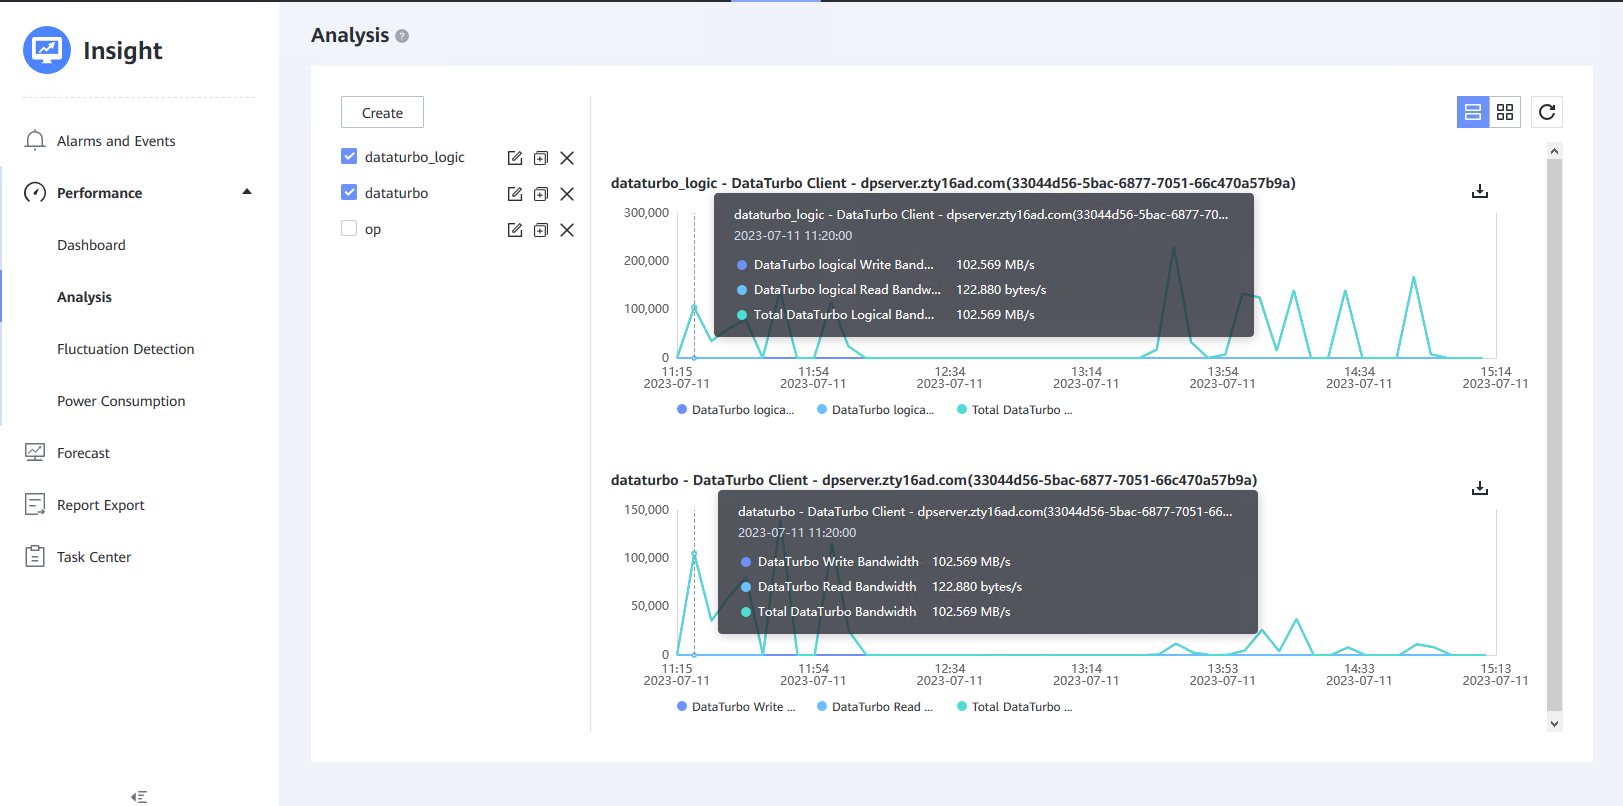 |
3.7 Deduplication&compression switch enable Backup and Restore
Test Purpose | Deduplication&compression switch enable backup and restore |
Test Networking | Huawei OceanProtect Backup Storage Function Compatibility Test Networking |
Prerequisites |
|
Test Procedure |
|
Expected Result | Step 2 backup finishes successfully Step 3 backup finishes successfully Step 5 restore finishes successfully and restored files are the same as original files.Step 7 restore finishes successfully and restored files are the same as original files. Step 8 the Dataturbo logical write bandwidth is basically higher than the Dataturbo write bandwidth. |
Test Result | Passed Step1  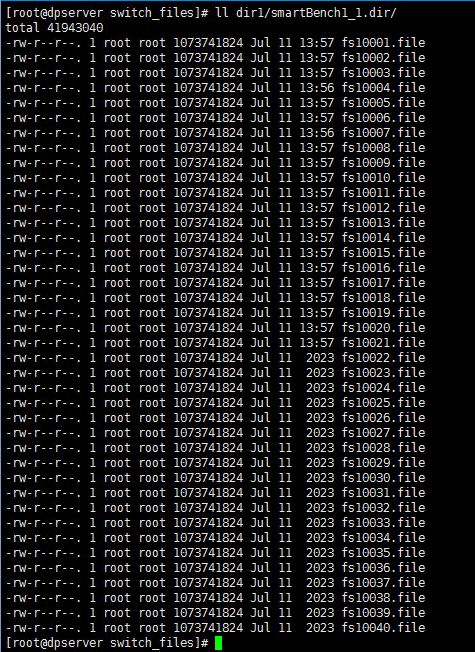  Step2  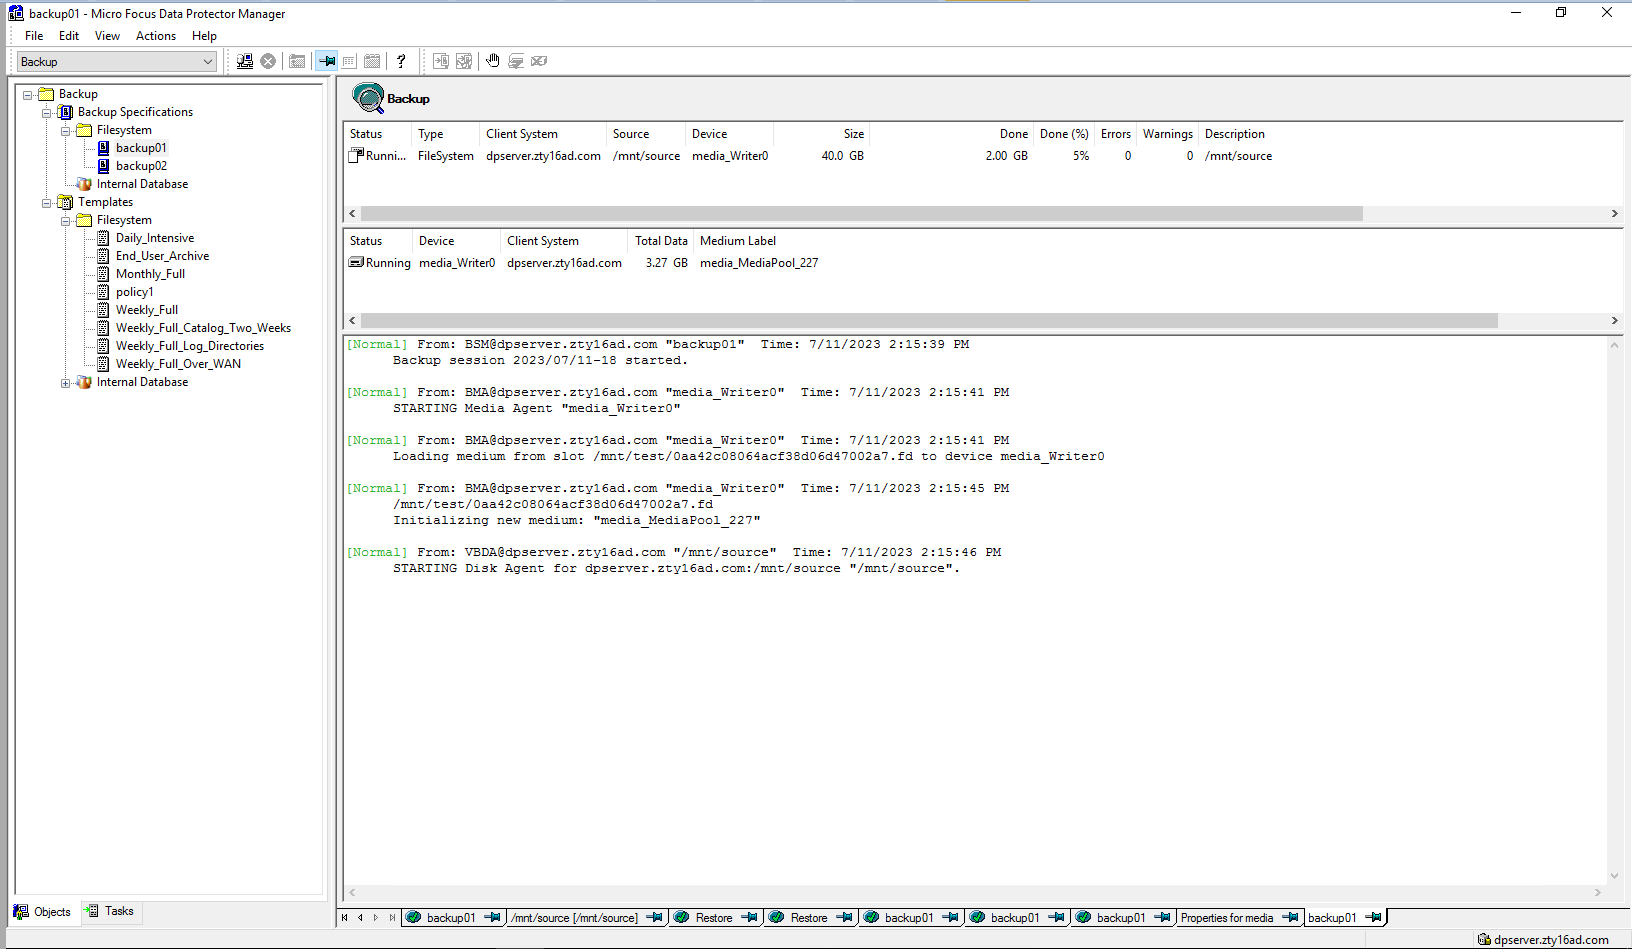 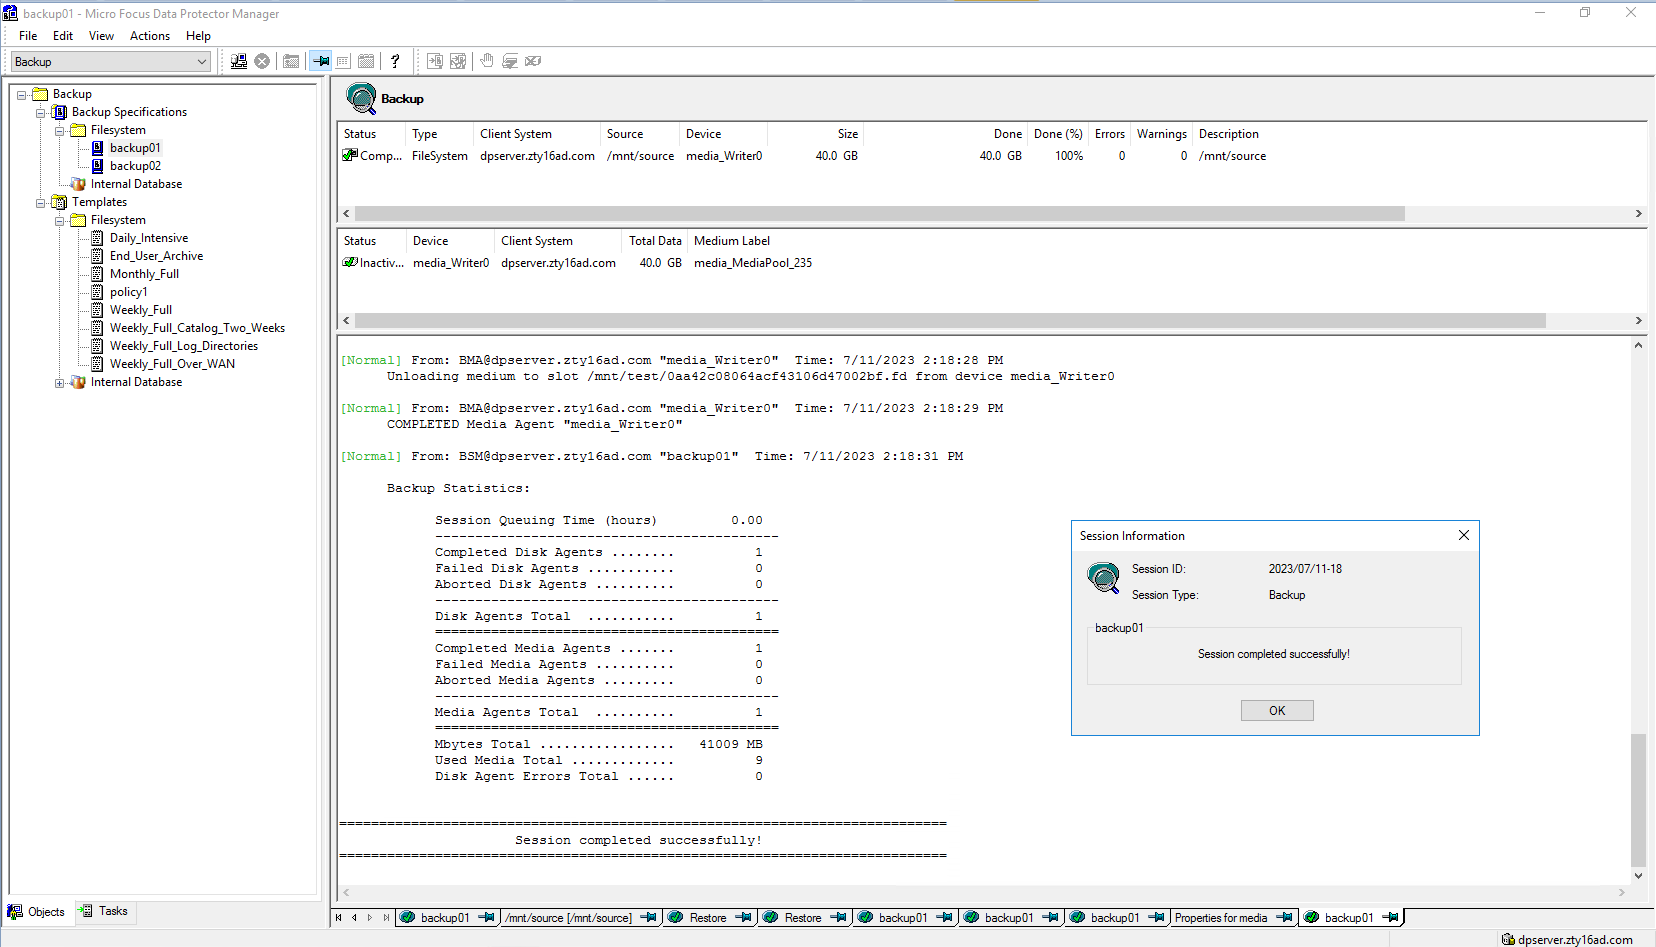 Backup start time: 2:15:39 PM Backup end time: 2:18:31 PM Backup total time:2min52s Step3  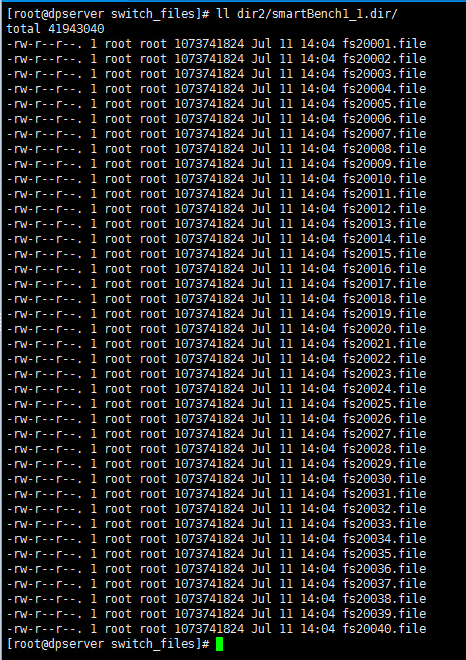 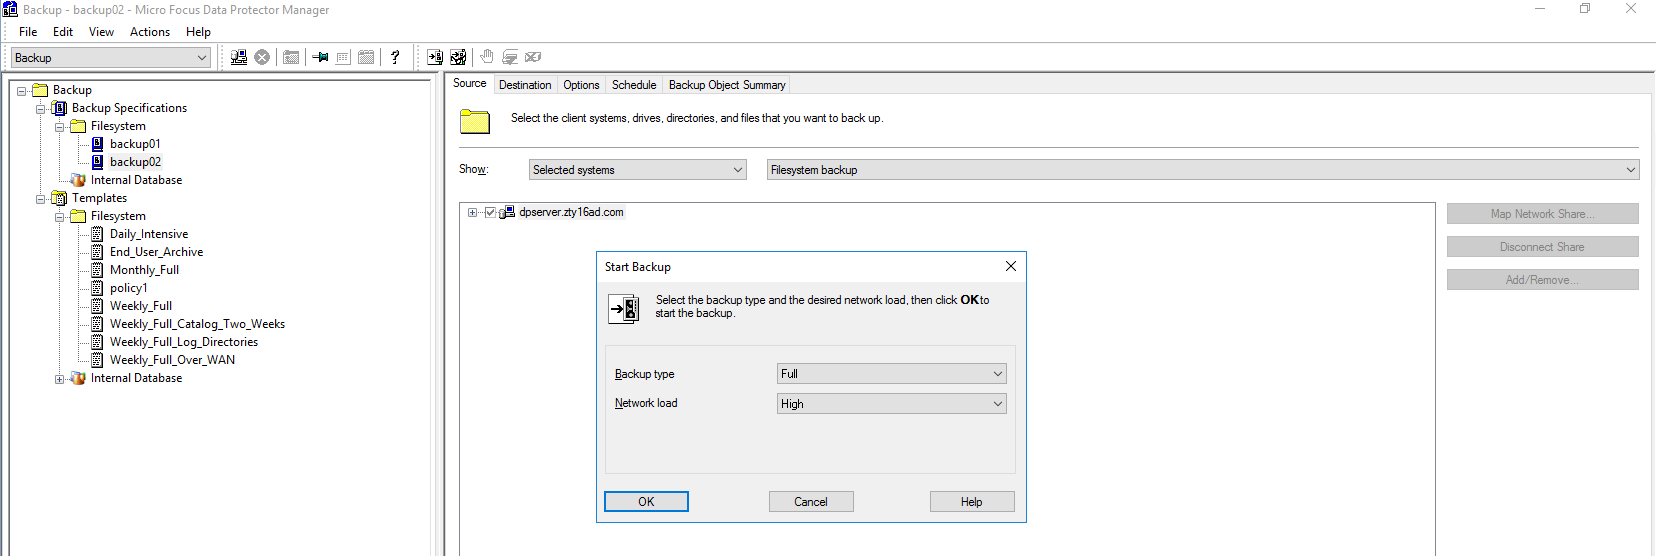 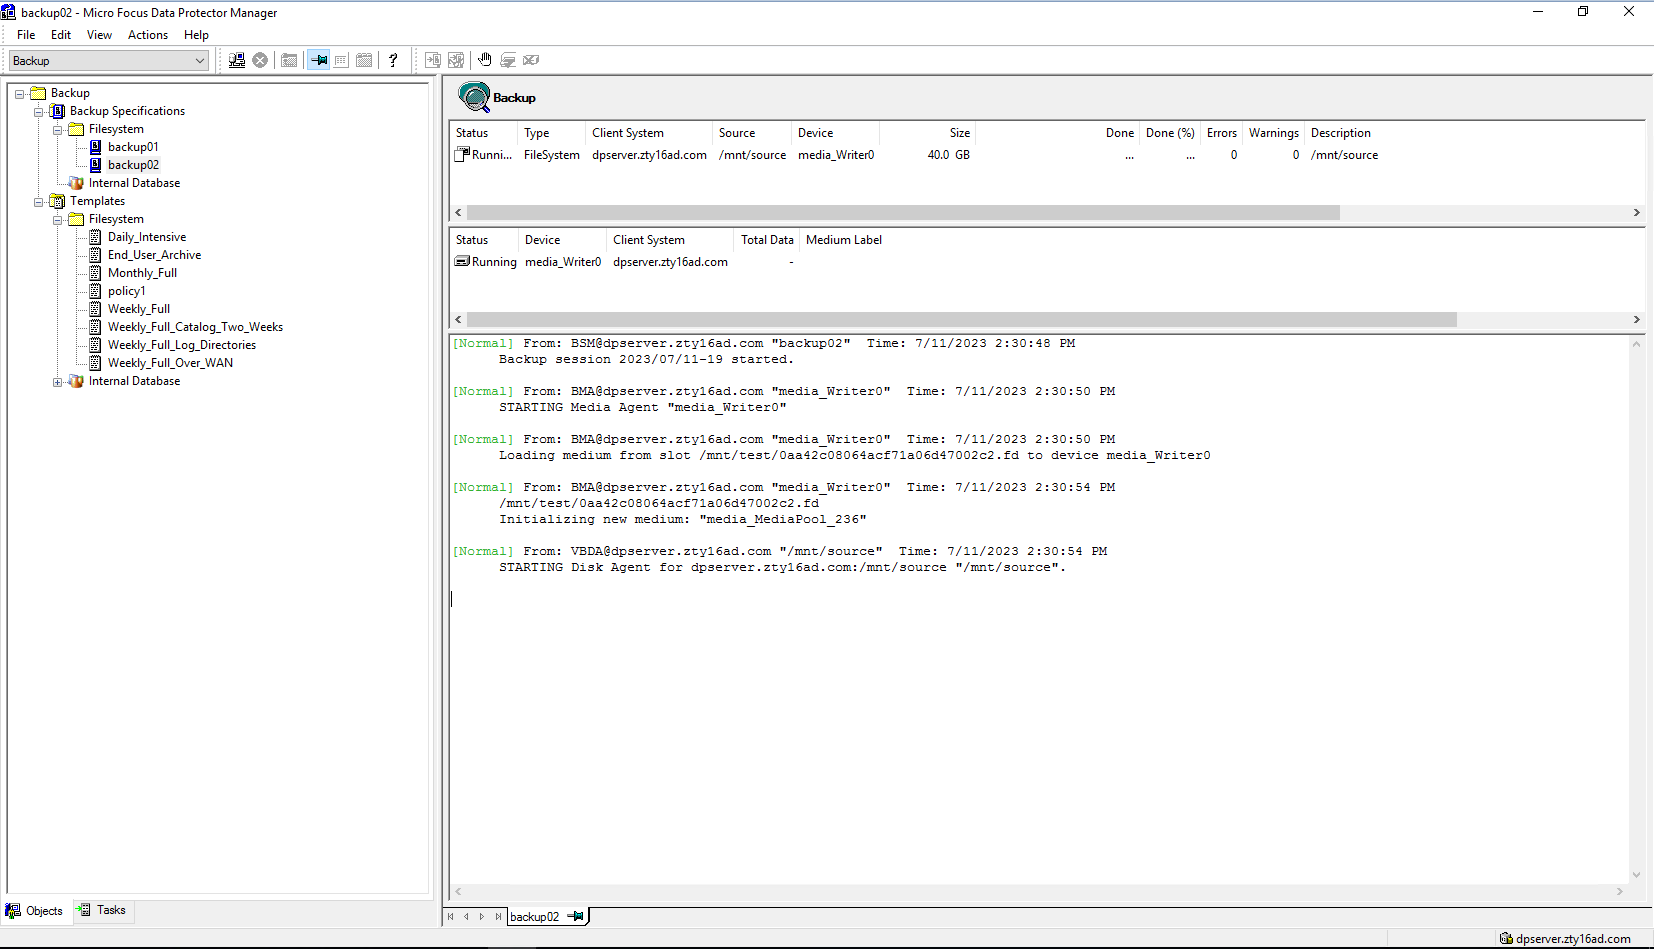 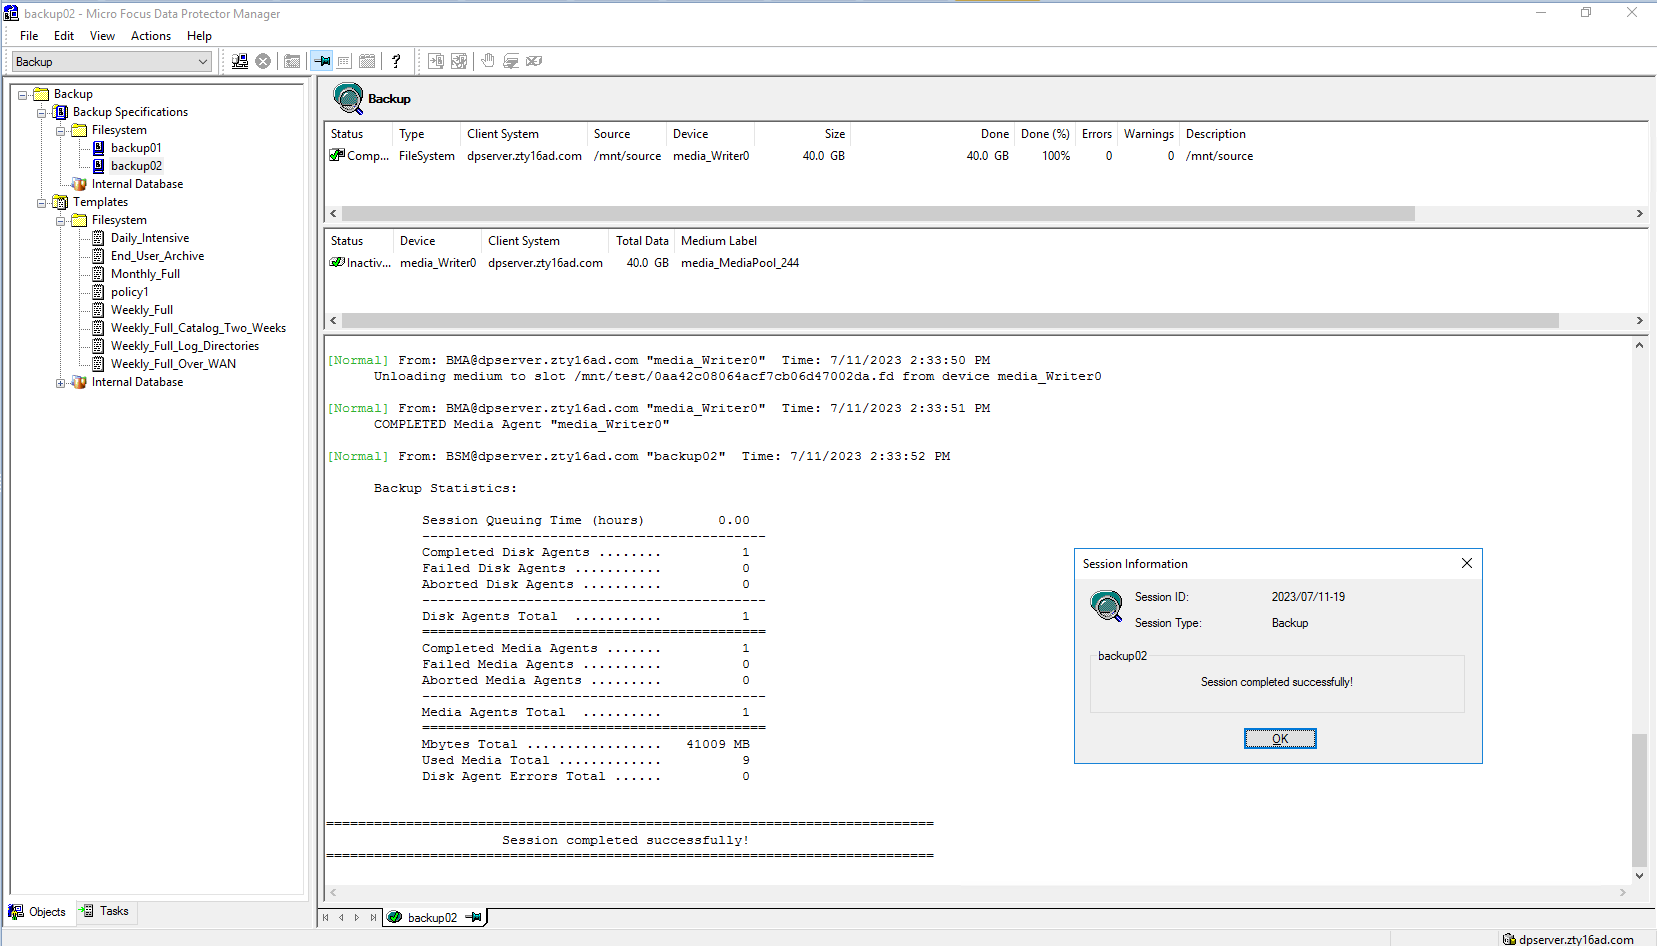 Backup start time: 2:30:48 PM Backup end time: 2:33:52 PM Backup total time:3min4s Step4 Click Restore button  Select the backup list  Select the files or folders to restore 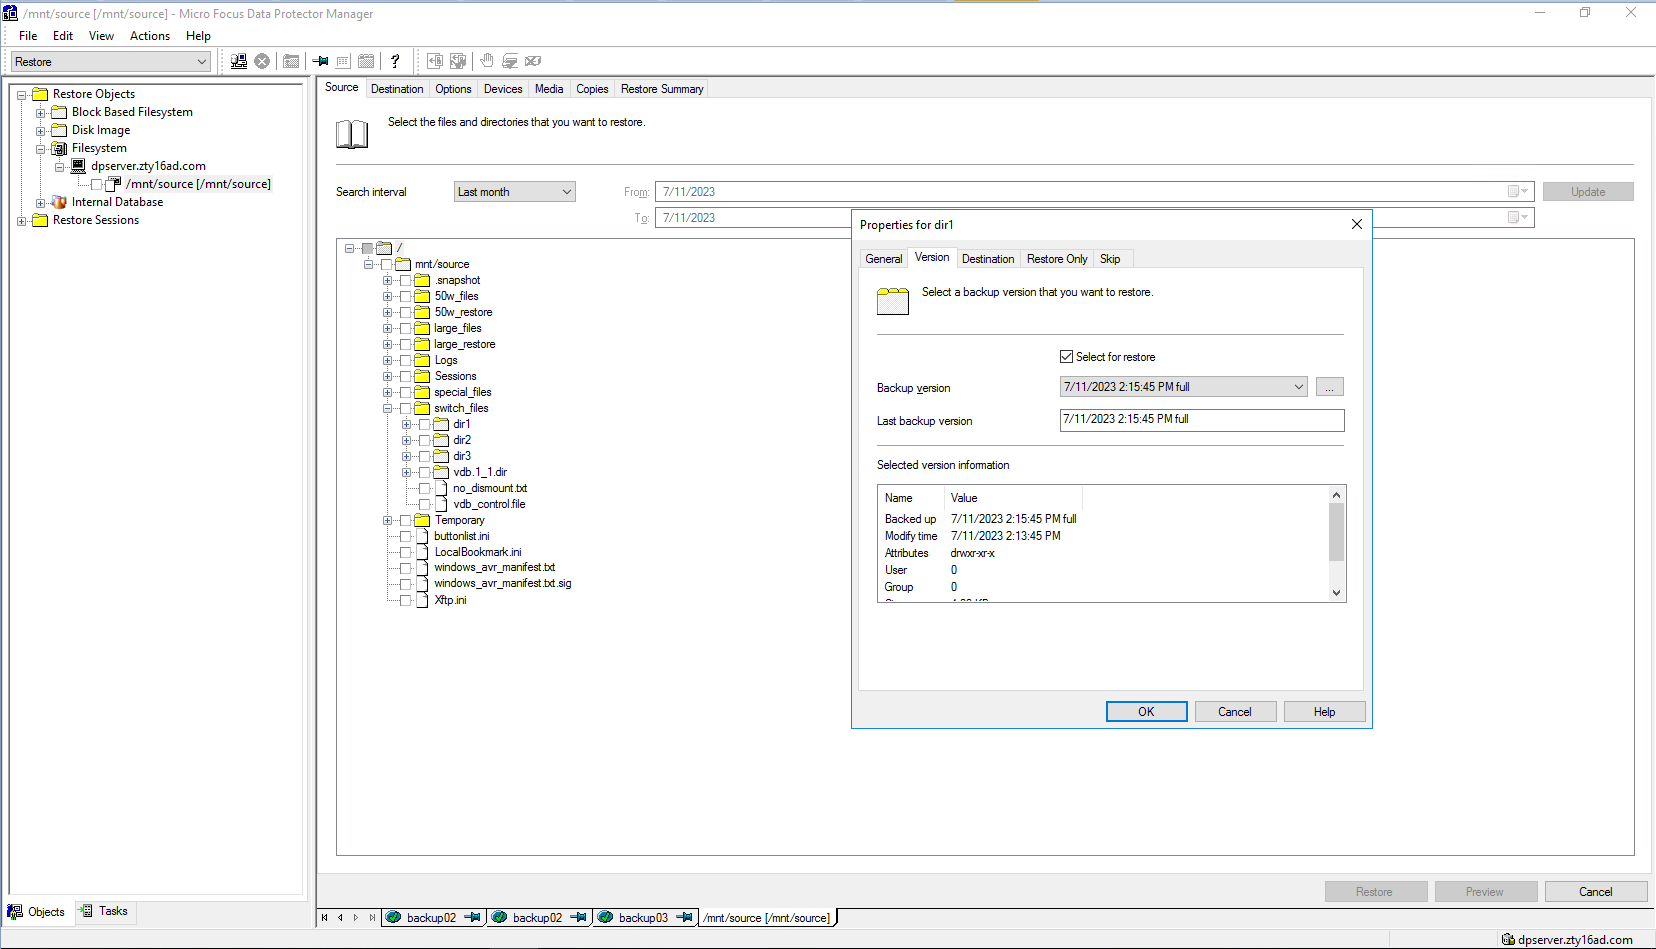 Set destination restore location 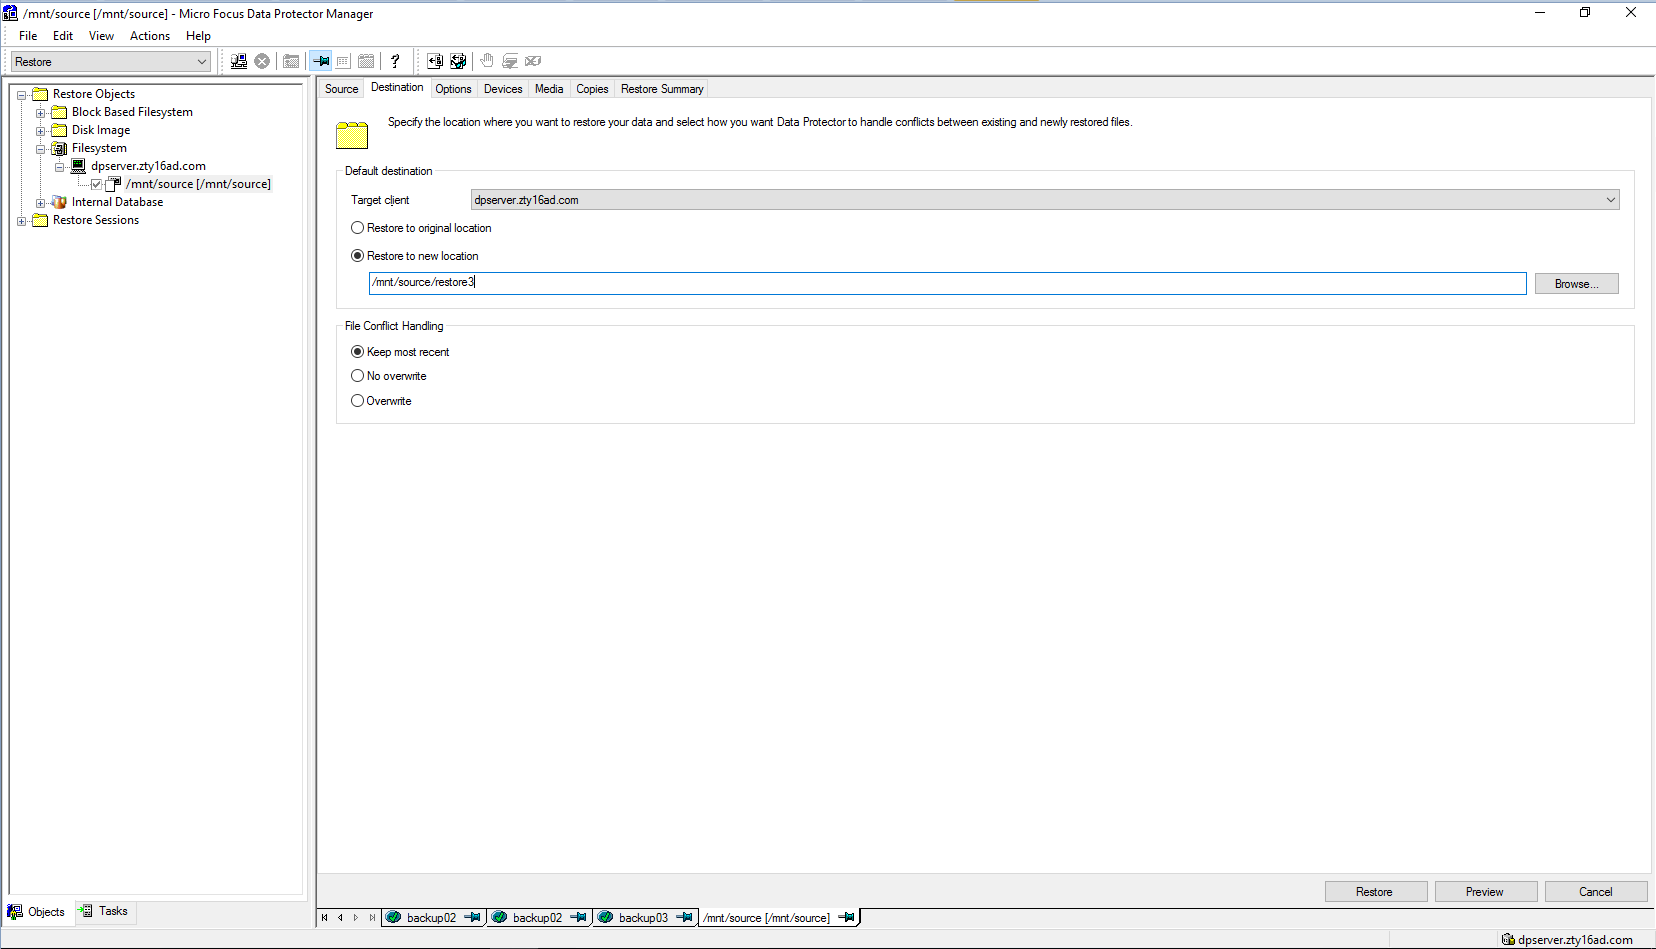 Check information in summary 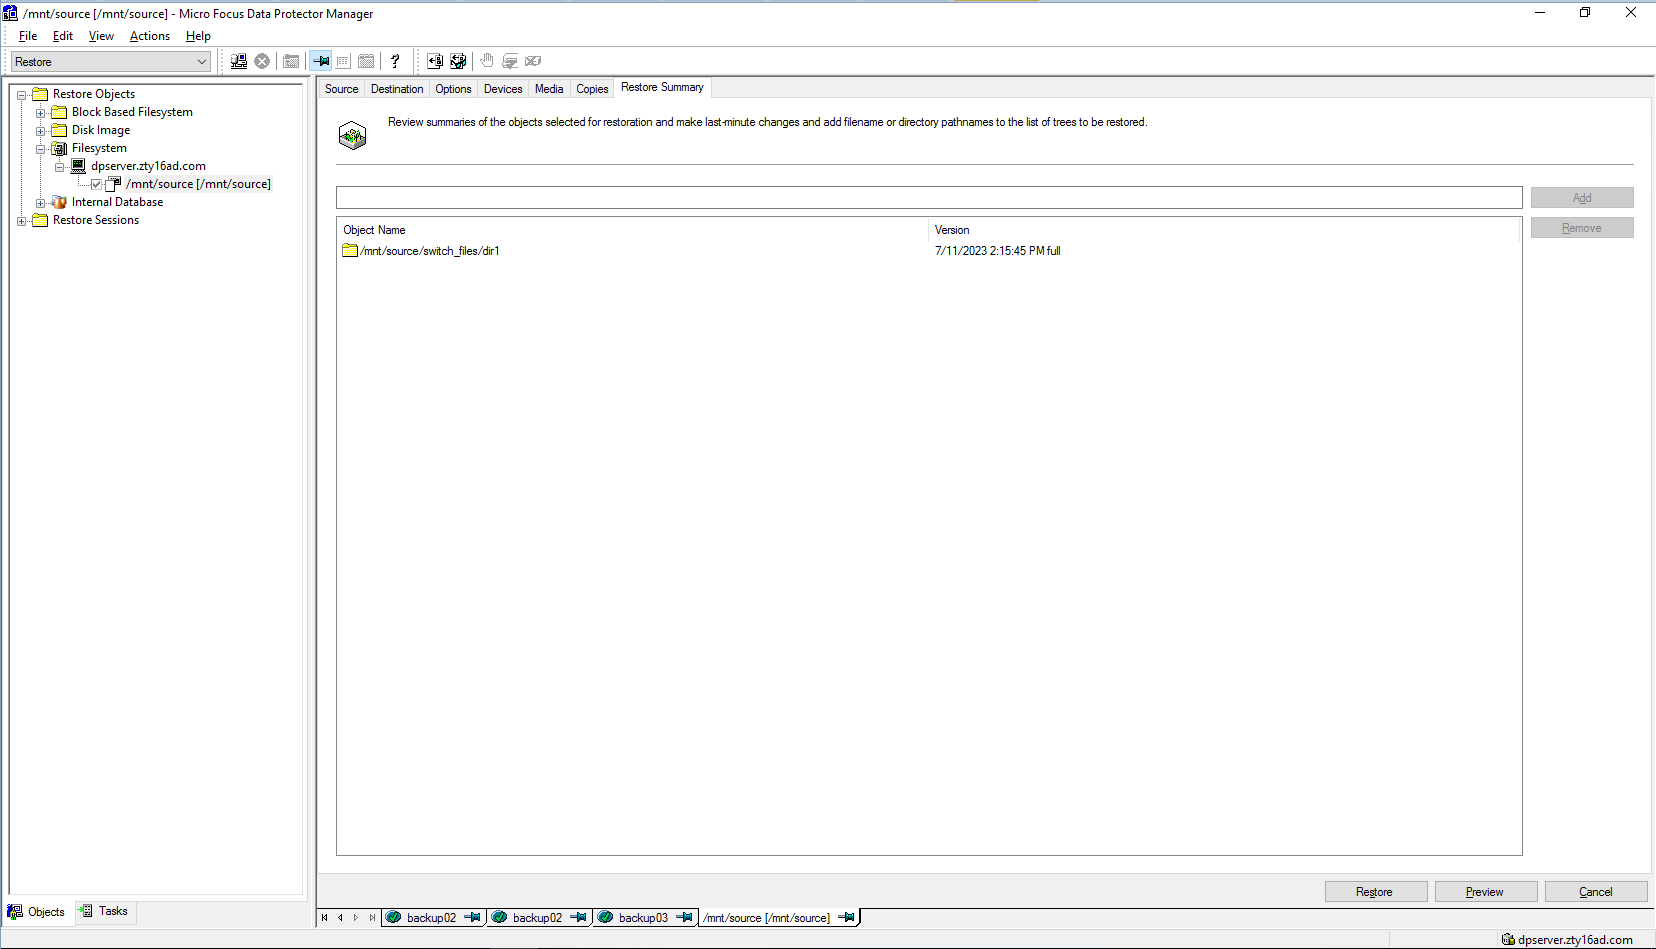 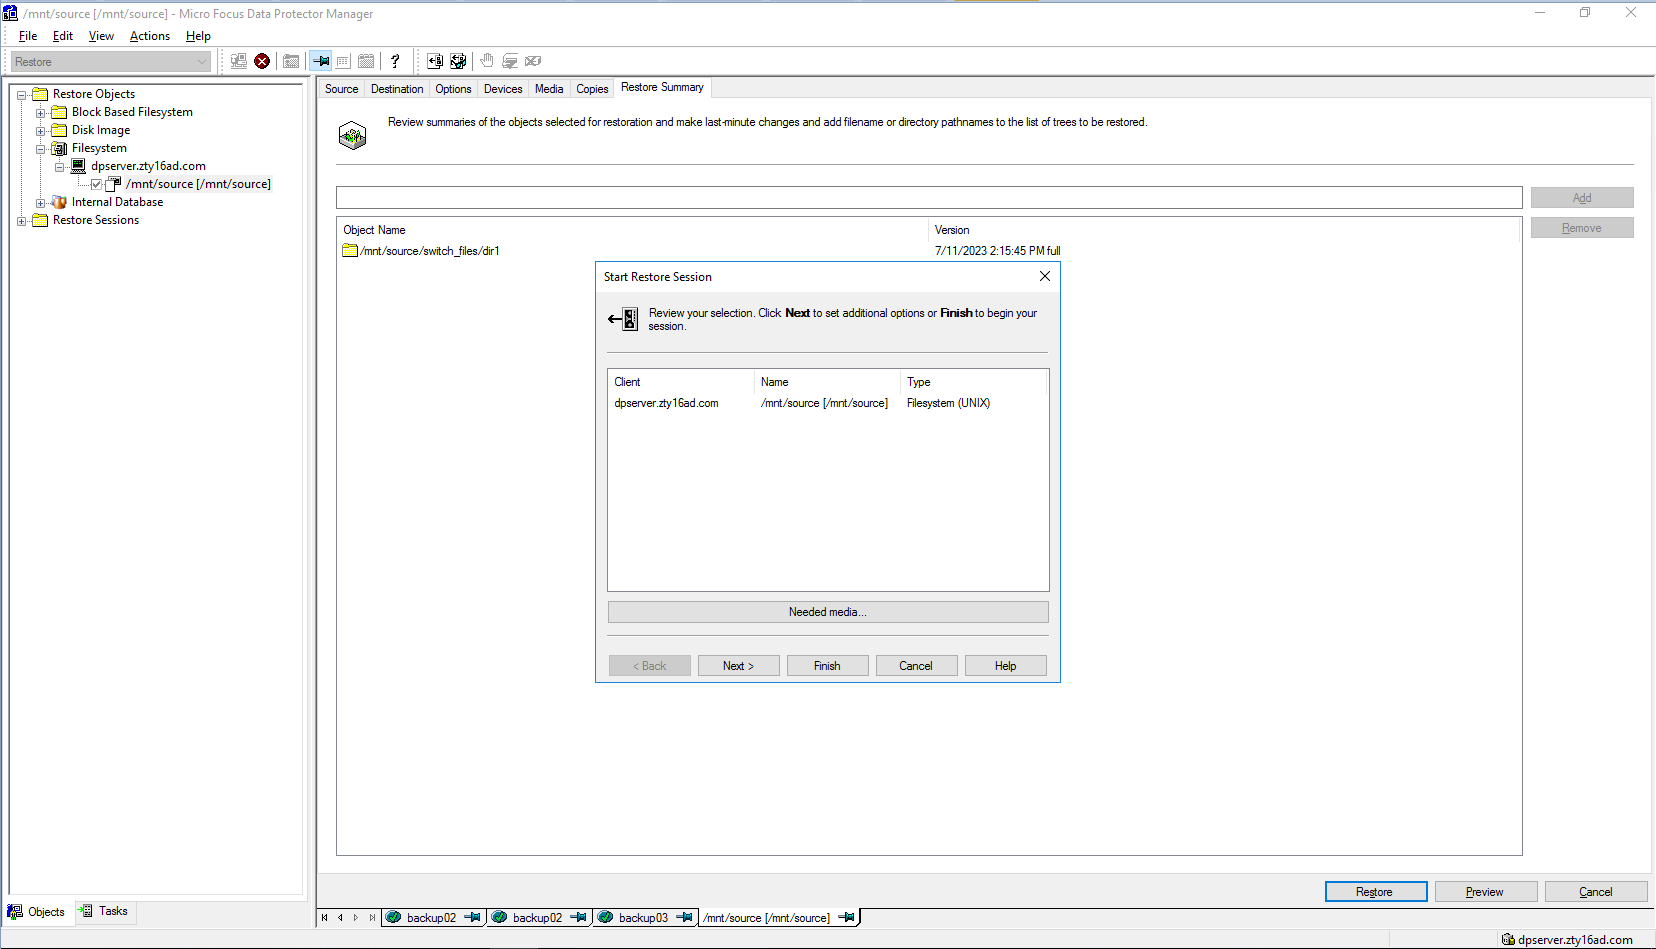 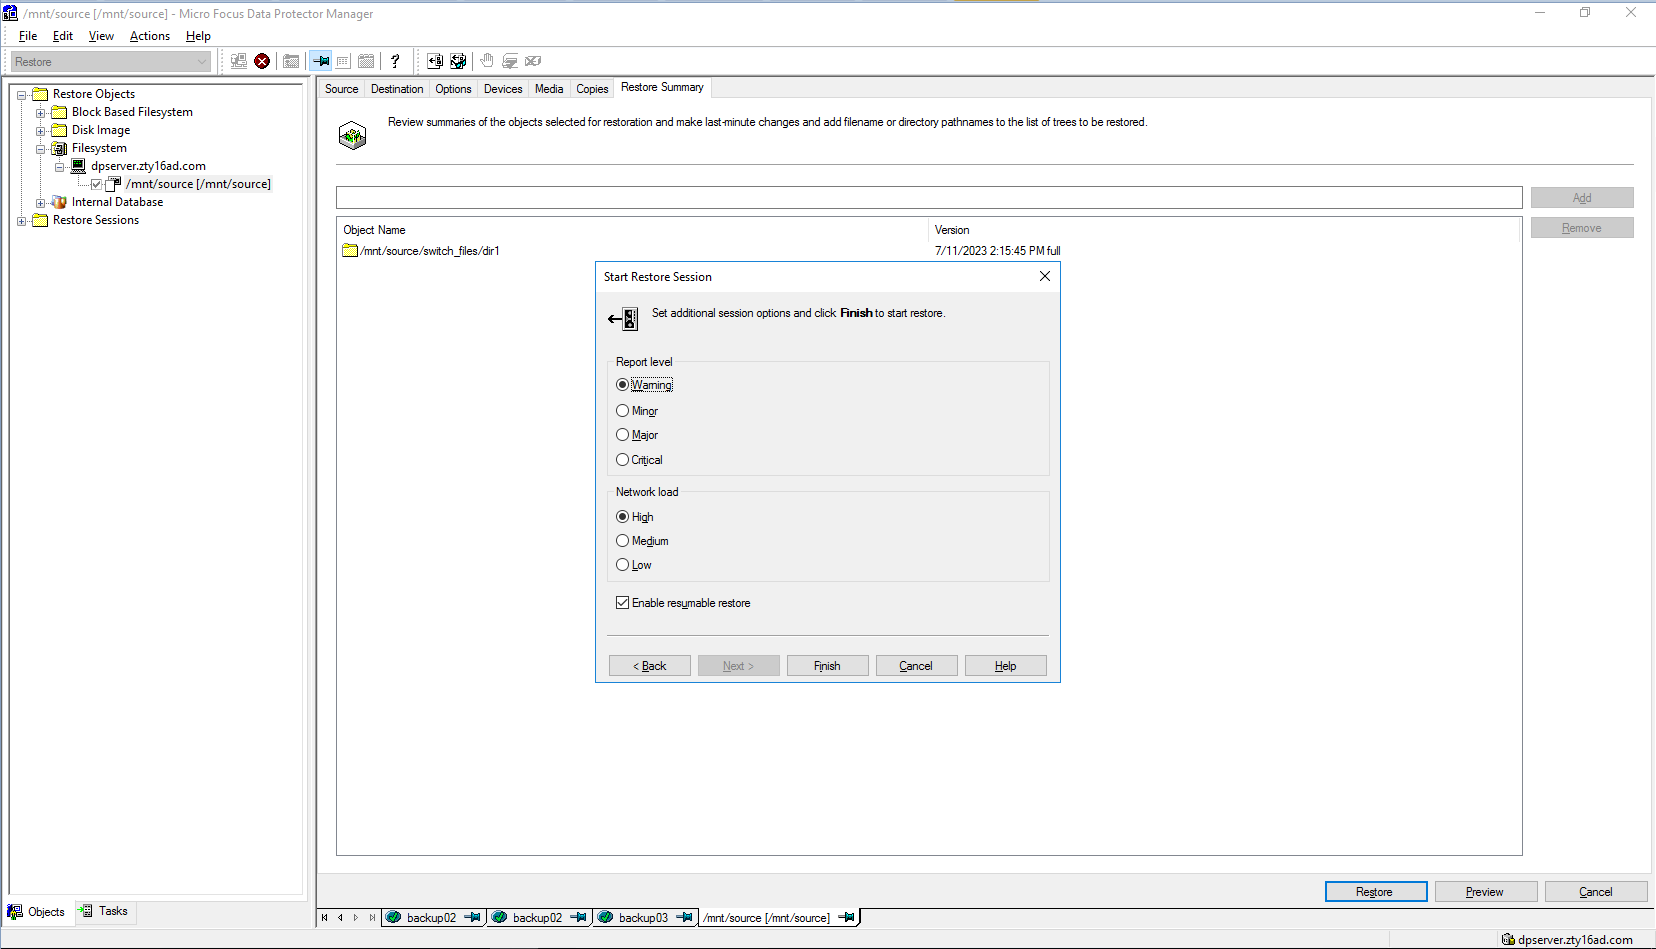 Step5 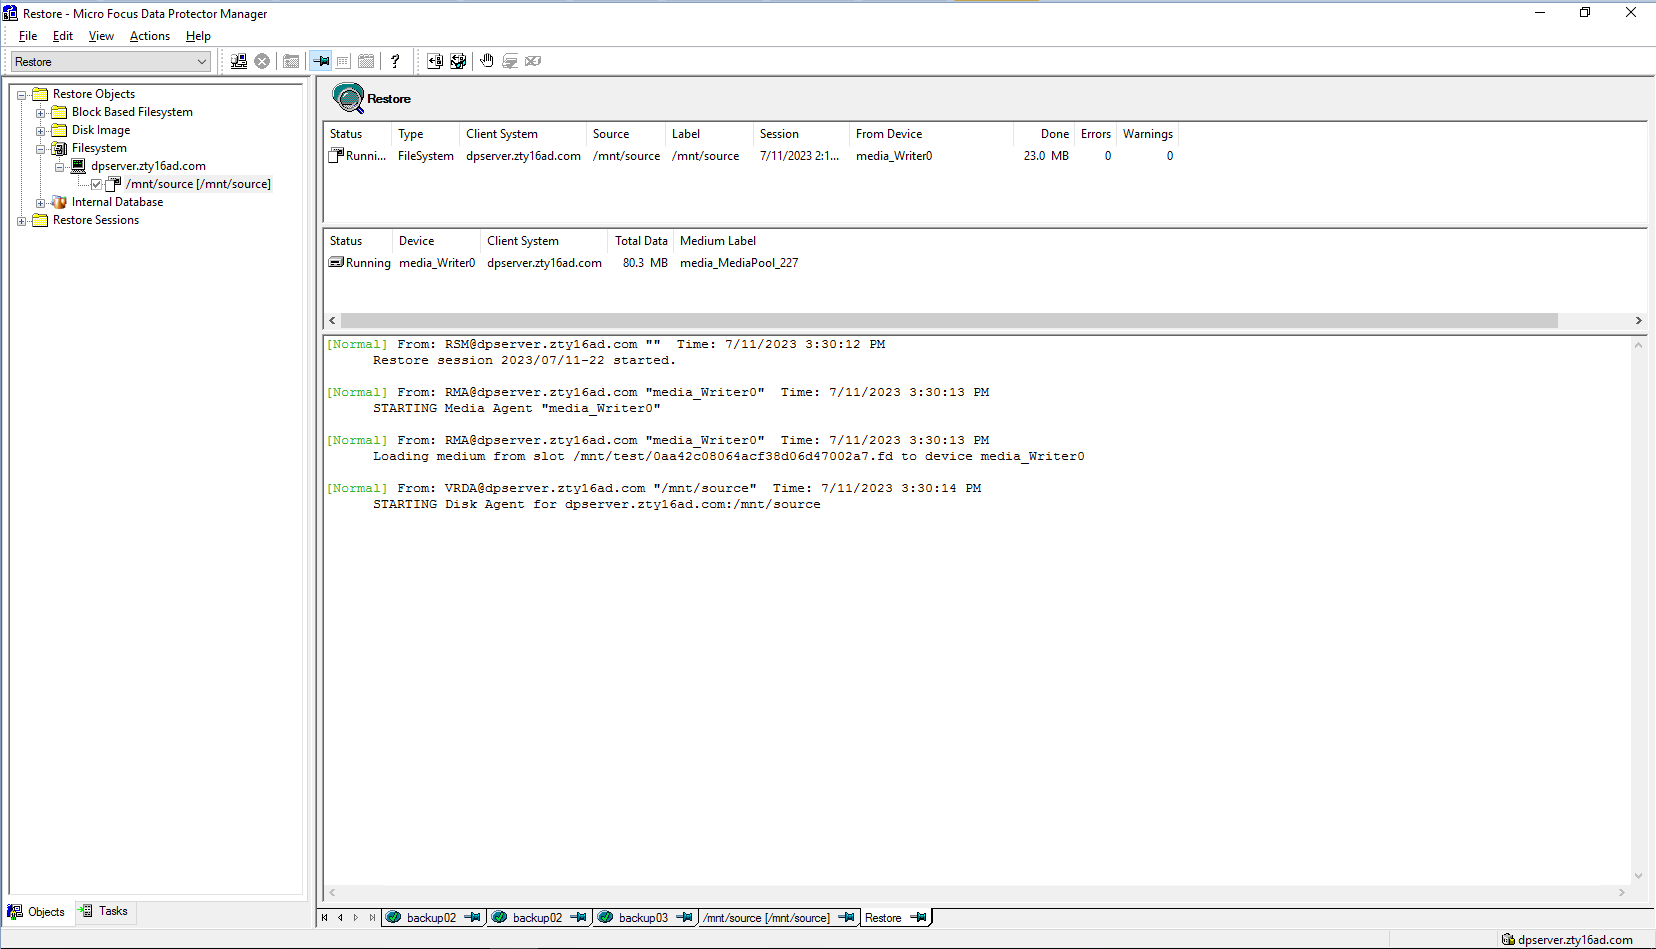 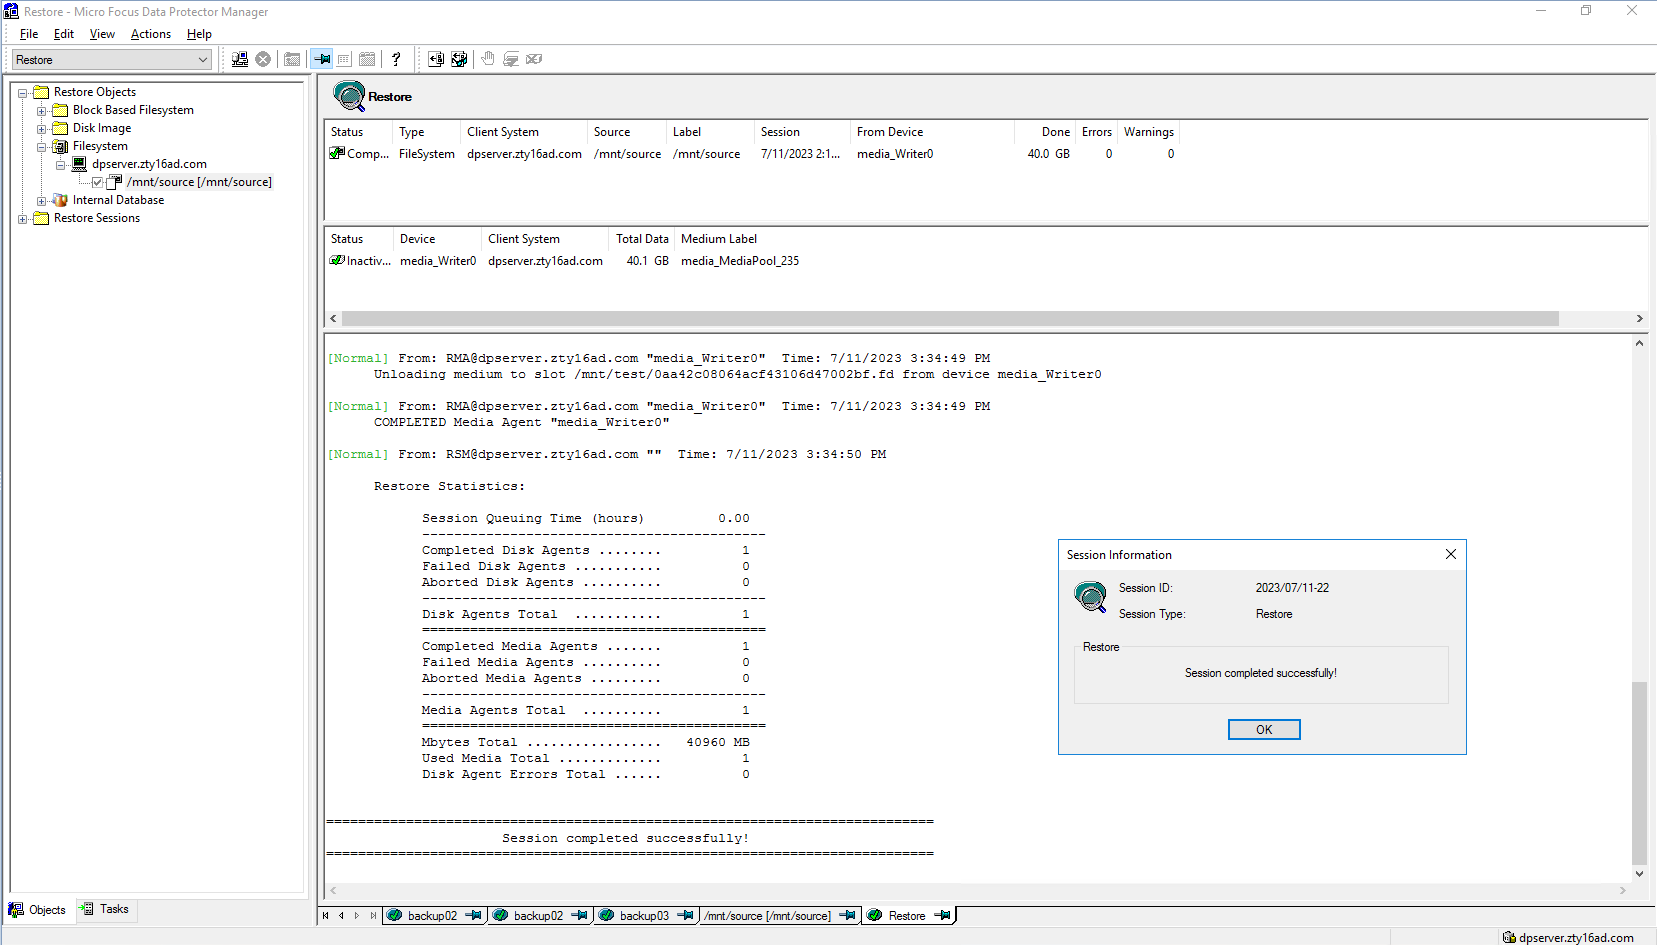  Start restore time: 3:30:12 PM End restore time: 3:34:50 PM Total restore time: 4min38s Step6 Click Restore button  Select the backup list  Select the files or folders to restore 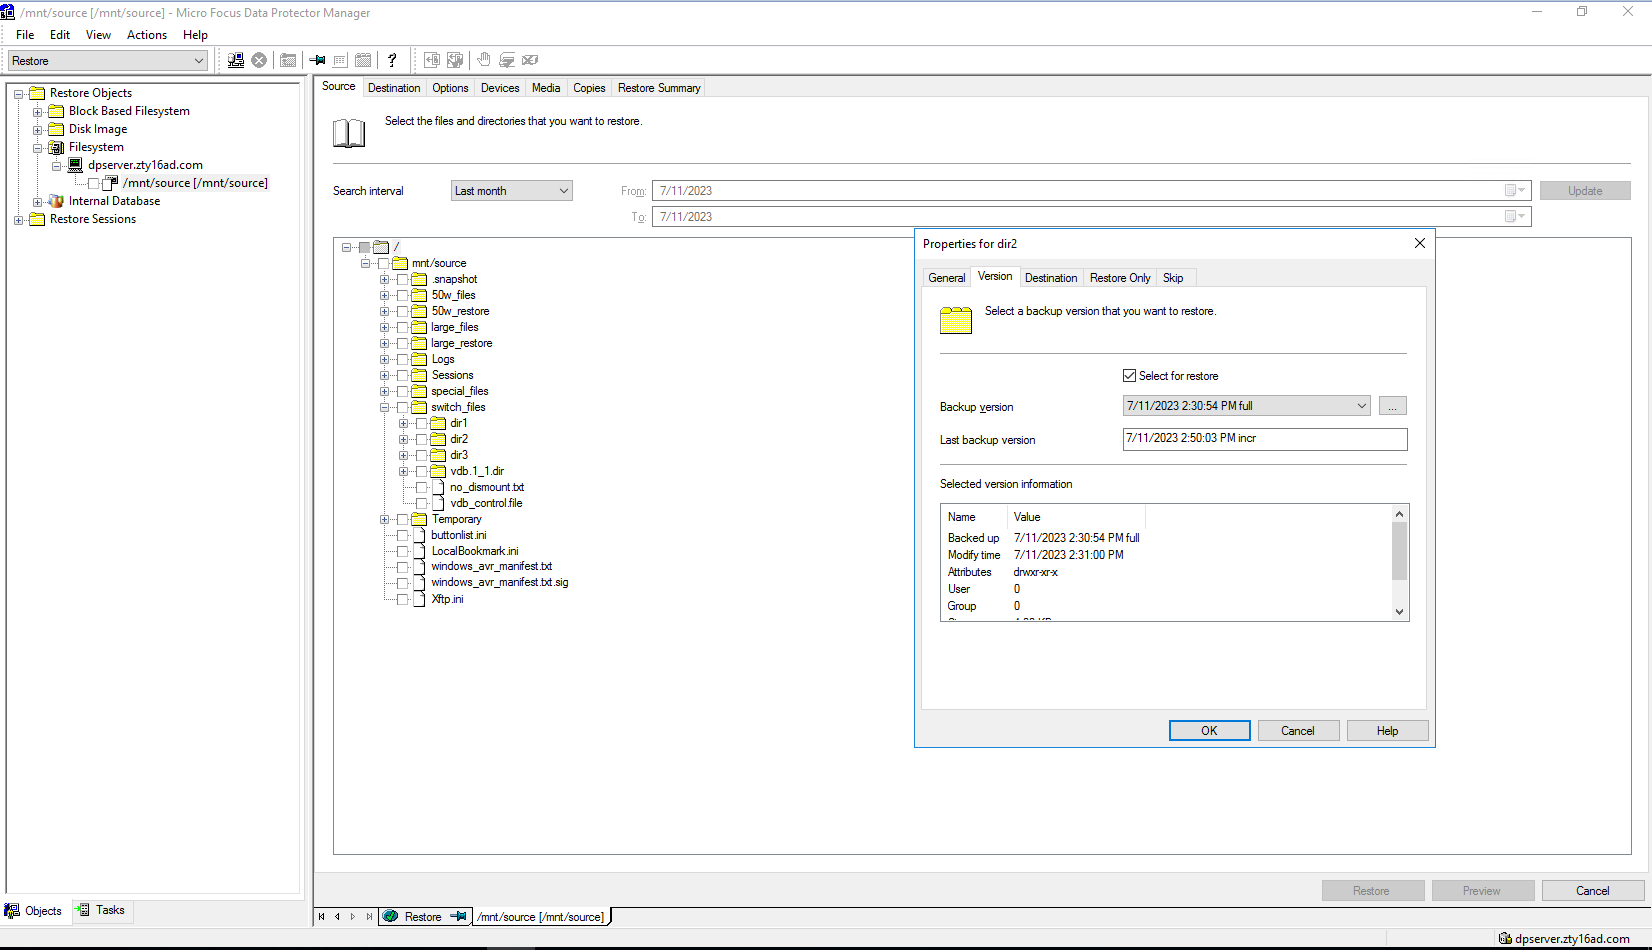 Set destination restore location 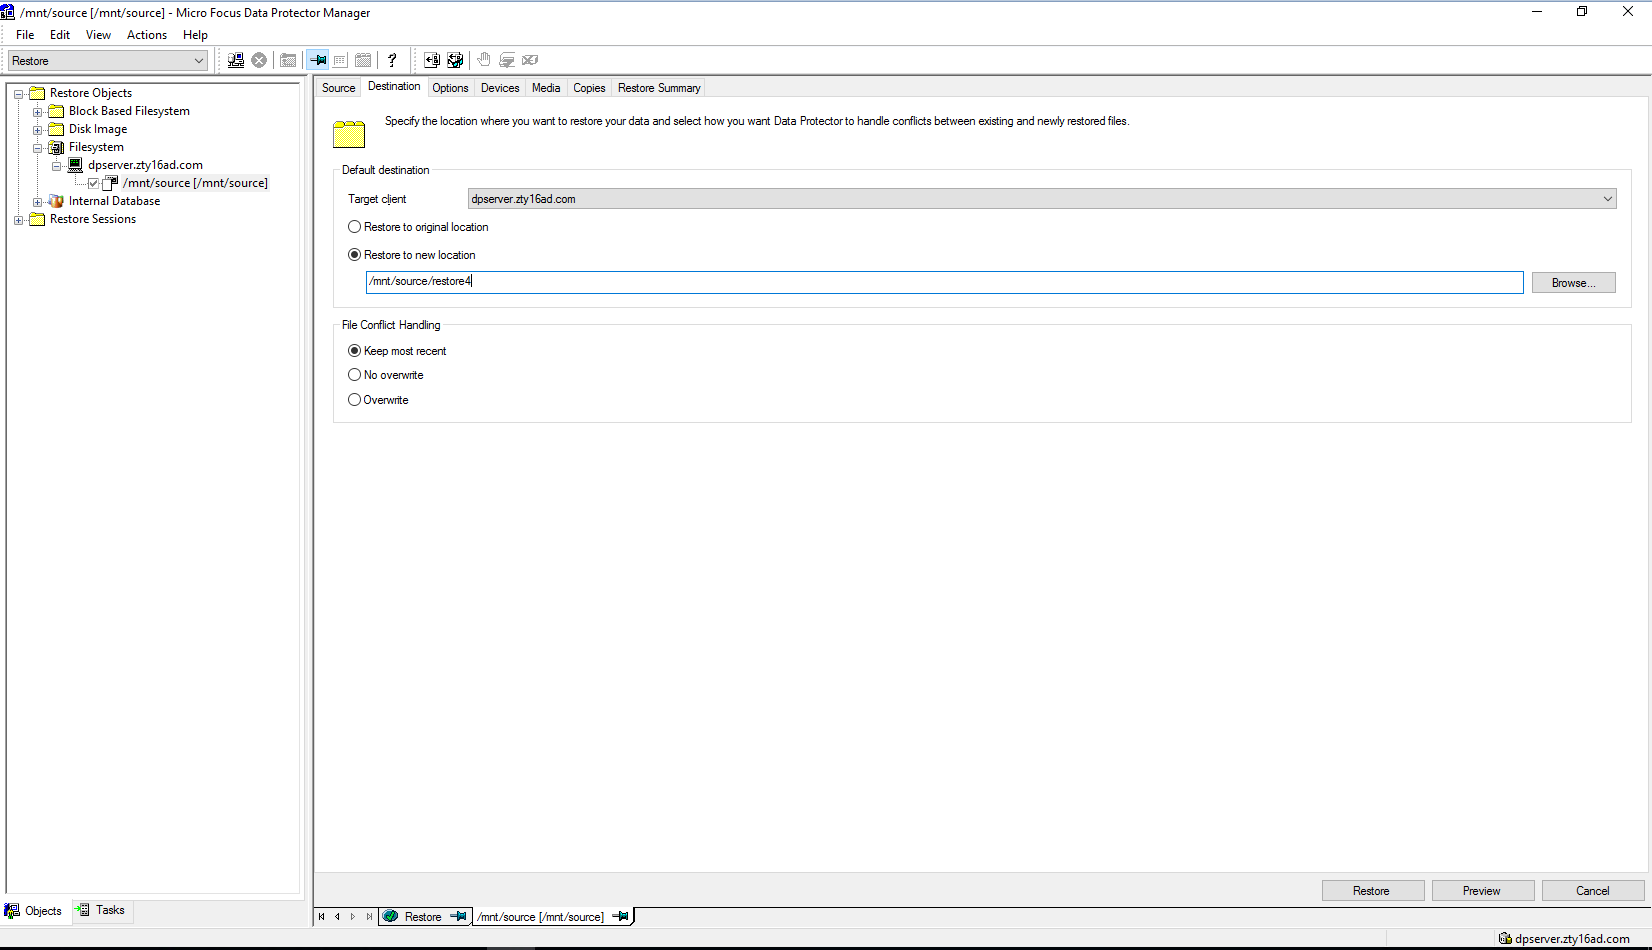 Check information in summary 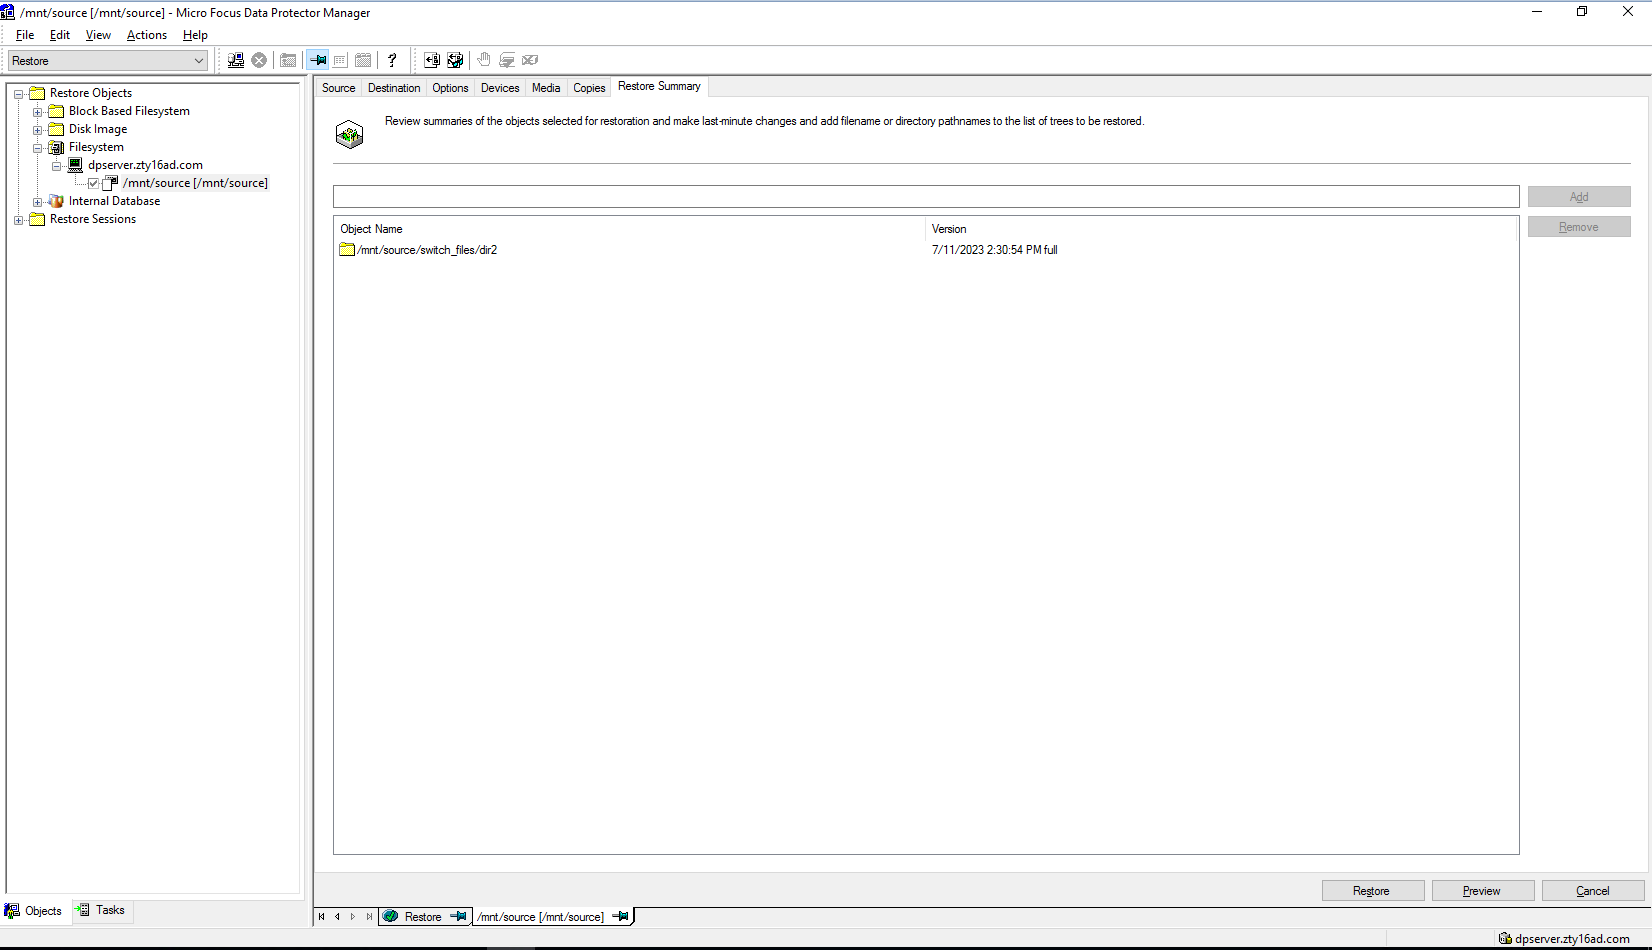 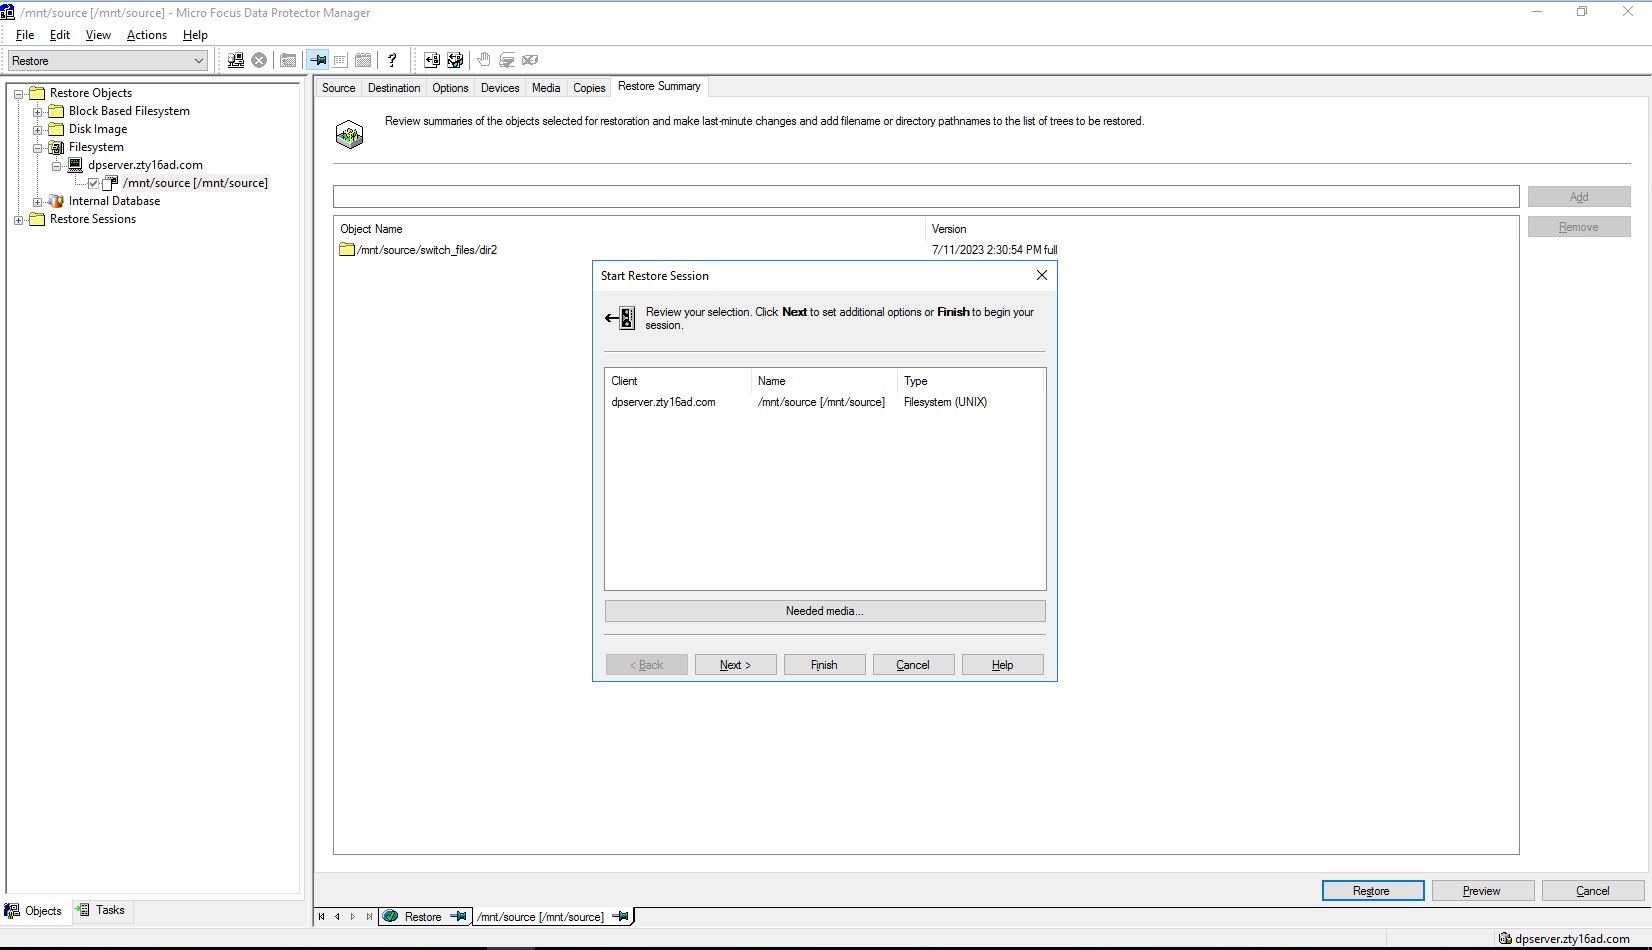 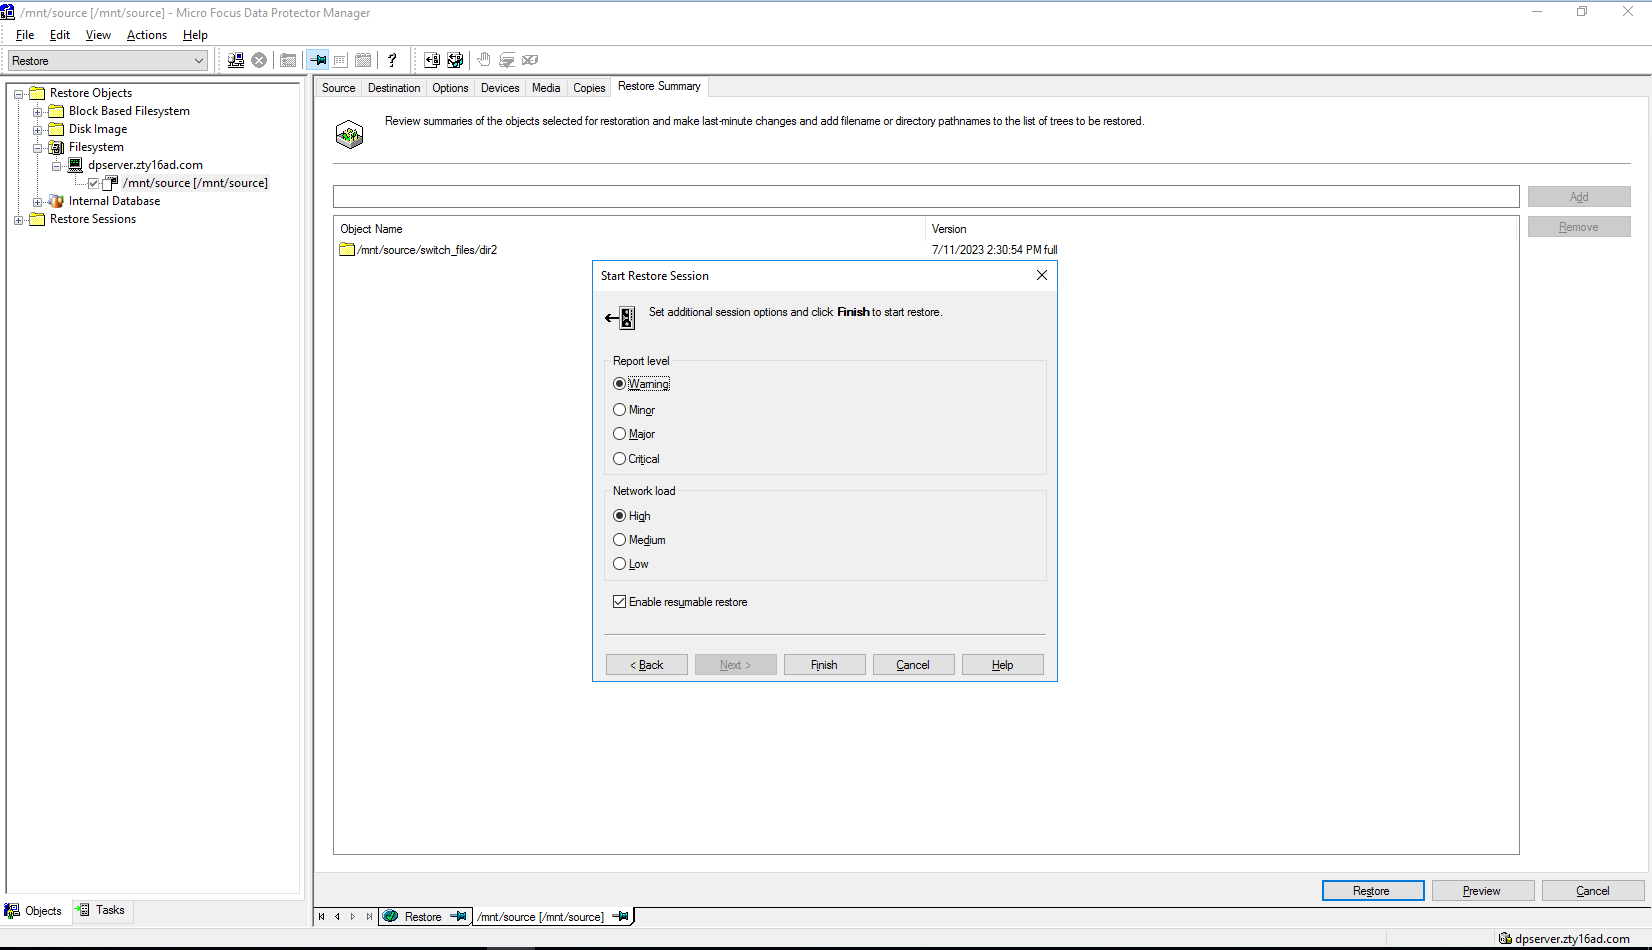 Step7 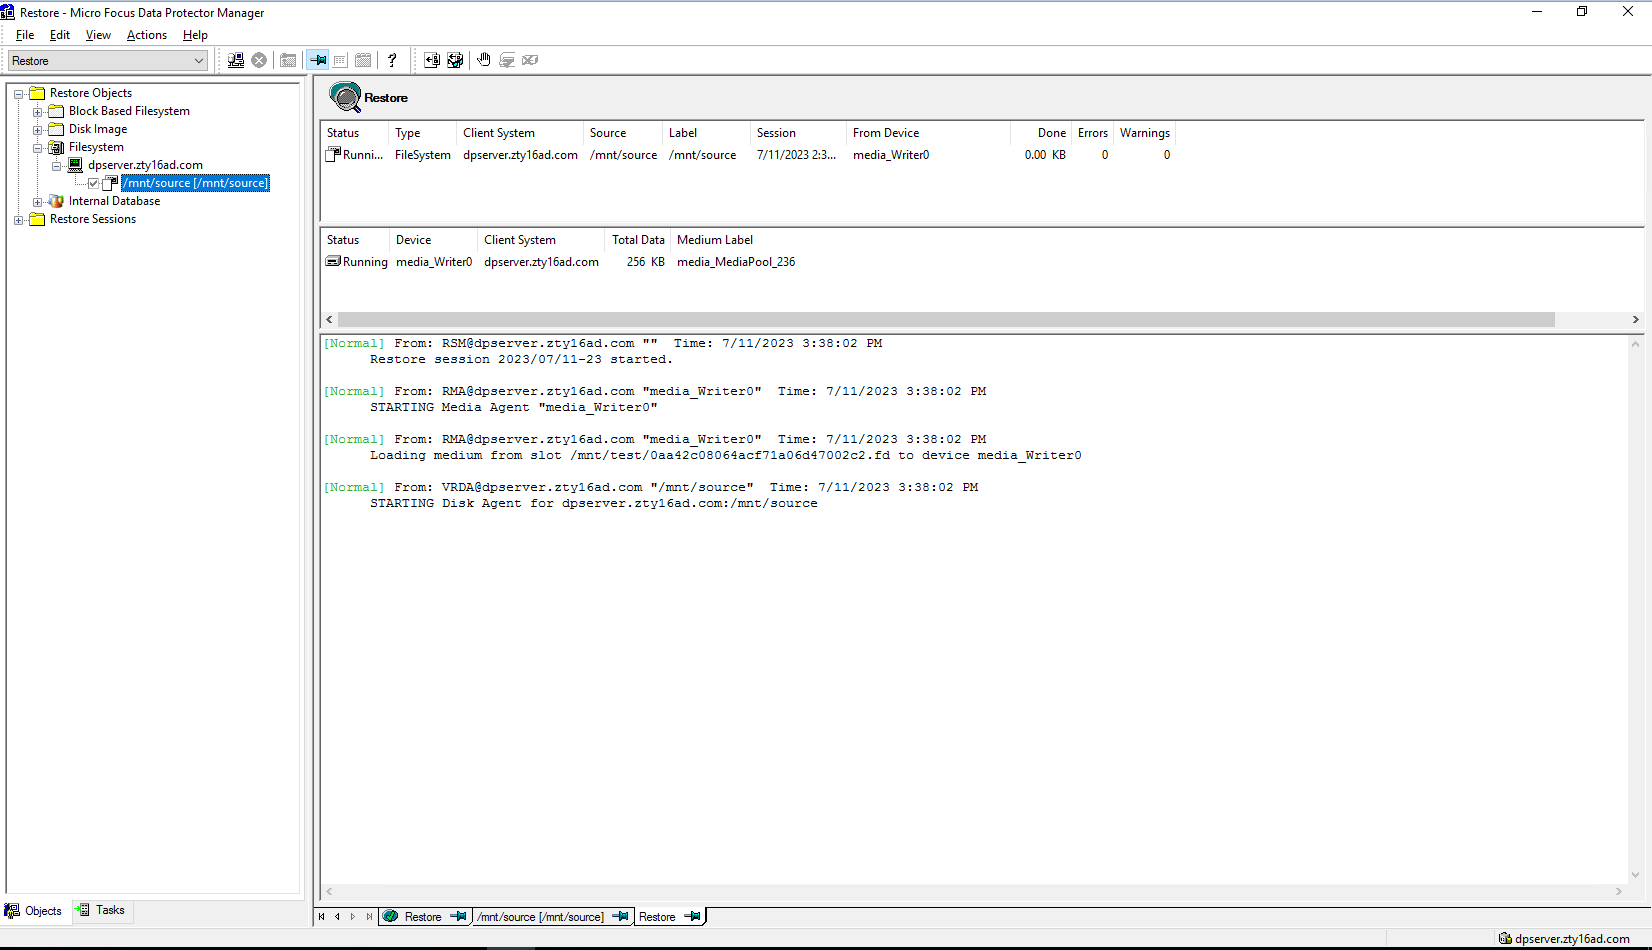 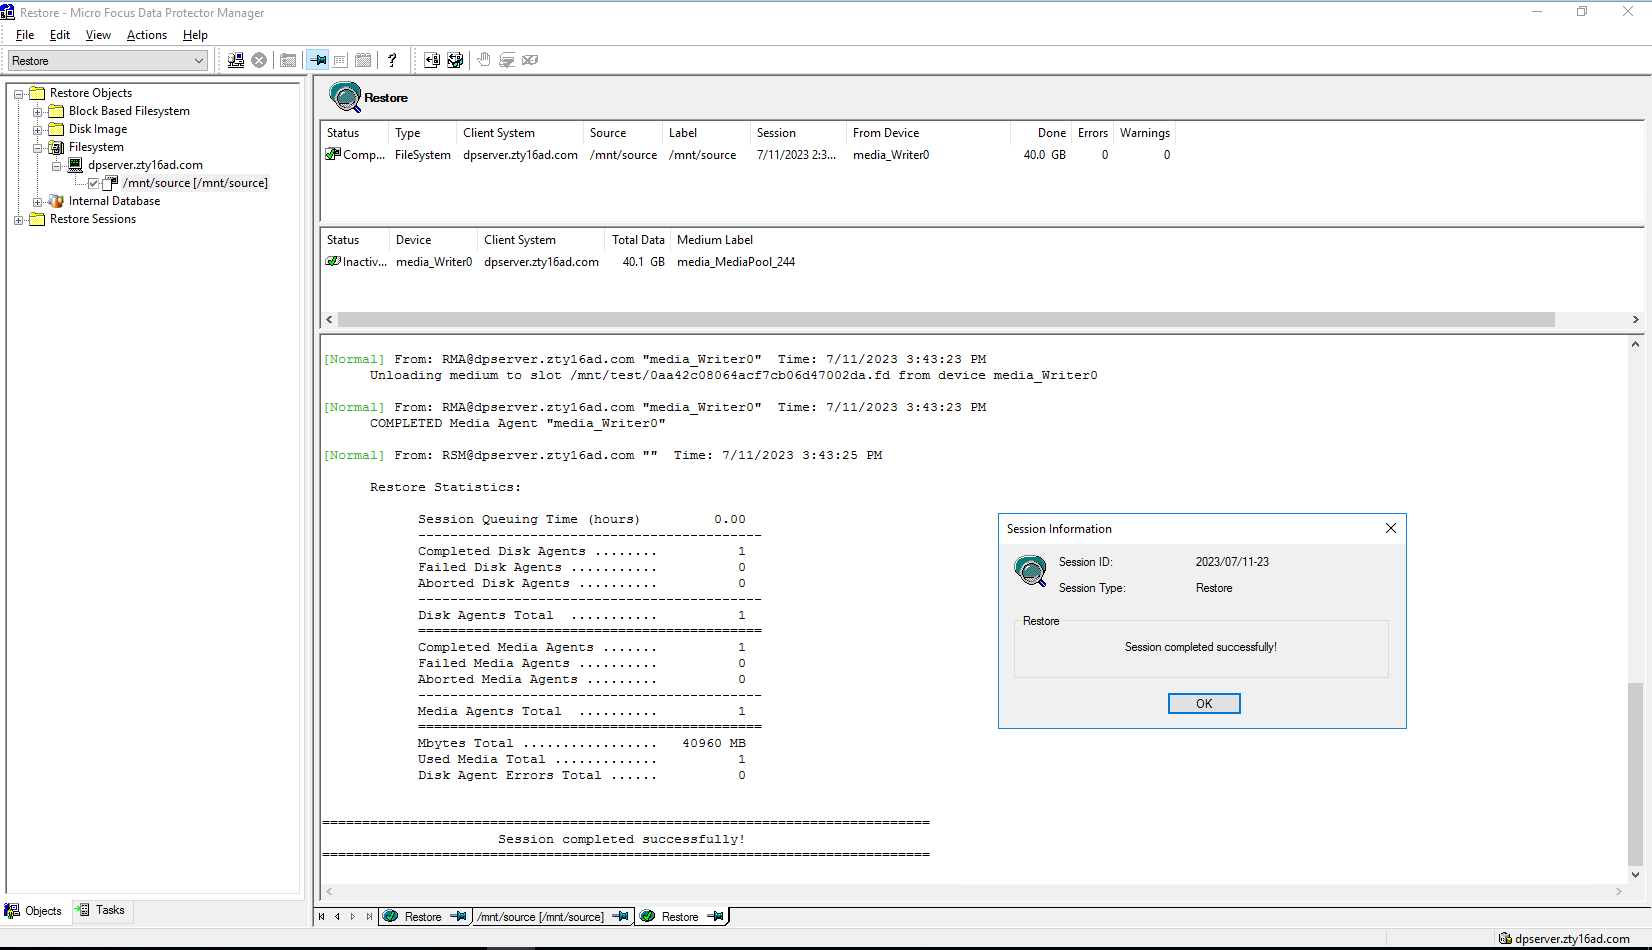 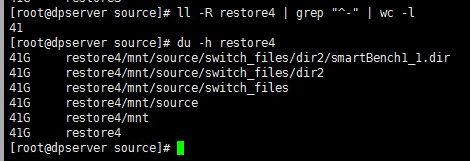 Start restore time: 3:38:02 PM End restore time: 3:43:25 PM Total restore time: 5min23s Step8 Performance of Dataturbo client 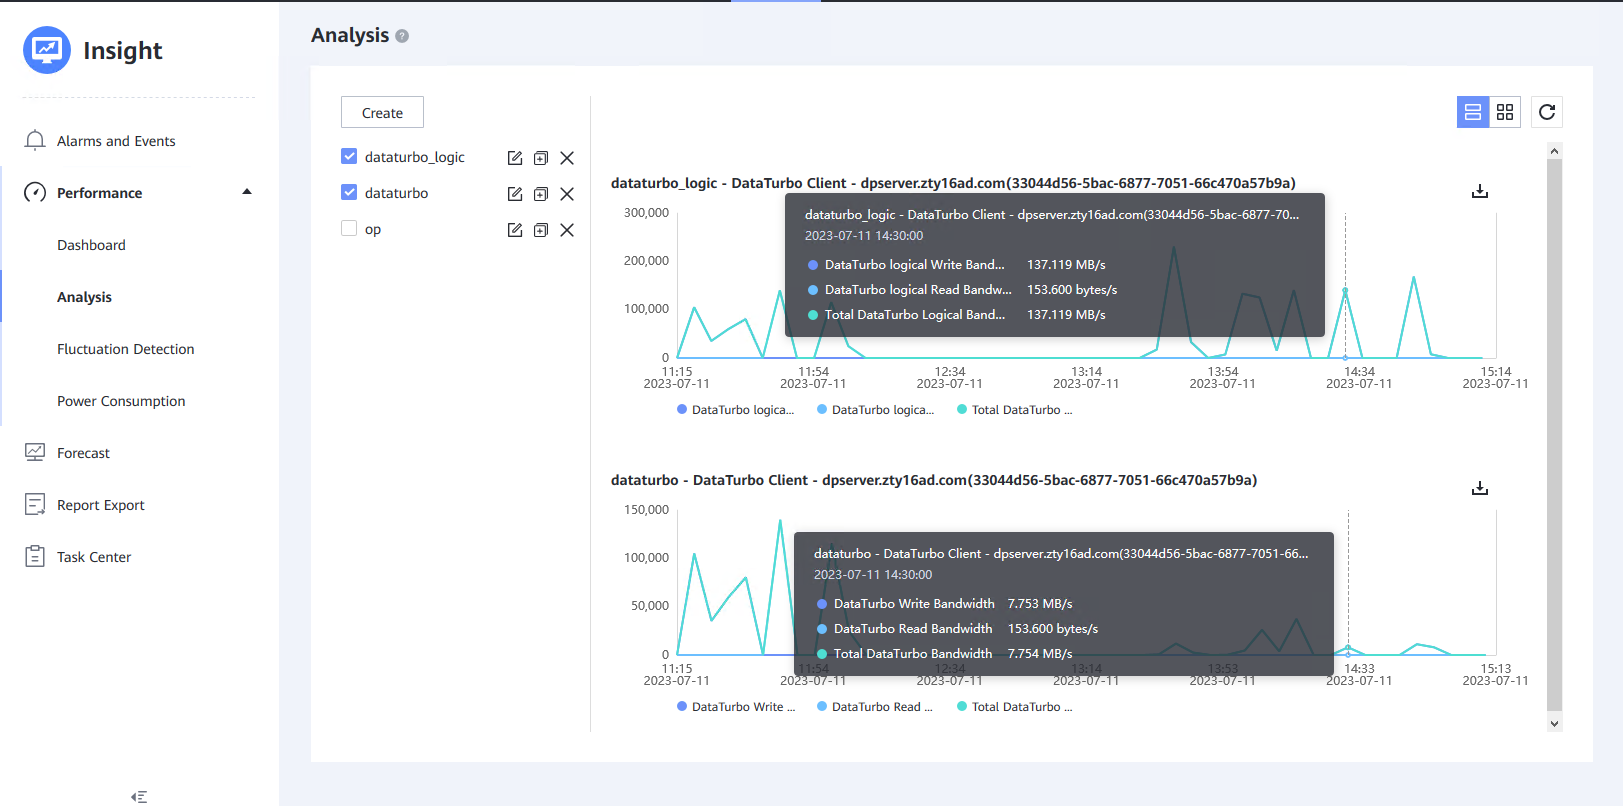 |
Reference
4.1 Micro Focus Data Protector Administration Guide
https://docs.microfocus.com/doc/Data_Protector/11.00/Administer
4.2 Micro Focus Data Protector Installation Guide
https://docs.microfocus.com/doc/Data_Protector/11.00/InstallLanding
4.3 Deployment of a Linux Cell Manager
https://docs.microfocus.com/doc/Data_Protector/11.00/PN/pn60795e7e3b2375.39254764
